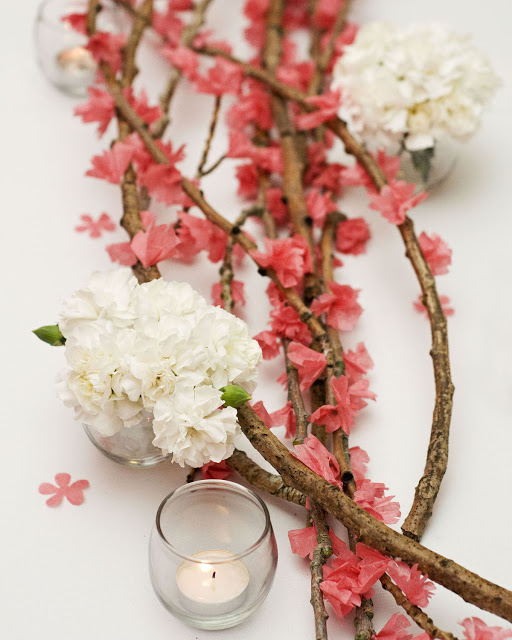
Branches
Pink Tissue Paper cut into 1 inch squares
Pen or Pencil
Hot Glue
Step One:
The project works best if the tissue paper is cut several sheets of paper at a time and not as a single sheet— 5 layers of tissue paper work best.
Fold tissue paper squares on the diagonal. And then fold again similar to making a paper snowflake.
Separate the tissue layers and twist around the end of a pen or pencil. Step Three:
Placing a dab of hot glue on the branch attach the tissue paper to the branch using the pen or pencil.
Notes:
Branches can be purchased on-line or found in your own backyard.
***There are similar projects featured on both the Martha Stewart and Good House Keeping websites. I certainly wasn’t the first person to think of this, but I do like how my project turned out.**Sources:
Blossom Tissue Paper: from www.paper-source.com
BIG THANK YOU


9 Comments
Those look really great, but it seems like it would take a long time. Was it pretty time consuming?
This project was time consuming…but, mainly just the prepping of the tissue paper. Once that was prepped the whole process went pretty quickly.
These are beautiful!
I love this idea! Does anyone have an idea on how to do this without a real branch?
You can get a fake branch from a local hobby store and do it the same way. 🙂 Thanks for stopping by!
Pingback: Annual Guide to Schools » DIY Sunscreen Reminder Station
Pingback: DIY Sunscreen Reminder Station - Todays Creative Blog
Pingback: DIY Mother's Day Flowers – A Well Crafted Party
Pingback: DIY Sunscreen Reminder Station | Today's Creative Life