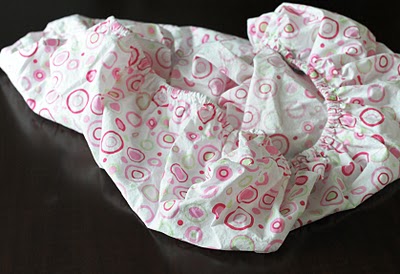
Luckily for us, two of those matching fitted crib sheets were actually too snug for our mattress and were sitting quietly in the drawer, awaiting a new purpose. For the cost of an afternoon and thread, we were able to re-fashion those fitted sheets into perfectly sized flat sheets for our two-year-old. This is a great project for garage sale finds as well.
Supplies needed: Seam ripper, sharp scissors, straight pins, matching thread, sewing machine.
Step one: Take out elastic and seams using a seam ripper. Please note: this is the most tedious part of the process. Also, save both the elastic and any scrap material. These may come in handy for future projects.
Step 2: Iron edges of sheet so they will be flat. May need to use starch or wrinkle releaser while ironing.
Step 3: Decide which sides you will keep and prepare to cut off remaining sides. Pictured are two sheets. The bottom one is the one I am using for this tutorial and the top sheet is one I already did. For the top sheet, I cut off the two longer sides, which resulted in a long, thin flat sheet – we thought it was too thin. So for this one, I am cutting off the two shorter sides so it will be a bit shorter and wider.
Step 4: Cut off two parallel sides so even with remaining edges. Using another flat sheet as a guide, straight pin in a hem on each side. My top panel was about 2.5 – 3 inches wide, and the other sides were about 1/4 of an inch wide. Hint: Once the top panel is pinned, match the edges by folding in half. If you hold it up to light, you will be able to tell if your panel is even all the way across.
Step 5: Sew.
Step 6: Enjoy – just in time for bed!
For a coordinating pillow, use your scrap material plus another matching fabric to make a pillowcase. Toddler sized pillows are easily found at most fabric or craft supply stores.
If you liked this post check out her other {Mommy Monday} post:
Go To Baby Shower Gift
and Becky’s photography blog:


1 Comment
The Flat Sheets have great fabric.