Board games, card games, dice games, and the like all make for fantastic fun when mixed with a crowd of your favorite friends and family members. It has makes for uncomplicated evening entertainment. Games nights don’t have to be more than a few loved games, people, and snacks to eat. Order a pizza and pick up some beer! However, if you want to make it a bit more special, add a few touches to enhance the evening, keep on reading for my favorite game night tips for a brightly colored, potluck get-together.
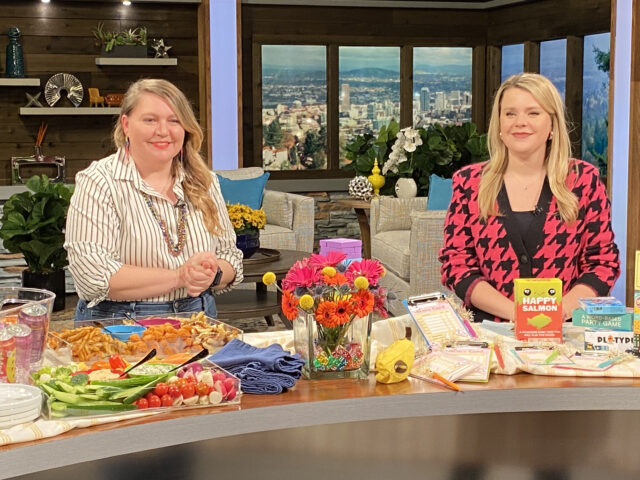
5 Ways to Level Up Game Night
Invite some friends over and pull out your favorite board games for a low-key, but anything but boring evening.
When it comes to hosting something right after a jam packed holiday season, easy is the name of the game. For a game night menu I would actually play on words a bit and ask for guests to each bring a different food board of choice to compliment an evening or board games.
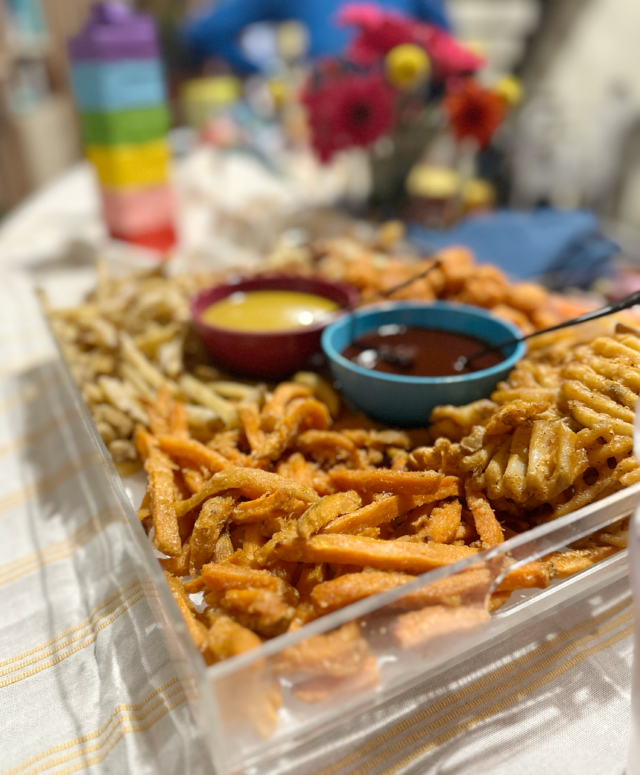
1: Game Night Food Idea: Enjoy Board Games with Food Boards!
Food boards—Charcuterie Boards being the mainstay—started to gain major traction in 2017-2019, even leading to treads of things like grazing tables! During the height of the pandemic favor for them left for more individualized (and safer) portions. However, as the world has been shifting into its new phases, food boards have gained back their former popularity. They are popular for a reason! It gives guests the ability to pick what they want to eat, it is pleasing to the eye, and they are a great way to display food.
For game night lean into the fun of word play and ask each of the guests you invite to bring a food board for an evening of board games! Give an assignment to each party so that you have a variety of food items— one guest brings the appetizer board, another an entree board, and another a dessert board, etc. The best part is that these are ultra-transportable! Guests can pile up items on a board, cover it with plastic wrap or aluminum foil, and head right over.
Game Night Potluck: Food Board Suggestions
The options for food boards are endless! But, some of your guests may need some ideas. Supply them with a few tips when requesting they bring a certain assigned food board for the evening.
Appetizer Food Boards:
- Vegetable Platter
- Charcuterie Board
- French Fry Board
- Pretzel Board with a variety of Dipping Sauces
- Cheese Board
Entree Food Boards:
Whoever is on this duty will have to have a bit more substantial fare on their board. This is the perfect board for the host to assign themselves.
- Taco Food Board: Do a tray of hard tacos filled with taco filling of choice. Add toppings on the board for guests to top their tacos with.
- Hamburger Food Board: Do a board of plain hamburgers with buns and then cover open spots on the board in yummy toppings like lettuce, tomato, pickles, cheese, avocado, mustard, mayo, and other favorite toppings.
- Baked Potato Board: Baked Potatoes, split in half, and wrapped in foil are surrounded by a variety of toppings to make a delicious baked potato dinner.
- Fried Favorites Board: This would be fun for a snacky game night! Fill a board with some favorite fried foods such as chicken strips, corn dogs, taquitos, fried mac and cheese balls, etc. Add your favorite dipping sauces to complete this board.
Dessert Boards:
Desserts can be anything from favorite candies and popcorns on a treat board to a pile of favorite cookies and cakes displayed with fruit.
Tips for Hosting a Potluck Safely
As a host, make sure you have plenty of tons and serving utensils available so people are not picking items up with their hands. Also have hand washing and sanitizer areas available. As it is game night, and no one wants sticky hands while playing games, it isn’t a bad idea to have hand wipes available for those who need them!
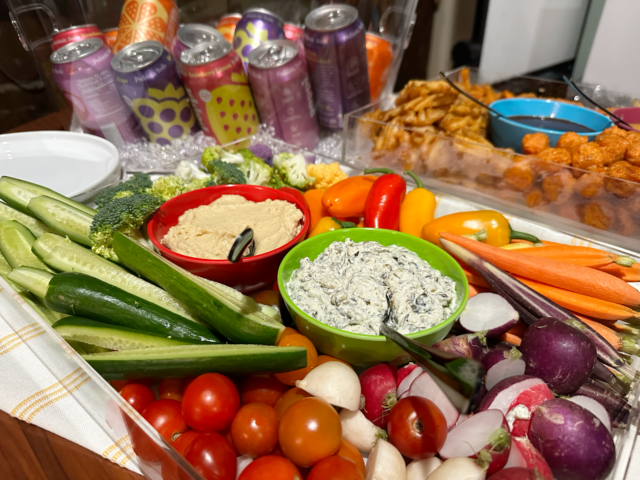
2: Charades and Chillers: Drinks for a Family-Friendly Game Night
The name of the game is easy. So, instead of complicated cocktails or make your own bars, serve some favorite sodas, beers, cocktails-in-a-can, etc. If you too enjoyed the holidays in a bit of over-abundance and want to step it back a bit for the new year, lean into the desire to just lighten things up with some of the new probiotic sodas and favorite kombuchas. If you’re feeling like serving something specialf or the adults, mix up a pitcher of mocktails for a fun alternative.
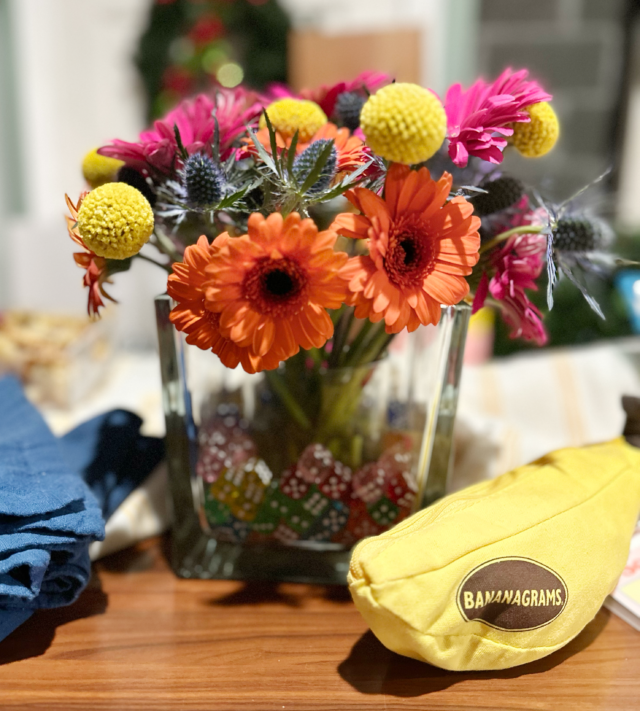
3: Roll the Dice with Game Night Decor
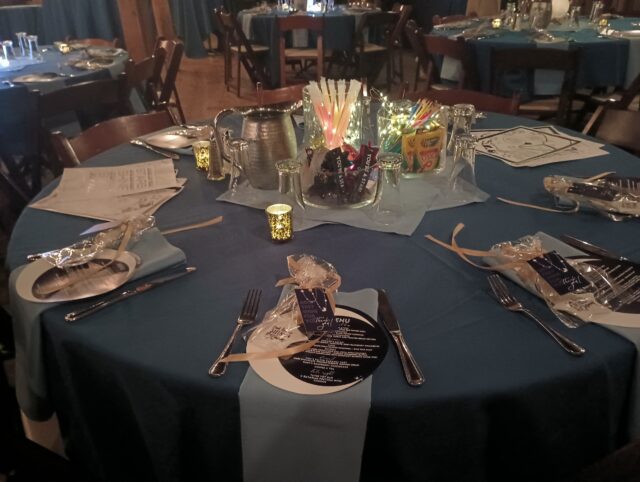
While a game night truly doesn’t not need any decoration, I do like to add a special touch that adds a bit of interest. Give your game night just a bit more interest by adding some brightly colored linens, clear acrylic containers for food or drinks, and a couple of bright centerpieces crafted with store bought flowers.
How to Make a Game Night Centerpiece:
Needed: Create a game-night themed centerpiece with 1 larger glass vase, 1 smaller glass vase (or rocks glass), tape, brightly colored dice (#ad), and store bought blooms.
Instructions:
- Using doubled up tape, tape the smaller vase in the middle of the larger vase. This will not be a permanent or very solid fix, but it will help keep the vase in place as you add dice around it.
- Surround the smaller vase with dice. You can fill all the way up around the smaller vase, or just halfway up the side, either way, it will give the effect of the vase being filled with dice!
- Add water to the inner vase.
- Fill inner vase with store bought blooms that are cut just taller than the larger vase. I used a mix of gerber daisies, craspedia billy balls, and eryngium flowers.
4: The Clock is Ticking: What Games to Pick for Game Night?
Finally, the games! I like to avoid games that take too long or tend to drag on. Quick games that are easy to learn are usually the way to go with a crowd. Depending on the size of your game night, you can have one game going for the group, or several different games going with smaller groups of players.
Some of My Favorite Game Night Games:
Note: The below links are affiliate links. Affiliate links allow for this blog to make a small commission on purchases made through the link at no additional cost to the buyer. Thank you for supporting this blog!
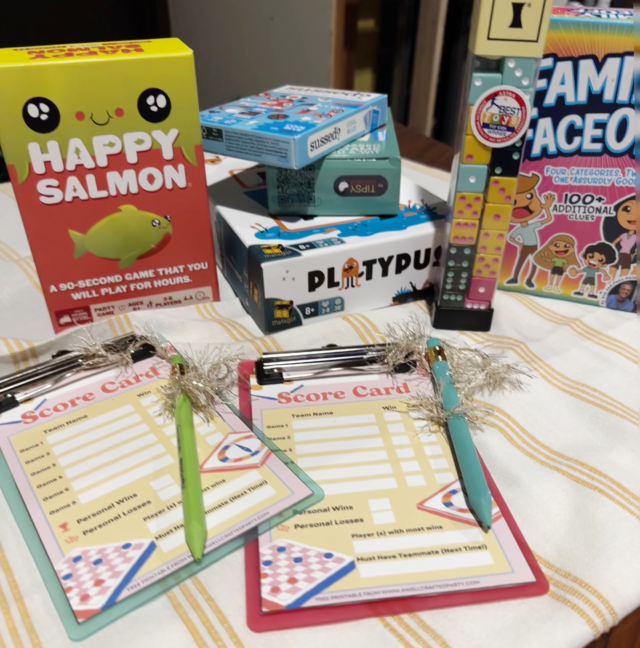
- Tenzi: This action packed, very quick, dice game is fun for the whole family. We play it at the table after dinner sometimes just for a few minutes of fun together. The one I’ve linked there first comes with a booklet of 77 other games that can be played with the set. I have the basic brightly colored set and I also really think this sweet set will join our game shelves soon too.
- Bananagrams: A classic! If you love games like scrabble but want it to be a bit faster, this game is for you. It is also really easy to bring on camping trips and to getaway cabins. Already have the classic version? Try the Bananagrams party edition!
- Colorful Stacking Board Game: This colorful game may remind you of the game night mainstay Jenga. And, in essence the idea is the same. However this game also comes with dice that you roll that tells you which color you must pull! That combined with a much more slippery block makes for a more challenging game.
- Sussed: This card game is directed at Tweens with its fun spin on Would You Rather? But, we had fun playing ages 8 through 60+! It is a great way to get to know each other or test how well you know your friends and family. There are four different ways to play the game as well, so once you master one way of doing it, you can switch it up!
- Platypus: A word game, a how well do you know your teammate game, and a pop culture game all wrapped into one. This is a cooperative game so no one wins or loses, but it is a lot of laughs. We played on New Year’s Eve and started knowing that there was no way that we’d make it staying up til midnight… next thing you know, it is ten til midnight and we are sad to stop playing to get ready for the countdown!
- Family Faceoff: This game (which I completely messed up the name on TV!) is such a fun way to bring multiple ages together. There is a bit of acting (charades style), a bit of guessing songs, a bit of finding things within the room, and then the FACE OFF challenges. This game was created by the Holderness Family who have been one of my favorite follows on social media for years. It is in the name, but this one is very much a family-friendly find.
5: Keeping Score: Keep Track of the Real Game Night Winners!
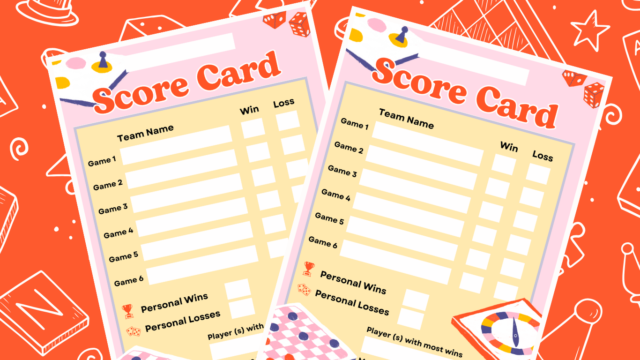
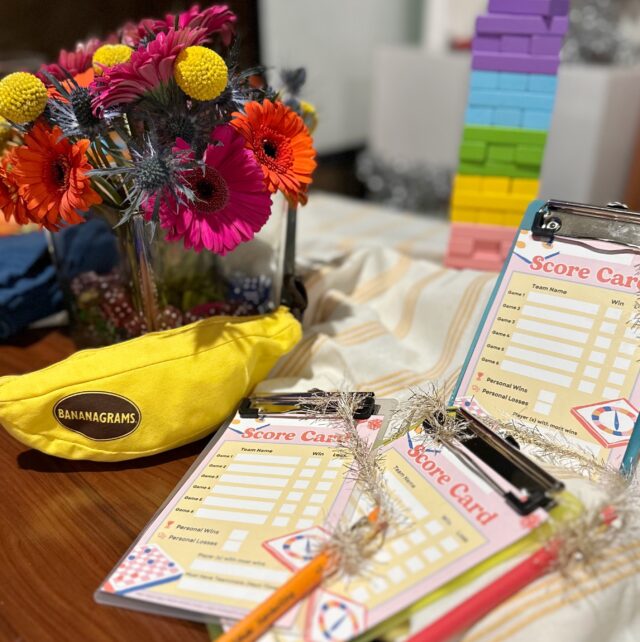
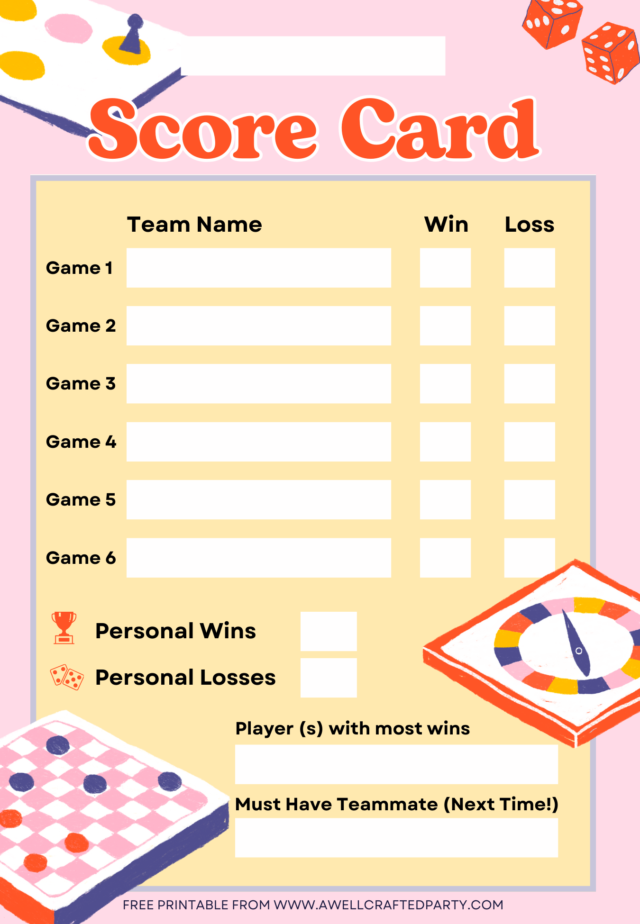
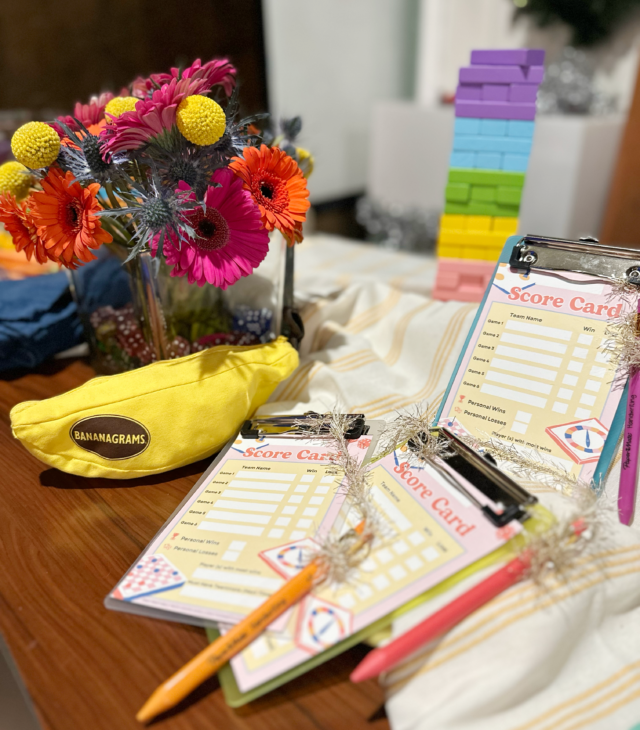
Part of the fun of game night is the competition. While you’ll track each game on their own, each of the players will want to keep track of how many wins and losses they’ve racked up. Whether on teams of 1 or teams of many, my free printable game night score card will help guests track their scores, note the ultimate winner, and keep track of the teammate that they will just have to have join them next game night!
Make a fun night with friends and family just a bit more special with these game night bonus points. Use them all or just a few, but for sure get together with some friends and family and play your favorite games together.
I’d love to hear your game night mainstays! Any games you’ve been ready to try? Snacks that are always present? Share in the comments below!


