Category

A Well Crafted Home

Category

To grow a plant, all you need is a seed or start, soil, sunlight, and salt-free water (I had to force an s in there somehow). Water is easy; it comes out of the faucet, and I point it at the garden plot until it’s soaked, twice a day. Sunlight’s easy, though I should have planned my plot for a sunnier patch of the yard. I’ll talk about seeds in another post, since first I want to tell you about our soil.
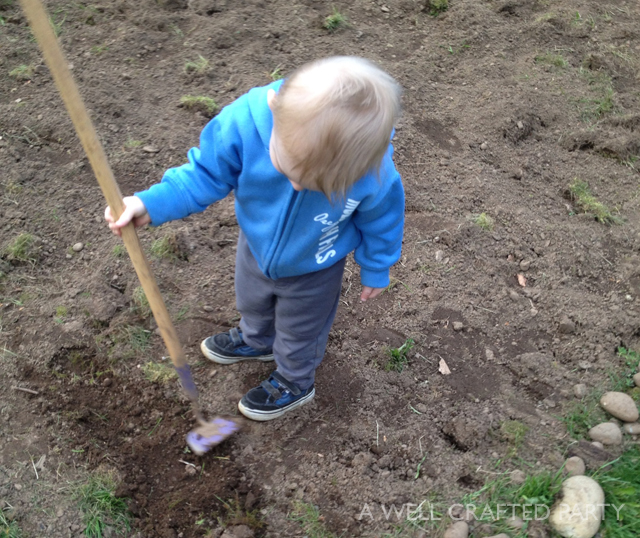
Soil Tips from a Newbie Gardener
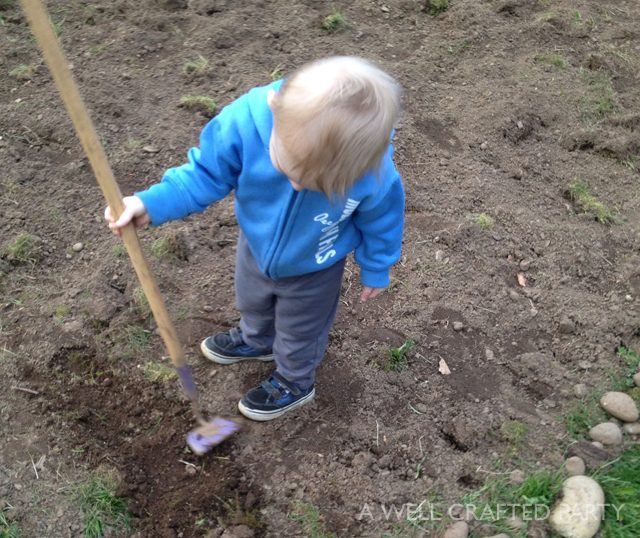
Note: Toddler labor is not the most effective way to prep your garden’s soil.

What I should have done

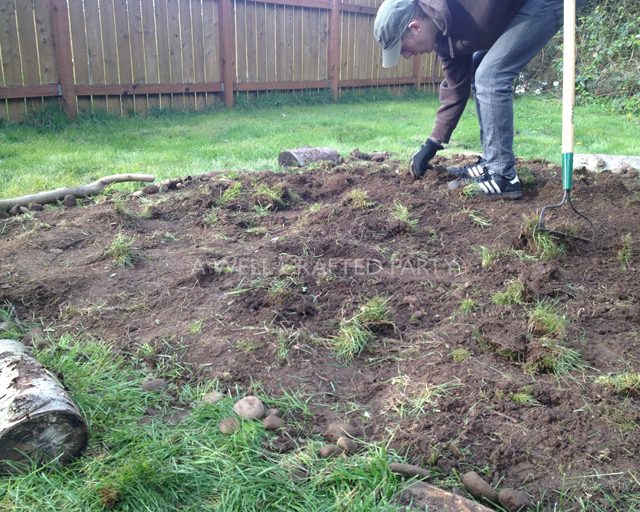
I should have tested the soil to check its pH balance, then correct it to a veggie conducive growing chemistry. I read (flipped through) the chapter in the veggie garden bible, Growing Vegetables West of the Cascades, by Steve Solomon, but I didn’t retain much. I remember something about loamy and silty soil being good, I think…but I never found out what category mine fell under. When digging our plot, my brother and I removed all the large rocks, anything bigger than a potato, and that alone filled a bucket. If we tried to get all the rocks smaller than that out, it would have taken days of back-breaking effort. Besides, my mom said a few small rocks help keep the soil wet, or something like that.

I also should have supplemented our poor dirt with some quality soil and compost. I started a compost pile last year, but didn’t really keep up with it (noticing a pattern yet?), so dumping non-decomposed – is it just called composed? – eggshells and coffee grounds wouldn’t do much to engender growth in my veggies. Maybe the pile will be decomposed by next spring’s garden.

What I actually did

Squat. I’m the lazy gardener. Sometimes I put in the minimal amount of effort to get the payoff that minimally satisfies. I am proud of the veggies we’ve eaten so far: a few handfuls of green beans, 3 cucumbers, lettuce, spinach, and basil. They were surprisingly tasty. To supplement the soil, I did buy two bags of organic soil and mixed that into the plot. For a garden the size of mine, I should have used six bags. We’ve gotten some edible veggies so far, but my neighbor’s garden makes me jealous. I guess the saying is true: you reap what you sow. And I’m a shoddy sower.

Luckily, I have amazing neighbors. Four out of the five houses around ours have gardens, and besides sharing their veggies, they’re sharing their tools and expertise. Check out this sharp-bladed contraption:
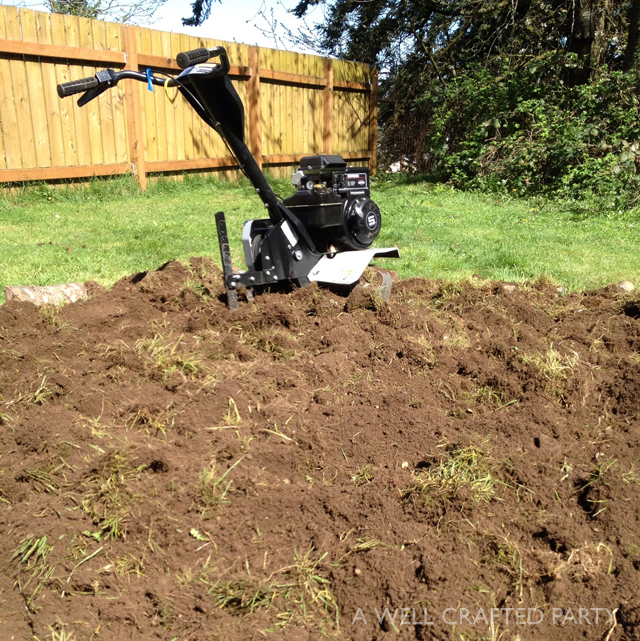
rototiller
This machine was AWESOME.

With just a few minutes of arm-jarring steering of the bucking rototiller, our plot was plowed. You can rent them cheaply from your local hardware store if you lack generous neighbors. Using the machine got what would have been 2 hours of effort done in 15 minutes. And remember my last post, where I said gardening should mostly be done by hand? Ha! I recommend using at least a gas rototiller to other lazy gardeners out there.
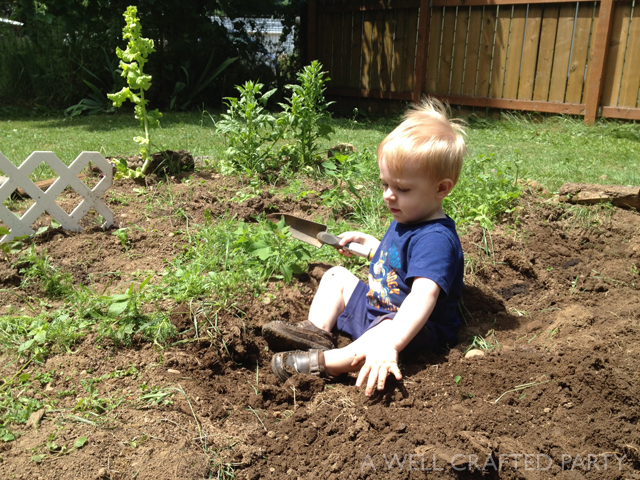
We still use toddler labor when needed.

What other tools have you used to spruce up your soil? Or if you went the hands-only route, how did you prep your soil?

Urban Gardening Mistakes

I do not have a green thumb. I don’t live with a dog or cat, partly because my toddler is enough of a mess to take care of, but mostly because I wouldn’t be a very good pet owner. I’ve always thought I should try and keep plants alive before taking on the responsibility of a dog.

Despite my terrible sense of responsibility, I had a strong urge to learn how to garden, and when my family and I moved into a house with a yard last summer, I decided to risk taking (botanical) life into my hands. I was motivated by seeing friends and coworkers show off their bountiful produce (the size of one coworker’s zucchini was astounding).

I’m a little bit of a scifi nerd, and some post-apocalyptic stories seem more likely than others. And if the grocery stores are all empty, I want to at least know how to grow my own vegetables. Ideally, I’d have a few goats, chickens, bees, and alpacas as well, but I thought I’d start with a veggie garden.

Urban Gardening—Choosing the Plot

I am the epitome of a novice, so this gardening series is not meant to be tutorial, but more “try not to cringe at all Brian’s mistakes.” Perhaps you can learn a little from what I’ve screwed up.

Spring was arriving in Portland, and I was ready to get started. I’d done a little research into how to convert a grass lawn into a vegetable garden. There were different options, like covering the plot with newspaper, letting the darkness kill the grass for a month, and mulching in the newspaper. I had two problems with that option: I didn’t have any newspaper (who doesn’t read their news online? Sorry, print journalists), and I didn’t have a month’s worth of patience. I decided to go with the other option I’d read about – flipping the turf.

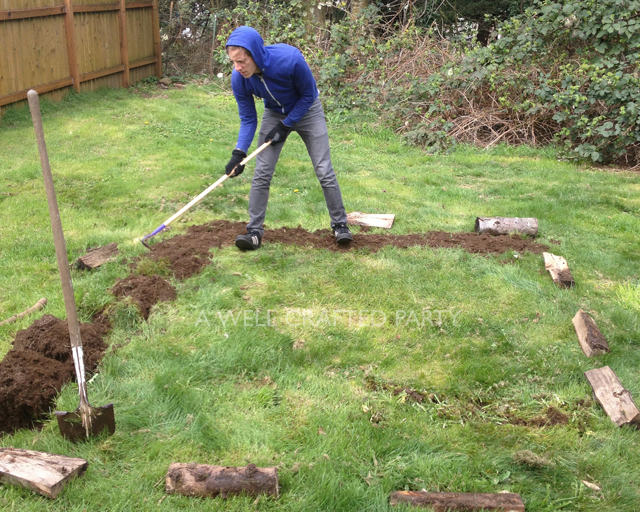
We moved to this house from an apartment, so the only tools we had for outdoor work were left behind by the last tenants. I had a sturdy, if dull, shovel, and that was enough for this task. Some people rent a back-hoe for this – I witnessed a neighbor actually tearing up his yard with one – but I’m not that gung-ho, or that full of money. Besides, gardening should be done as much by hand as possible, don’t you think? (I changed my mind later!)

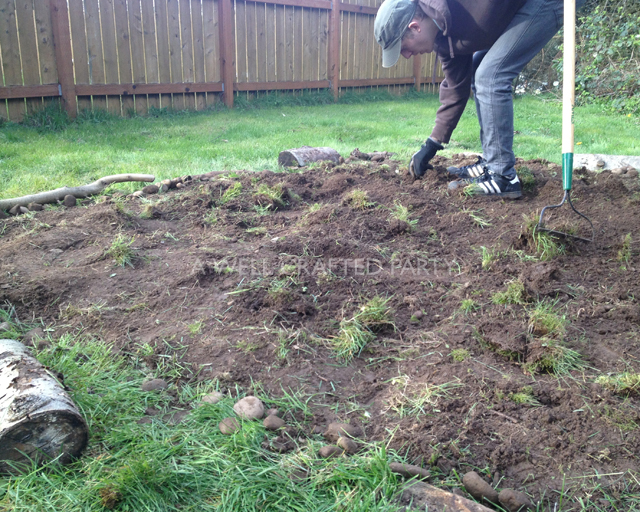
Beginning a Garden Plot

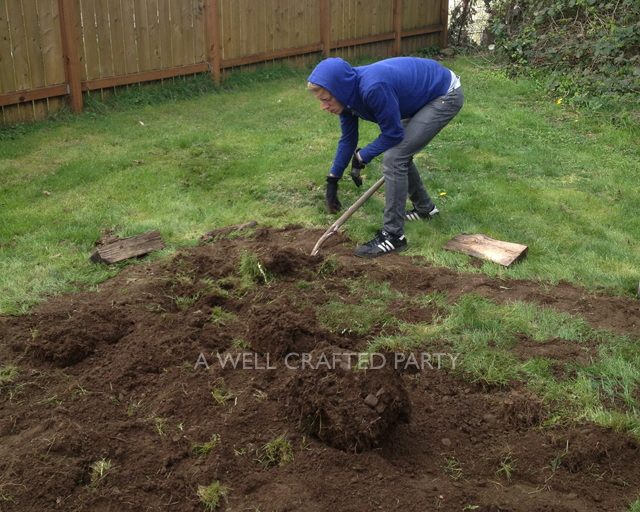
Working Hard on the Garden

Working Hard for the Garden

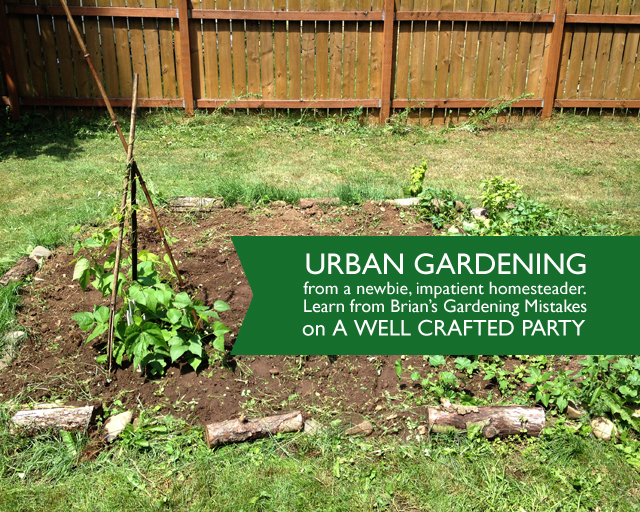
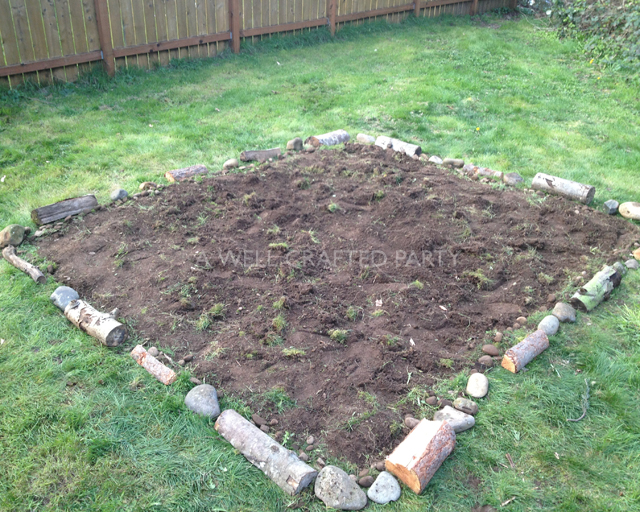
Finished Plot

As you can see, my brother and I dug a rectangle, about 8 by 10 square feet. No real planning went into the dimensions or the location. It just looked to be the right size, and maybe we got a little worn out. Flipping sod is not for city folk, with flabby city muscles.

My first mistake was choosing the plot location. I didn’t put hardly any thought into the most important element: where sunlight fell in my yard. What a rookie mistake. All I needed to do was spend one day occasionally eyeballing my yard, and marking the extent of sunlight and shadow. The plot I chose is about 40% shady (that’s my very scientific measurement). Shade is okay for some plants, like lettuce, so it wasn’t the worst mistake I could have made. But now I know what I would do differently next time.

In the next post I will tell you about how my laziness and impatience lead to my next mistake. It’s not all bad news – we have successfully harvested spinach, lettuce, and basil, so far, and there is a fat cucumber getting fatter everyday.

Do you garden? If so, what were your mistakes in the beginning?

(Come on… make me feel better!)

Today I’ve got some more great tips from Jill
who recently wrote about the amazing cleaning power of Baking Soda.
He is kissing her because she is full of so many AWESOME tips! Photo Credit: Hibben Photography
This week she gives us tips on cleaning up the outdoors space—
Just in time for SUMMER!
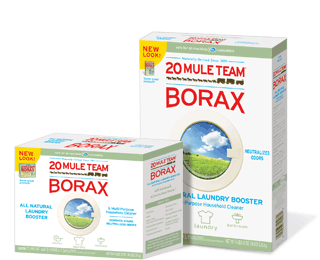
Lawn chairs. The must have of any summer, right? Our outdoor furniture takes a beating in the spring storm season, sometimes developing a moldy looking film. I’ve found the best way to get rid of it is a solution of Borax and water. You’ll hear me tout the benefits of Borax on almost any problem, but I’m telling you, it’s great. Borax can be found in the laundry detergent aisle, generally near the powdered detergent. It’s an oldie but a goodie, but I will admit I haven’t used it for laundry yet. A church member suggested it to me at a previous congregation, and it hasn’t failed me yet. You can scrub a little with the wash rag dampened in the Borax solution and then rinse clean with the water hose.
Photo Credit: 20 MuleTeamLaundry

I usually purchase a window cleanser that hooks on to the water hose. To prepare the house for the summer barbecues, I use the window cleanser on all the windows. Then I rinse the bottle several times with fresh water. After that, I mix fresh Borax/water solution in the bottle and pop it back on the water hose. When you make the solution, you’ll want it to be more Borax than water, so maybe a 70/30 solution.

The bottle I got this summer offers a dial that you can select fresh water or cleanser solution, which is perfect! You can use this to clean the kid’s outdoor toys, swing set, vinyl siding, you name it! The swing set has a rubbery plastic tube covering the swing chains, and they are perpetually mildewed. We also get the moldy looking film on the north side of our home. We use the Borax sprayer to wash most of it off. For stubborn spots, you can wipe with a towel or use your household sponge mop for hard to reach areas of the siding.

My last “summer and Borax” tip is for spiders. After the spring storms have passed, spiders come from all over. We shake powder Borax around the foundation of our home, right up next to the house. We repurpose an empty parmesan cheese container just for this project. My daughter made a construction paper label for it, so we are sure not to think it’s a new container of cheese on spaghetti night. This is a great tip that I promise works; tips from older church ladies always work. Almost always.  We had those Daddy long legs things, the little spiders that look like a ball with whisper thin legs, when our daughter was little. The church member suggested this, and they were gone within the month.

(P.S. Check out 20 Mule Team Laundry‘s website for more Borax cleaning tips!)
Thank you Jill for more great tips!  She is certainly helping me prepare for life with the soon-to-be kiddo!
 
Do you have any outdoor cleaning tricks that you use?