Mother’s Day is around the corner! Writing about all of these amazing working mothers has certainly got me thinking about Mother’s Day a little more than I normally would. It has made me want to tell my mother and mother-in-law just how much I appreciate them. Makes me want to snuggle up with the two boys who made me a momma. These DIY Mother’s Day Flower Arrangement tips make giving flowers easy and inexpensive.
Flowers are such a beautiful way to say that you are thinking about someone. But, with prices starting at $50 for a nice small Mother’s Day flower arrangement it is fairly cost prohibitive to many. I typically love giving flowers in addition to a small item that will last for some time or be a sweet treat for that person. Often spending $50 or more on flowers is just out of my budget. Thankfully, I know a few tricks to make a DIY Mother’s Day flower arrangement look like a million bucks.
Tips for DIY Mother’s Day Flowers:
Keep it simple!
Use one flower (or one color scheme) in a low vase to make a simple, but beautiful, flower arrangement. It doesn’t take much time to make an incredibly easy flower arrangement. Your mom will love it, I promise!
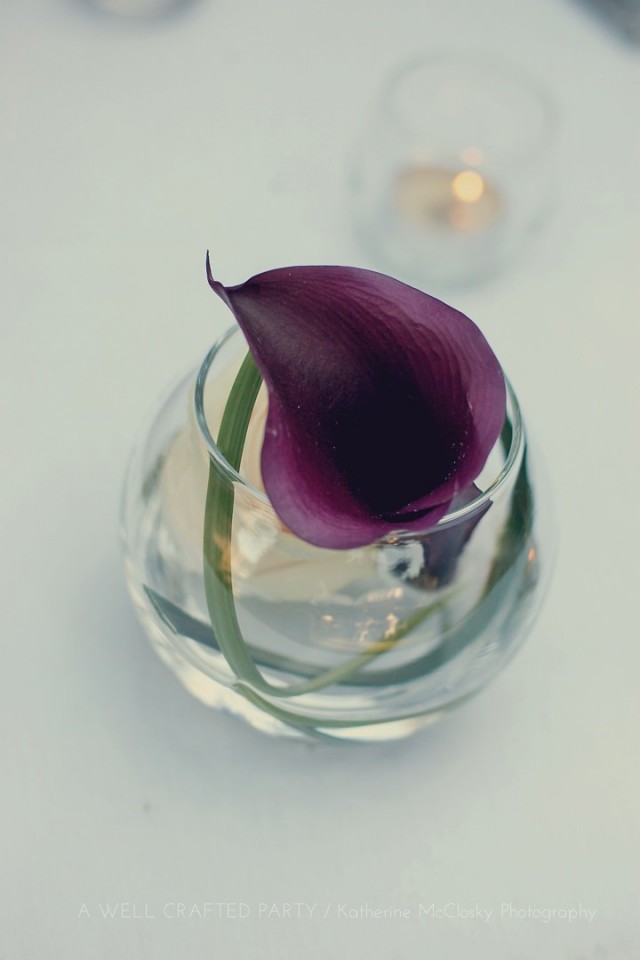
Float your flowers for high impact and low cost.
Floating one or two stems or buds of flowers in water is a cost effective way to make a statement. These don’t last as long as some flower arrangements, but they are beautiful! The photo above shows a beautiful black lily floating with the bud of a white rose and some lily grass. If you would like some sparkle, try putting some sequins in your vase as well!
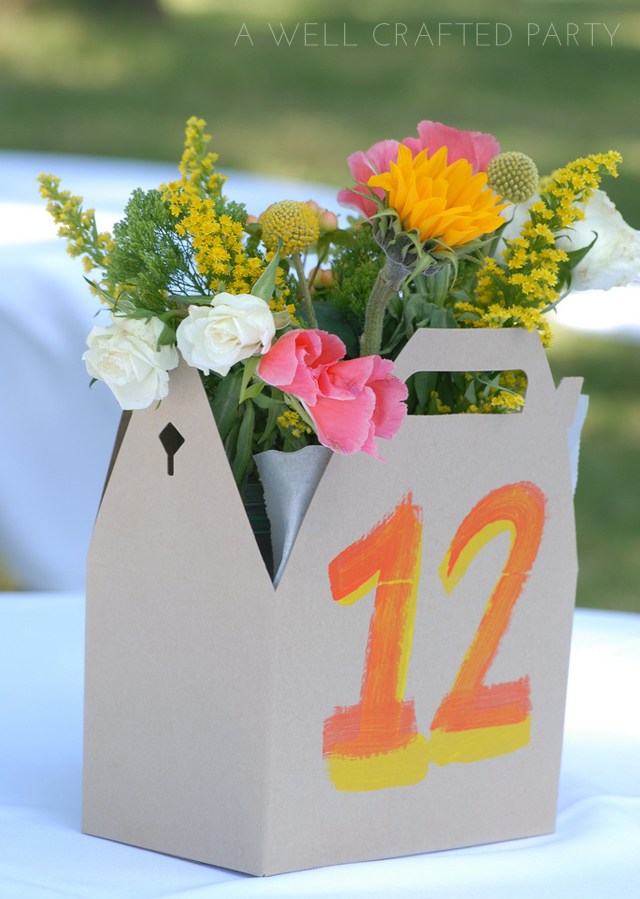
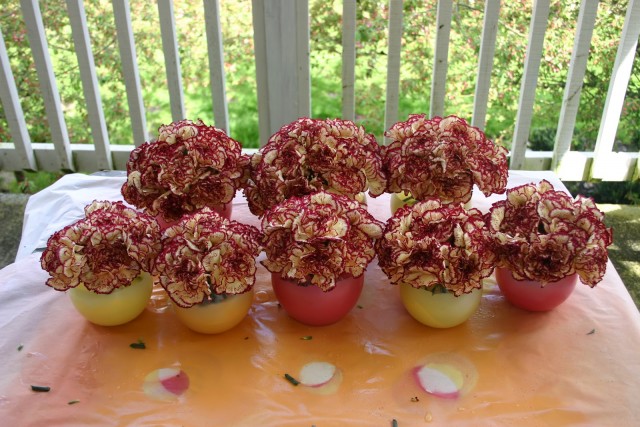
Use unexpected vessels for your DIY flower arrangement instead of vases.
I love using unexpected vessels for flowers. Use bottles, cans, baskets, or boxes to house your arrangement. (You may need to put a small vase or jar in to hold the flowers with water, but the outer vessel can be anything really!) Get a beautiful serving bowl for a gift and put the flowers in it! Two gifts in one. We used picnic boxes for flowers on the tables at my sister’s cheery Summer Wedding. Guests received their lunches in the same boxes so it was a lot of fun seeing them all together.
Sprinkle your table with flower buds!
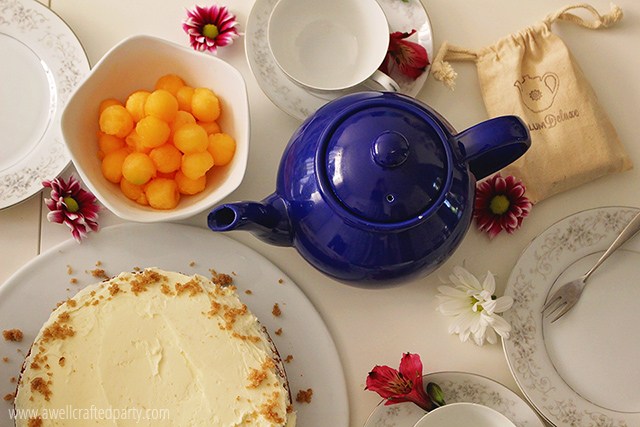
Last year we had a little Mother’s Day tea on the coffee tables in our living room. I simply sprinkled the tables with the buds from a few flowers that I picked up at the store and snipped out of my yard. The table looked festive throughout the entire tea party. The buds do get a bit wilted over a long period of time. But, this was a short tea party so I was able to make a small, low arrangement in a jam jar after the party that I was able to enjoy for a few more days.
Want to make some flowers that will last a little longer? Check out the posts below:
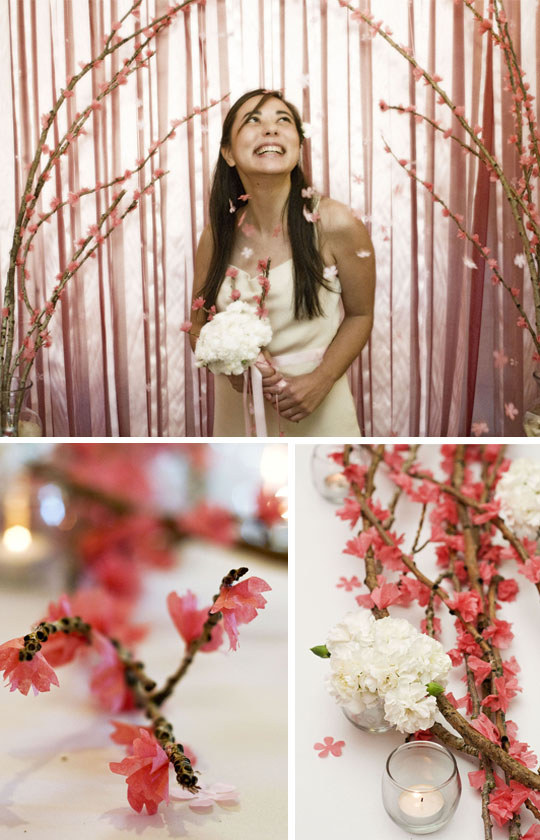
DIY Cherry Blossom Branches
These DIY Cherry Blossom Branches will last for years and are so pretty to look at! A large vase with these sticking out would be a stunning gift.
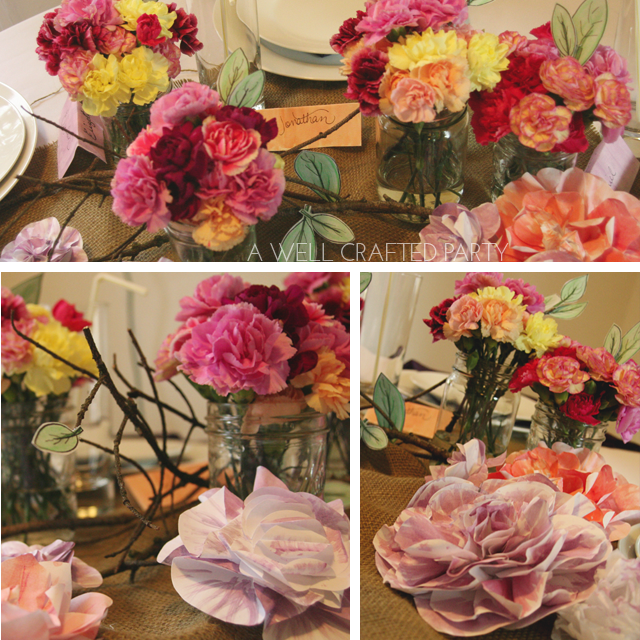
Use Paper Leaves and Flowers to Fill in Real Blooms
I love real flowers. Sometimes when wanting to create a fun, whimsical look and to save money I’ll combine paper flowers and leaves along with inexpensive real blooms.

Make a Tissue Paper Flower Arrangement for Mom
Tissue paper flowers are easy to make, inexpensive and a lot of fun. Plus, they don’t die!
What do you like giving mom for Mother’s Day?