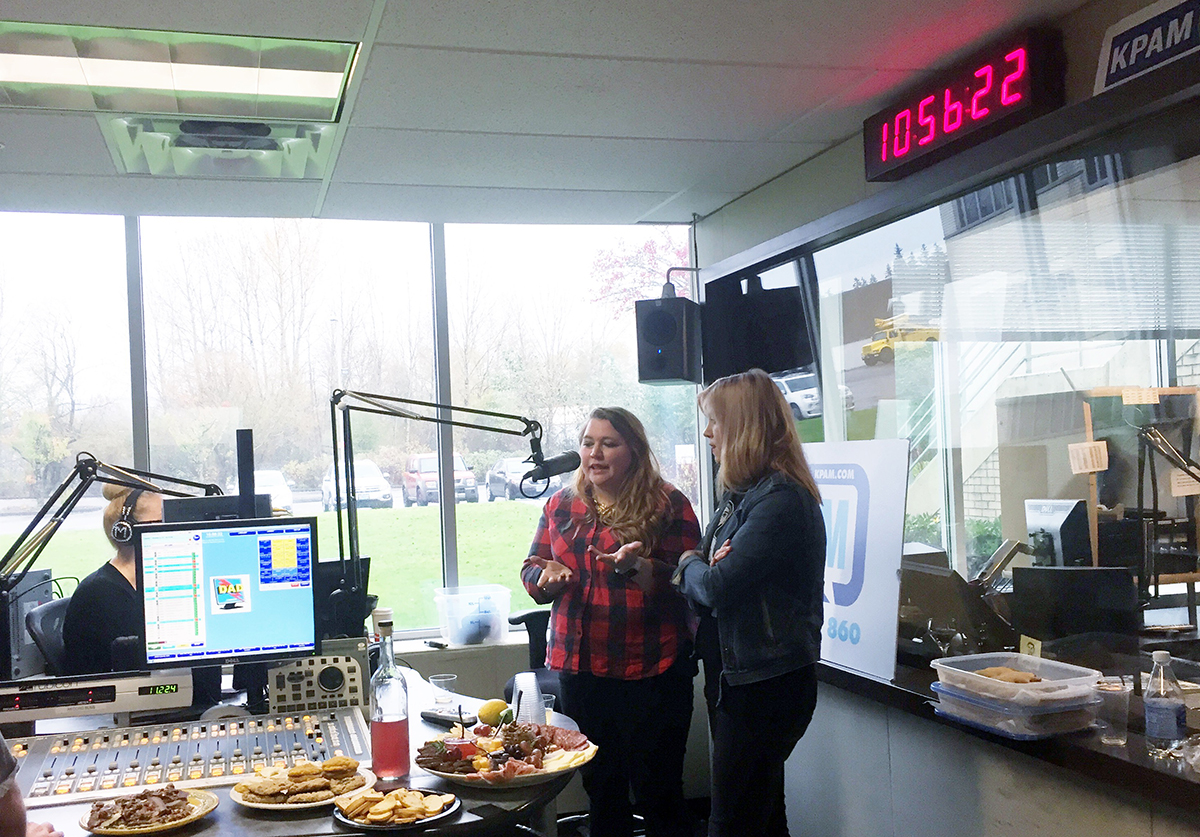
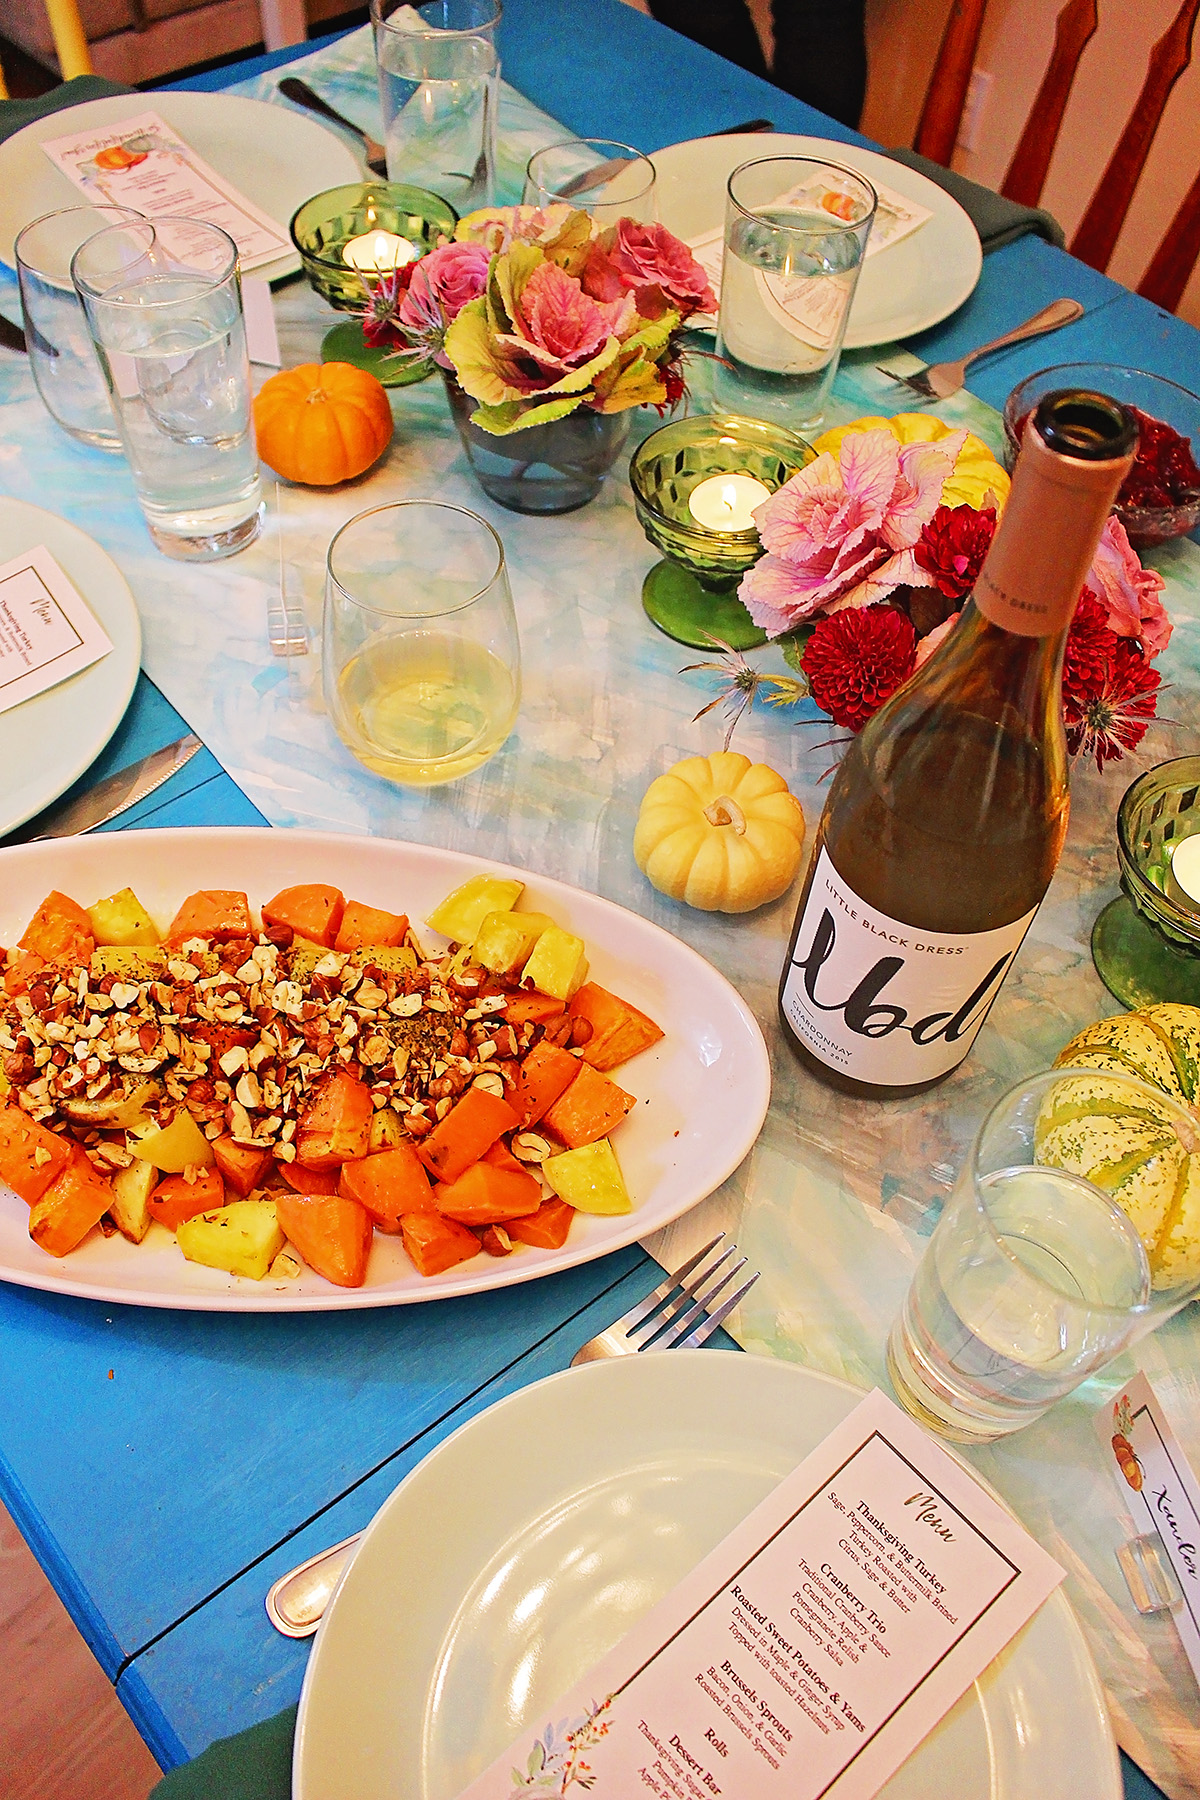
I had the pleasure of participating in a pre-Thanksgiving potluck of sorts and share tips for the Ultimate Oregon Thanksgiving on The Simple Kitchen with Missy Maki this past weekend. Check out the two hour show for tips and LOTS of laughs. (I’m sharing tips in hour 1!) It would be a fun listen while you’re prepping your bird this Thanksgiving.
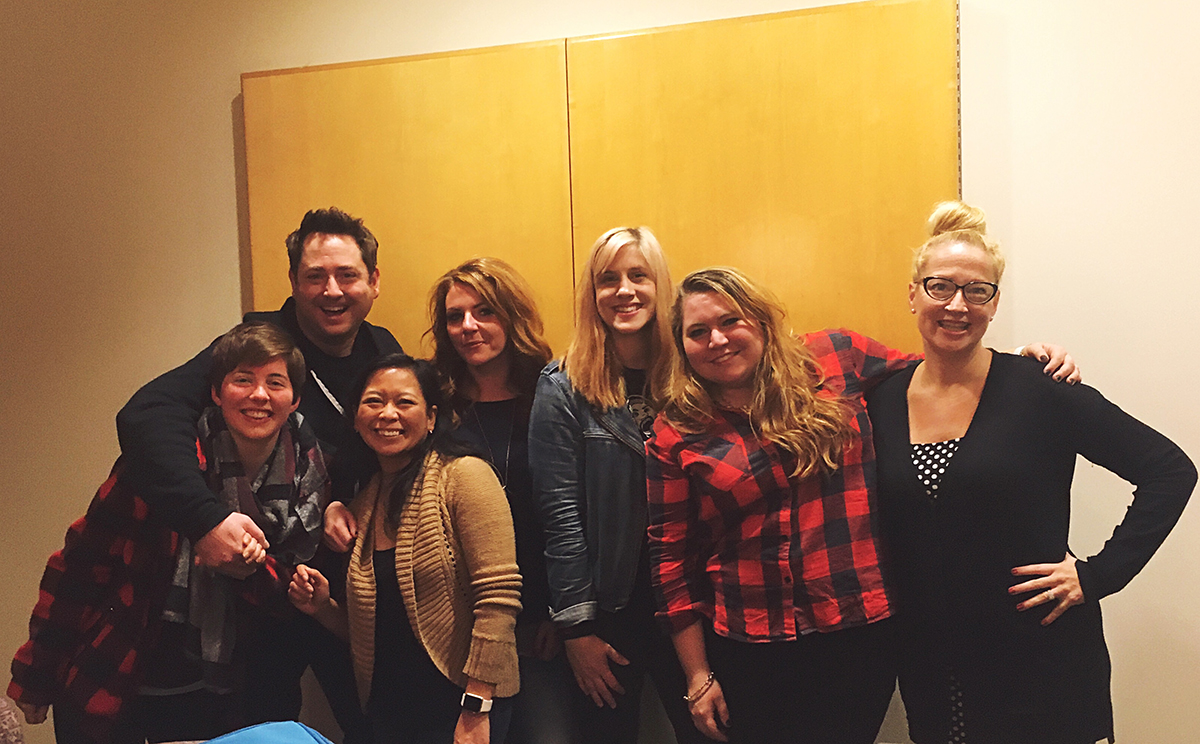
We had a star line up for the Ultimate Oregon Thanksgiving show including Ryan from Aria Gin, Bee from The Spicy Bee, Marlynn from Urban Bliss Life, Melissa from MelissaKaylene.com, Lindsay from Rosemarried, myself, and Missy Maki from The Simple Kitchen and Missy Maki Cooks. We all brought in foods and beverages to sample while speaking about Thanksgiving for two hours! A wonderful time was had by all.
The whole show was full of fantastic tips and really interesting double entendres! We discovered that you really can’t speak about the Thanksgiving meal without some funny double meanings.
Thanksgiving Tips from our Simple Kitchen Show:
There are a TON of tips on the Thanksgiving show, but the ones below are some of my favorite for having a stress-free potluck Thanksgiving:
Organization
Erin from BakeryBingo and Meredith from Martha Chartreuse called in and shared their party planning tips for hosting a holiday Friendsgiving brunch. One of the tips that really hit home was the tip to stay organized with all who are participating online through Google Docs. I also love the many different online potluck planning sites (like Perfect Potluck) for organizing your holiday meal.
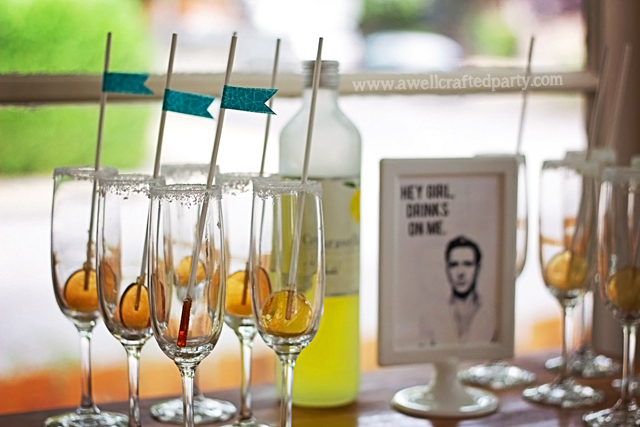
Appetizers & Drinks
When people arrive and you are in the kitchen trying to get everything done and on the table hot you will want to have something to occupy your guests time. Absolutely put them to help if you have something to do, but more often or not you just need people out of the way! A batch cocktail and delicious appetizer will help keep guests busy.
Appetizer ideas:
- – Lindsey shared details on her Brussels Sprouts and Shallot Dip that sounds (and looks) out of this world delish
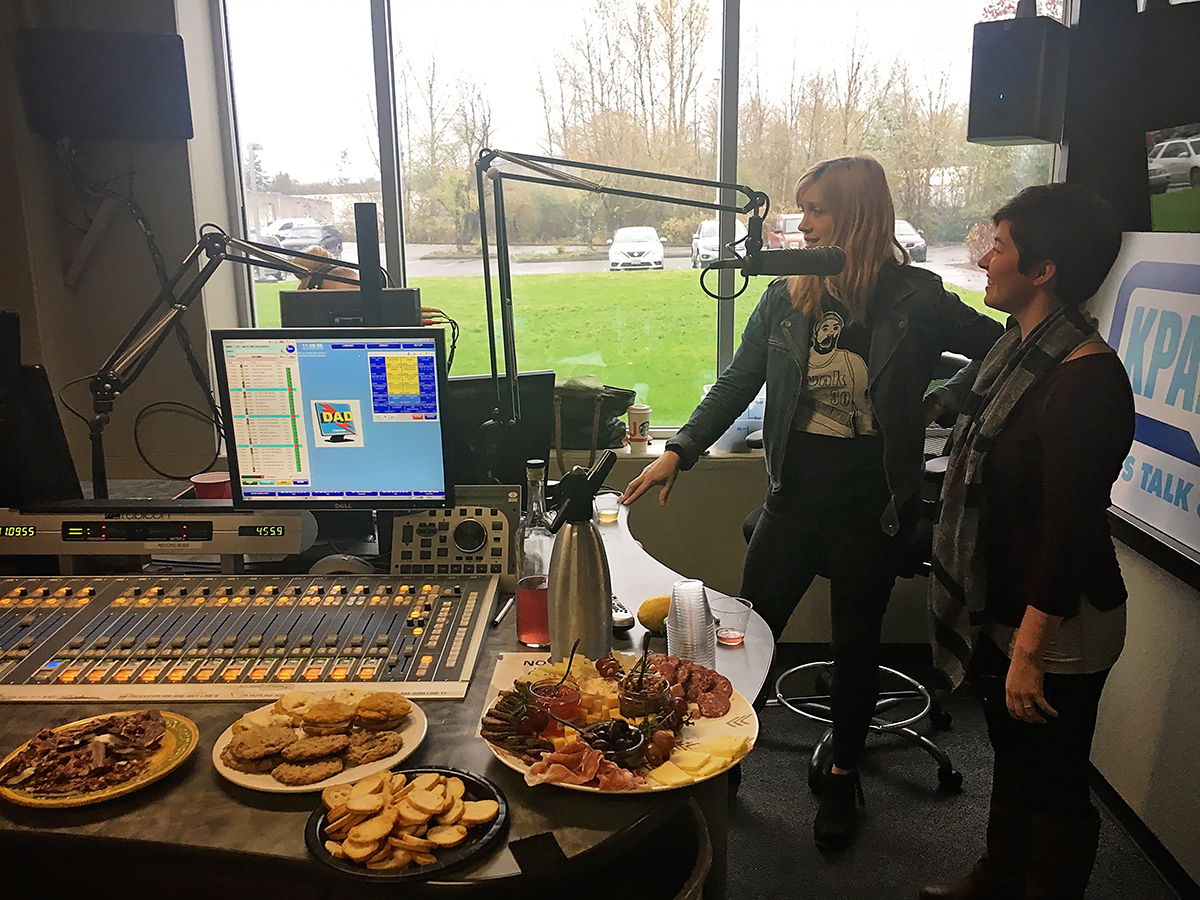
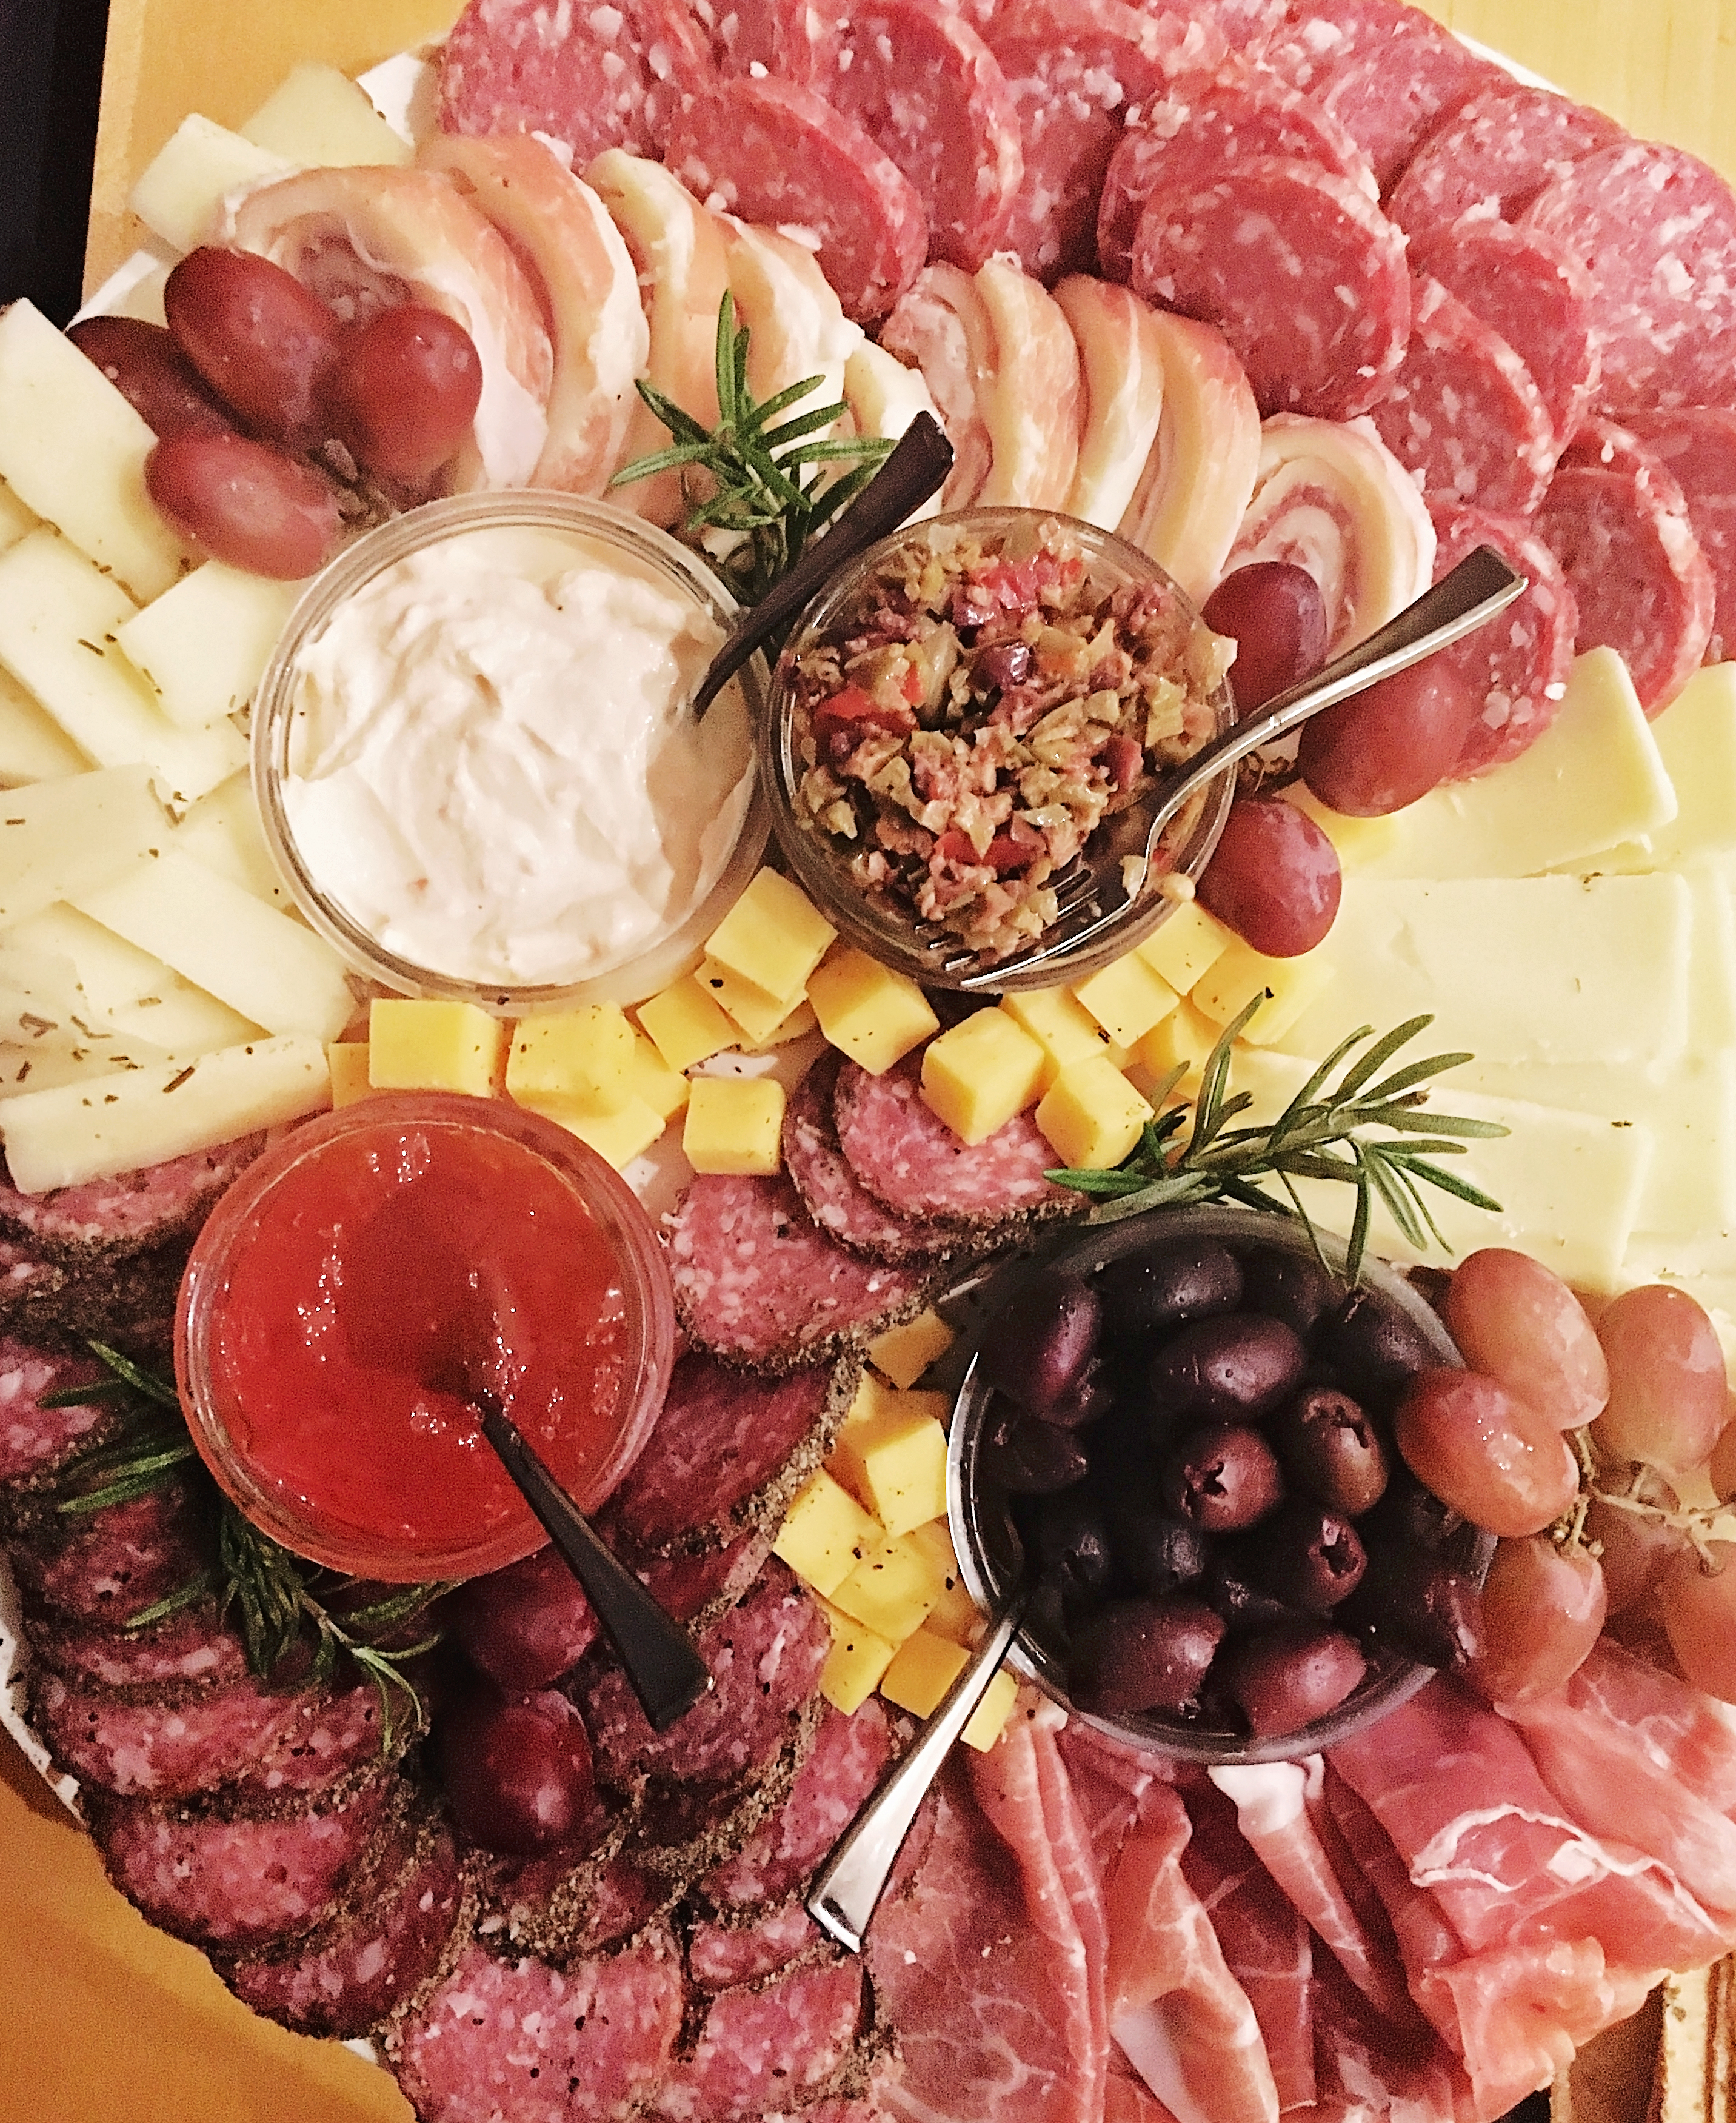
- – A beautiful charcuterie plate will WOW a crowed and keep everyone coming back for more. The above platter was created by the lovely Melissa of MelissaKaylene.com and it was a show stopper to say the least. Check out her tips on creating your own charcuterie platter.
Drink ideas:
- – Batch cocktails are where it is AT for the cocktail hour or dessert beverages. Myself and Ryan from Aria gin shared a few favorites: Gin Old Fashion, Gin Creamy Goodness, and a good ole fashion Gin and Tonic on tap from Aria Gin- Recipes here and I shared my Spiced Pear and Vodka Cocktail
- – Wine is a mainstay at our Thanksgiving table. Marlynn from Urban Bliss Life shared her Best Thanksgiving Wines . Check out my Thanksgiving pairing tips as well!
Main Meal:
- – Flip your turkey. You don’t want to let the turkey breast get dry!
- – MASH your potatoes with a potato masher so that there are still some yummy chunks in there.
- – DO NOT stuff your bird with your stuffing. Make the stuffing a delicious side. (This Sourdough Stuffing with Andouille from The Spicy Bee would fit nicely at your Thanksgiving table!)
Desserts:
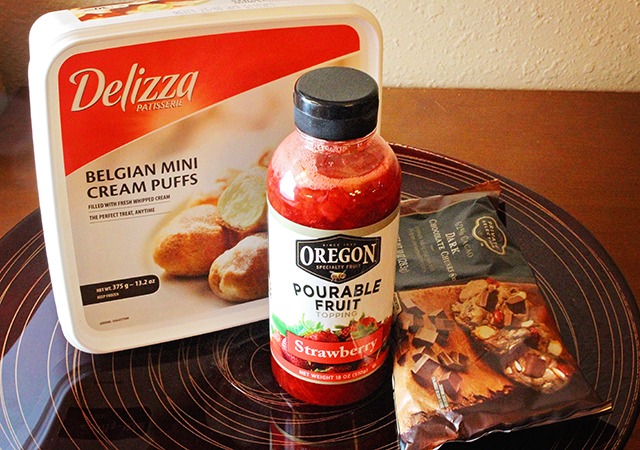
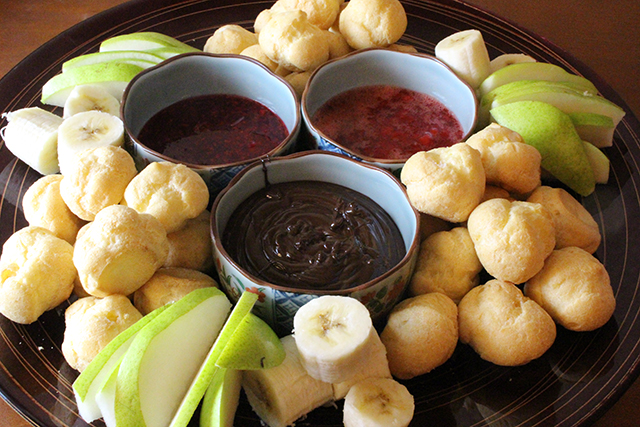
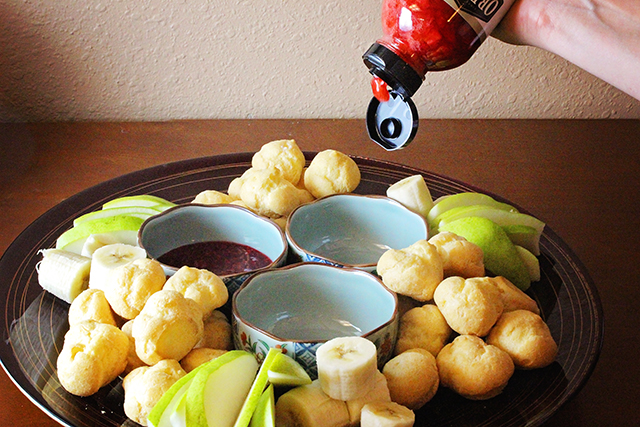
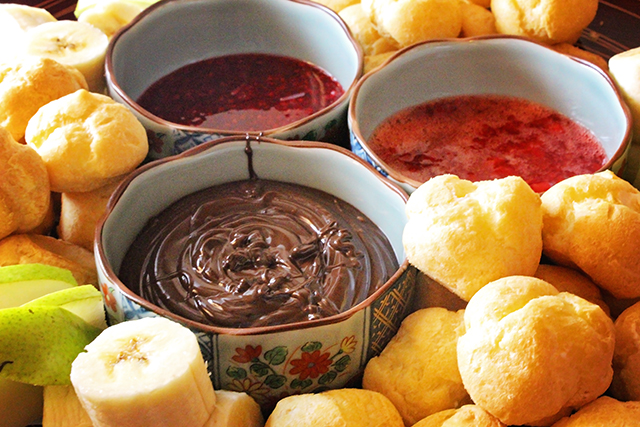
- – Keep it simple with a yummy holiday bark. It is easy to eat and isn’t too filling.
- – Go ahead and buy that store made pie crust to save time. It’ll be okay. (Though, if you really want to make your own here are my tips on making the perfect pie crust!)
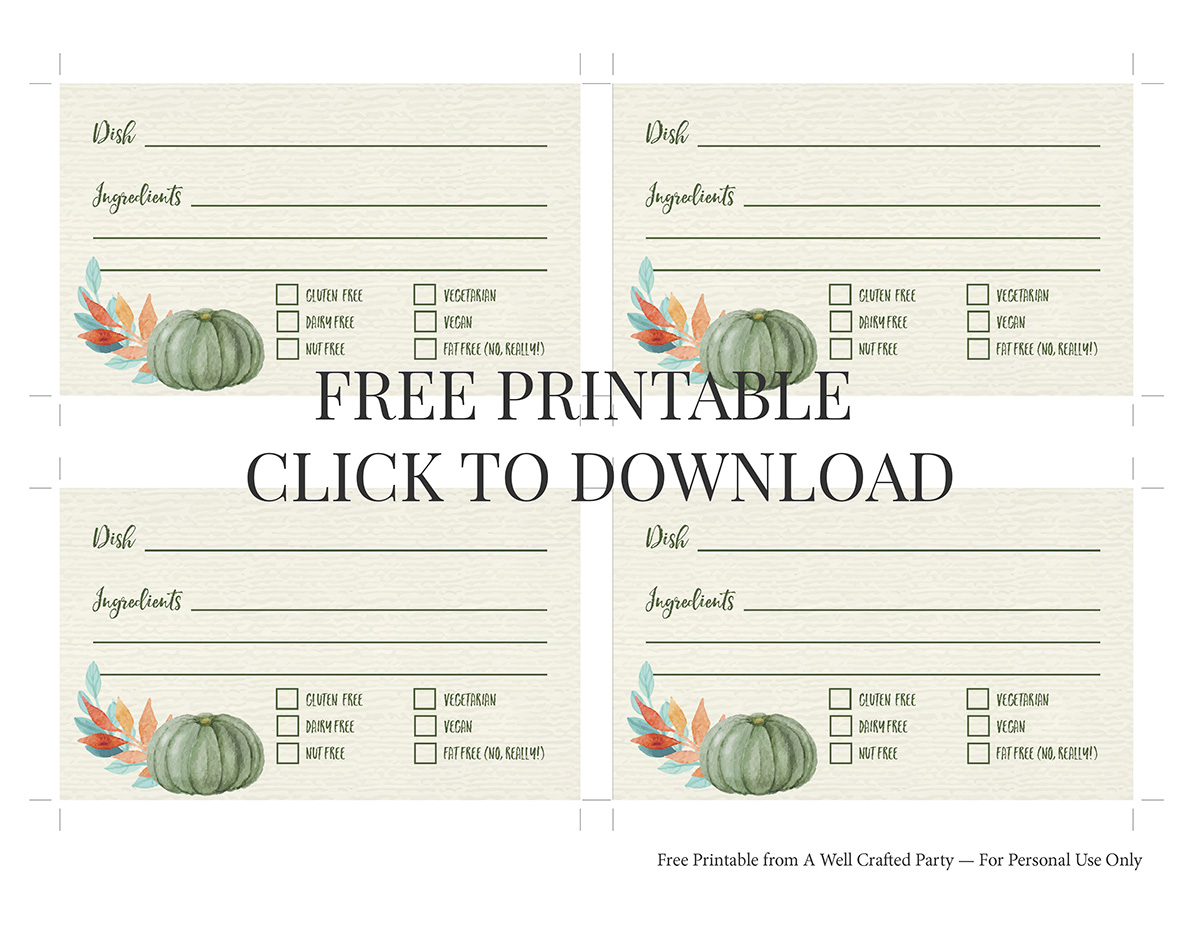
Free Printable Thanksgiving Potluck Cards
While I am a fan of all food, I am also a fan of hosting a dinner party where everyone can feel comfortable eating and enjoying themselves within their own dietary restrictions. In a potluck situation it can be difficult to know what is in each dish. I don’t know about you, but I do NOT want to pull out an epi pen during Thanksgiving! These free printable Thanksgiving Potluck cards are an easy way for guests to know exactly what they are eating without having to find out and question each person who brought in a dish. Simply had each person a card and pen when they arrive and ask that they label their wonderful contribution for the safety and enjoyment of all attendees!
Listen to the recording of The Simple Kitchen’s Ultimate Oregon Thanksgiving show for more tips on hosting Thanksgiving!
Have a happy, happy Thanksgiving!