Category

A Well Crafted Party

Category

I remember one Valentine’s Day when my husband took the time and effort to order flowers from a local flower shop and send them to my work. I felt incredibly special and the flowers were absolutely stunning. However, we were young and just starting out at the time, the $70 price tag made me a bit sick. While there is a time and place for amazing work by professional florists, if you are on a budget or need flowers for every day decor read on for easy tips on how to turn grocery store flowers into stunning, and affordable bouquets!

This blog post contains affiliate links. Affiliate links help this blog by providing a small portion of the purchase of items recommended to this blog at no additional cost to the purchaser. Thank you for supporting A Well Crafted Party’s conent! All affiliate links are marked with an asterisk (*).

When I’m looking for flowers for my arrangements I tend to look for a few different categories. And, because I’m a bit dramatic… the categories are as follows: The Stars, The Supporting Characters, and then the Extras or the Day-Players.

Grocery store flowers for DIY bouquets

The Stars: This will include 1 to 2 different types of flowers that are the focus of the bouquet. They are leading the cast of characters in this show and are beautiful to look at. Often you’ll see flowers like roses, peonies, and irises be the stars.

The Supporting Characters: These will include 2 to 3 different types of flowers that are also beautiful and interesting, but not as BIG or exciting as the stars. Roses can fit here too if you have other more interesting flowers standing in as the stars.

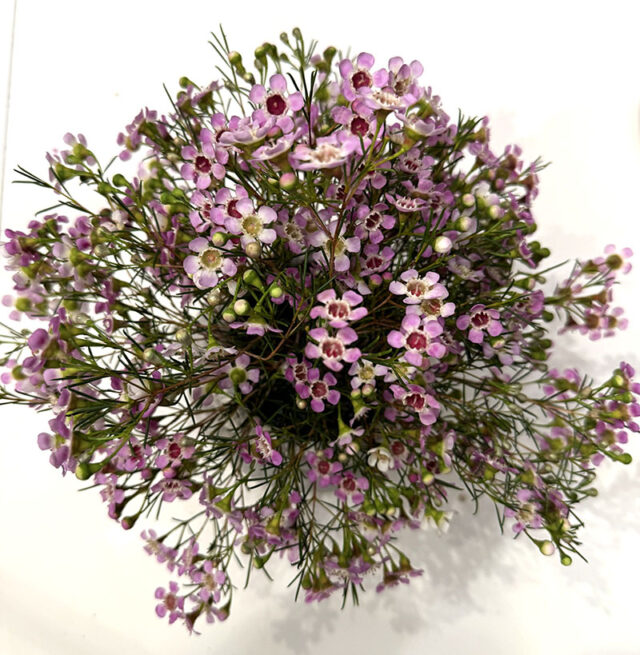
The Extras/Day Players: These are your filler pieces. You can use 1 to 3 different kinds usually and make a beautiful bouquet. Generally this is your area for greenery or flowers that are more of a filler like baby’s breath or hydrangeas.

Pictured: Floral Design Kit with Wire, Floral Tape, and More*, Flower Prep Kit with Thorn and Leaf Strippers and more*, my favorite pruning shears*

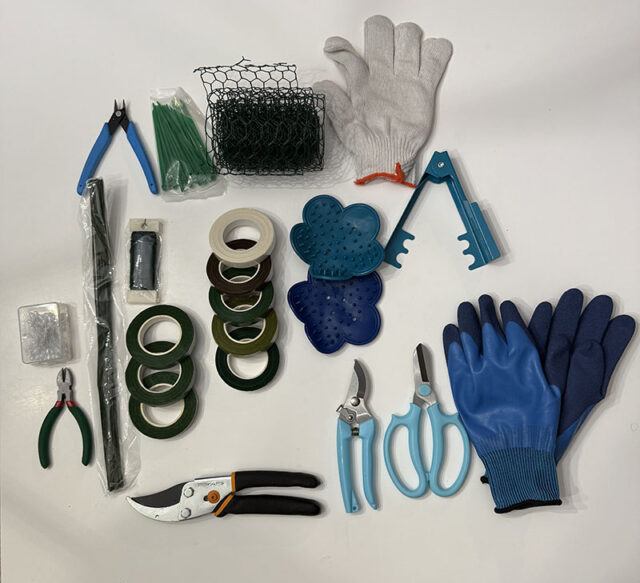
Start with proper flower prep: Remove leaves, clip the end at an angle, and get the stems in water as soon as you get home from the store if at all possible. This will allow your blooms to really pull in water and look their best.

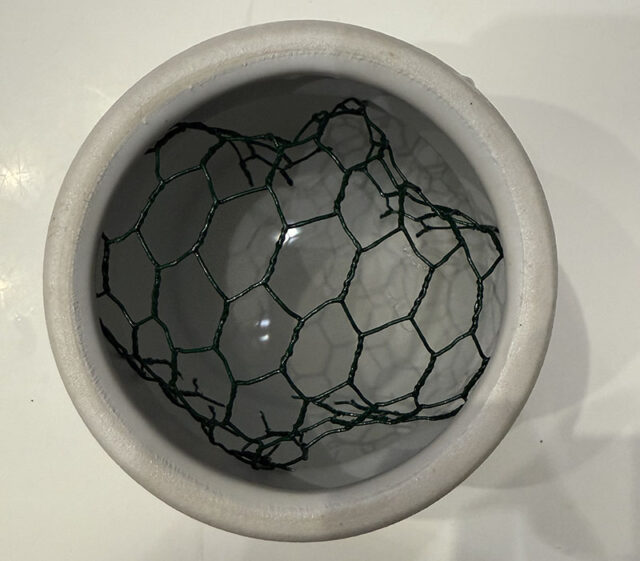
Ceramic Vase with Chicken Wire: I like using ceramic vases* when doing more elaborate designs because I can hide my inner workings a bit. If you want to have a lot of structure I suggest using floral chicken wire* wrapped into the vessel so you can place stems where you’d like them. I also love fun vases such as a head shaped vase* or small bud vases* to create smaller but interesting bouquets.

Clear Vase with Scotch Tape Grid: If you are using a clear vessel you can use scotch tape to create a grid on the top of the vase. It isn’t the most sturdy solution, but it helps!

Water: Pour in fresh water for your vessels (as in not the water it has been sitting in). I typically use the pack of flower food that comes with the grocery store flowers per directions in my water. I feel like it does help with the overall time my flowers do well. However, the best tip is to clean your water and pour fresh water every couple of days to really extend the freshness of the bouquet.

Now that you have your vessel and flowers prepped, it is time to have fun and build your bouquet. Now, you’ll get different schools of thought on the method of building, but I’ll share what works well for me. As with most things, there are many ways to get to your goal!

First, plan to clip your flowers to the size you need as you go. I use a pair of floral shears*, but a good pair of kitchen shears work fine as long as your stems aren’t too reedy or thick. As a general rule of thumb your flowers can be about as tall above the vase as the vase is tall. You can cut to different sizes to create shapes or highlight certain blooms more.

  1. Extras go first! Fill the base with a good layer of the filler flowers and greenery.
  2. Supporting characters go next. I like to work with these in odd numbers. If I want 3-5 of my stars then I’ll do 5 to 7 of my supporting character flowers.
  3. FInally, add in your stars! Give them the spotlight. I like adding them last as I am able to utilize the rest of the stems to help give my stars the structure they need to stand out.

Be careful to not overfill your vase with the extras and supporting cast. You can always go back and add more if needed, just get in enough to build structure and let you get your stars in the exact place they need to be.

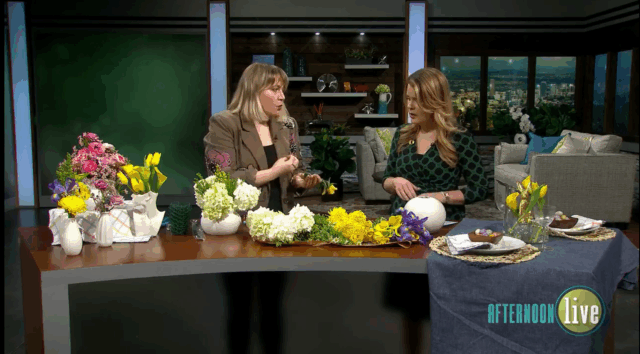
It was a blast sharing my DIY floral tips with Hannah at KATU’s Afternoon Live. It was a speed marathon floral building session, but in the end, we ended up with some beautiful home-bouquets!

Do you have any tips or tricks that I might be missing here? Share in the comments!

Every year around St. Patrick’s Day a box of Lucky Charms falls into my shopping cart. It is a funny thing, most of the year it is granola or healthy fiber filled cereals playing the role of breakfast champion in my house, but not as March approaches! While I am sure there is a leprechaun hanging out at the local grocery store, my decision to take my love of Lucky Charms and combine it with another childhood favorite… an ice cream shake! But, of course, let’s be adult about this, and add some booze for a Boozy Lucky Charm Cereal Shake!

Note: I say the above fully tongue in cheek. The most adult thing to do is to know when and when not to drink alcohol and be safe about imbibing. This drink is absolutely delightful without the alcohol. It is not a low-calorie or low-sugar drink however. It should be an occasional treat!

This St. Patrick’s Day Boozy Shake only has a few ingredients but does take a little time to really get it right. The time is to create the “Cereal Milk” ingredient. It is literally the BEST part of cereal as a child… the flavor of the milk after you’ve eaten all the cereal and you’re drinking it up out of the bowl! And, it is an easy step. Simply add the cereal to milk and let it sit in the fridge for a minimum of 30 minutes and up to 4 hours. Strain for use in your shake.

Boozy Lucky Charm Cereal Milkshake

Jenni
A St. Patrick's Day cocktail ripe with nostalgia!
Servings 1 serving

Ingredients
  

  • 2 cups vanilla ice cream (approximately 4 scoops)
  • 3/4 cup Cereal Milk (Milk that has been soaked in Lucky Charm cereal for a minimum of 30 minutes and strained.)
  • 1 oz whipped cream vodka you can substitute marshmallow vodka or vanilla vodka
  • whipped cream
  • dehydrated marshmallows Lucky Charm Marshmallows

Instructions
 

  • Blend Ice cream, cereal milk, and vodka until smooth
  • Pour mixture into glass and top with whipped cream and marshmallows

Valentine’s Day can be celebrated with your family, friends, or…of course, your significant other! I shared some tablescape tips, quick custom table setting craft, and Black Forest Cocktail recipe on KATU’s Afternoon Live recently. Watch below to see some of my tips in action!

It was a pleasure getting to visit the studio at KATU’s Afternoon Live again! This time I shared some tips for a Valentine’s Day dinner party that will delight!

This blog post contains affiliate links, which are marked with an asterisk (*). When you make a purchase through these links, I may earn a small commission at no extra cost to you. These commissions help support my blog and allow me to continue providing valuable content and resources. Thank you for your support!

Valentine's Day Tablescape with layered prints of black and white dots, black and white stripes, and checkers.
  1. Layer on the patterns, but keep it to the same color palette. I’m a maximalist who loves clean modern lines. So, when I want a delightful tablescape I think about layering on patterns in my linens and paper goods. However, if the patterns are mixing a bunch of different colors as well as shapes, it tends to not look intentional and can cause a chaotic feeling rather than one of interest.
images of supplies used for a valentine's day tablescape including striped table runners, checkered table runners, crystal candy dish, white ceramic bust flower vase, and floral napkins.

I chose prints of black and white (dots, lines, checkers) and then I did add in one printed paper good that had a black and white color scheme along with the red and pink I had as my pops of solid colors. It worked because the print was used very sparingly, went with the rest of the colors, and was a larger print rather than small and busy. Below are resources to recreate the look!

  1. Add in a handmade element to make it more personalized or interesting. I find that small handmade elements can add a bit of whimsy and surprise, especially when layered into the design. Wouldn’t it be fun for you to sit down to a table filled with beautiful things and see your name peeking out from a placemat or notice a piece of quirky art in the midst of perfection? I purchased white fabric placemats* and black fabric markers* and went to town creating XOXO placemats and ones that said “Love You!”.
  2. Set out dessert and the first course or appetizers before the party starts so you’re not in the kitchen the whole party! I utilized the dessert as part of the tablescape because Valentine’s Day and decadent desserts just go together. I also placed a caprese salad in heart shaped bowls on the plates so that the first course was ready to go.
  1. Serve a signature drink! I really love a signature cocktail at a party. It decreases the amount of bar items you have to prepare, allows you to drive your concept through to the food and drinks, and still provides for guests! For Valentine’s Day I’d go with a great chocolate martini! I served a black forest cocktail for this particular party theme.

Would you like to go to a dinner party like this? I know I would! I love the pops of color contrasted with the black and white graphic elements. But, moreso, I think it would be fun to celebrate with people I love in such a pretty setting!

A Well Crafted Party
Privacy Overview

This website uses cookies so that we can provide you with the best user experience possible. Cookie information is stored in your browser and performs functions such as recognizing you when you return to our website and helping our team to understand which sections of the website you find most interesting and useful.

You can adjust all of your cookie settings by navigating the tabs on the left-hand side.

View our entire privacy policy.