Category

Halloween

Category

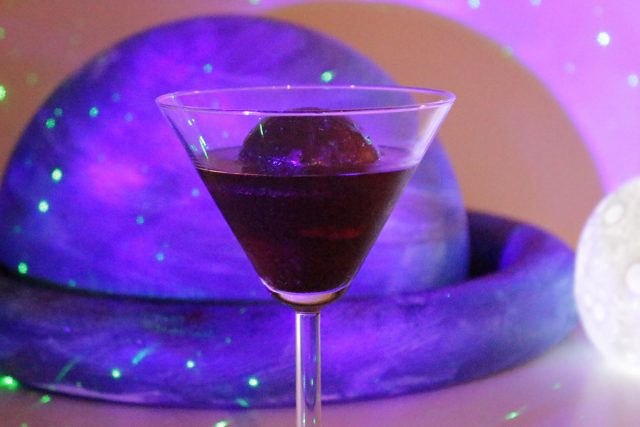
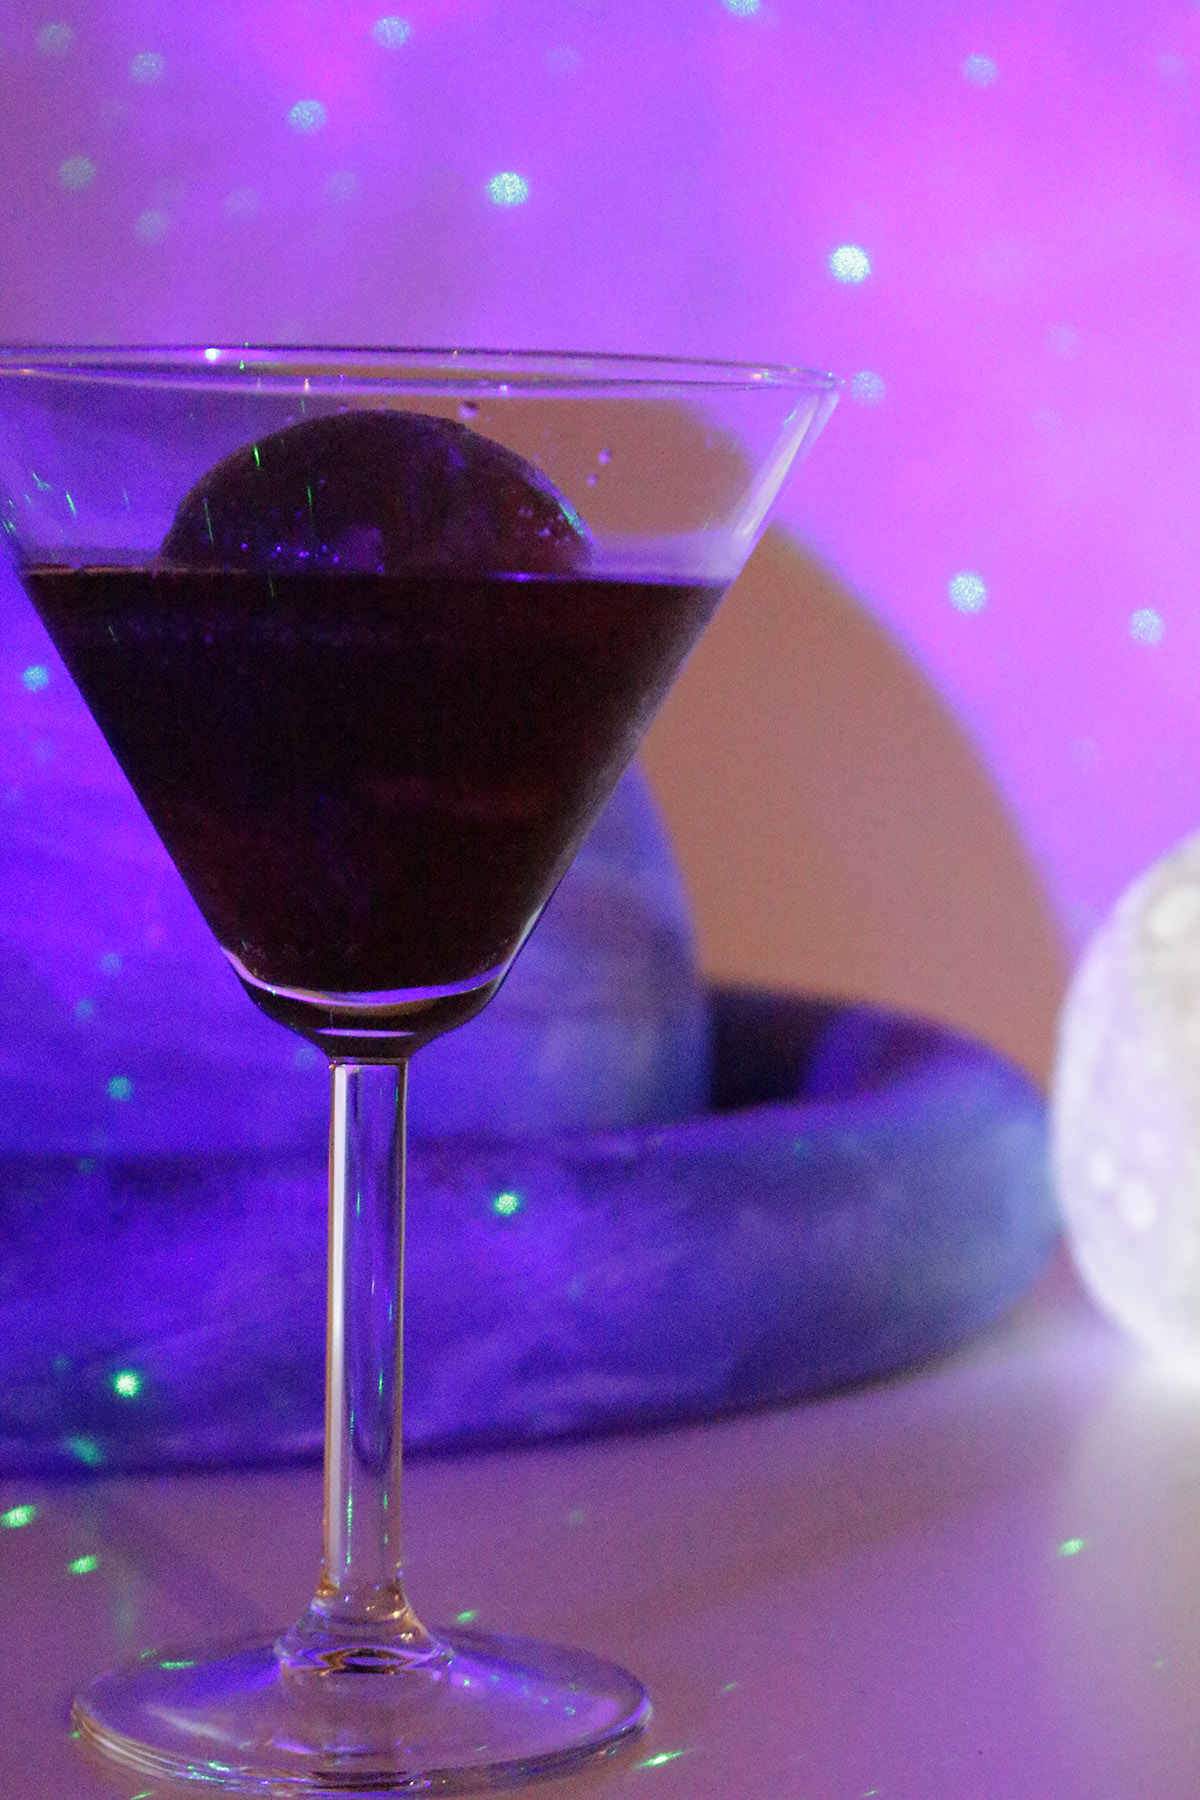
Whether you just want a tasty mysteriously dark cocktail to impress your guests at a Halloween party or something fun to spice up a space themed party, this cocktail packs a punch. Dubbed the ‘Dark Side of the Moontini’ this drink utilizes a ice ball created out of a triple-berry syrup that then melts into a mixture of bourbon and splash of berry soda water.

This post is in partnership with Oregon Berries. All opinions are my own. See my other collaborations with Oregon Berries: Triple Berry Smoothie with Miso & Marionberry Champagne Cocktail

Triple Berry Syrup made into a cocktail ice ball | A Well Crafted Party

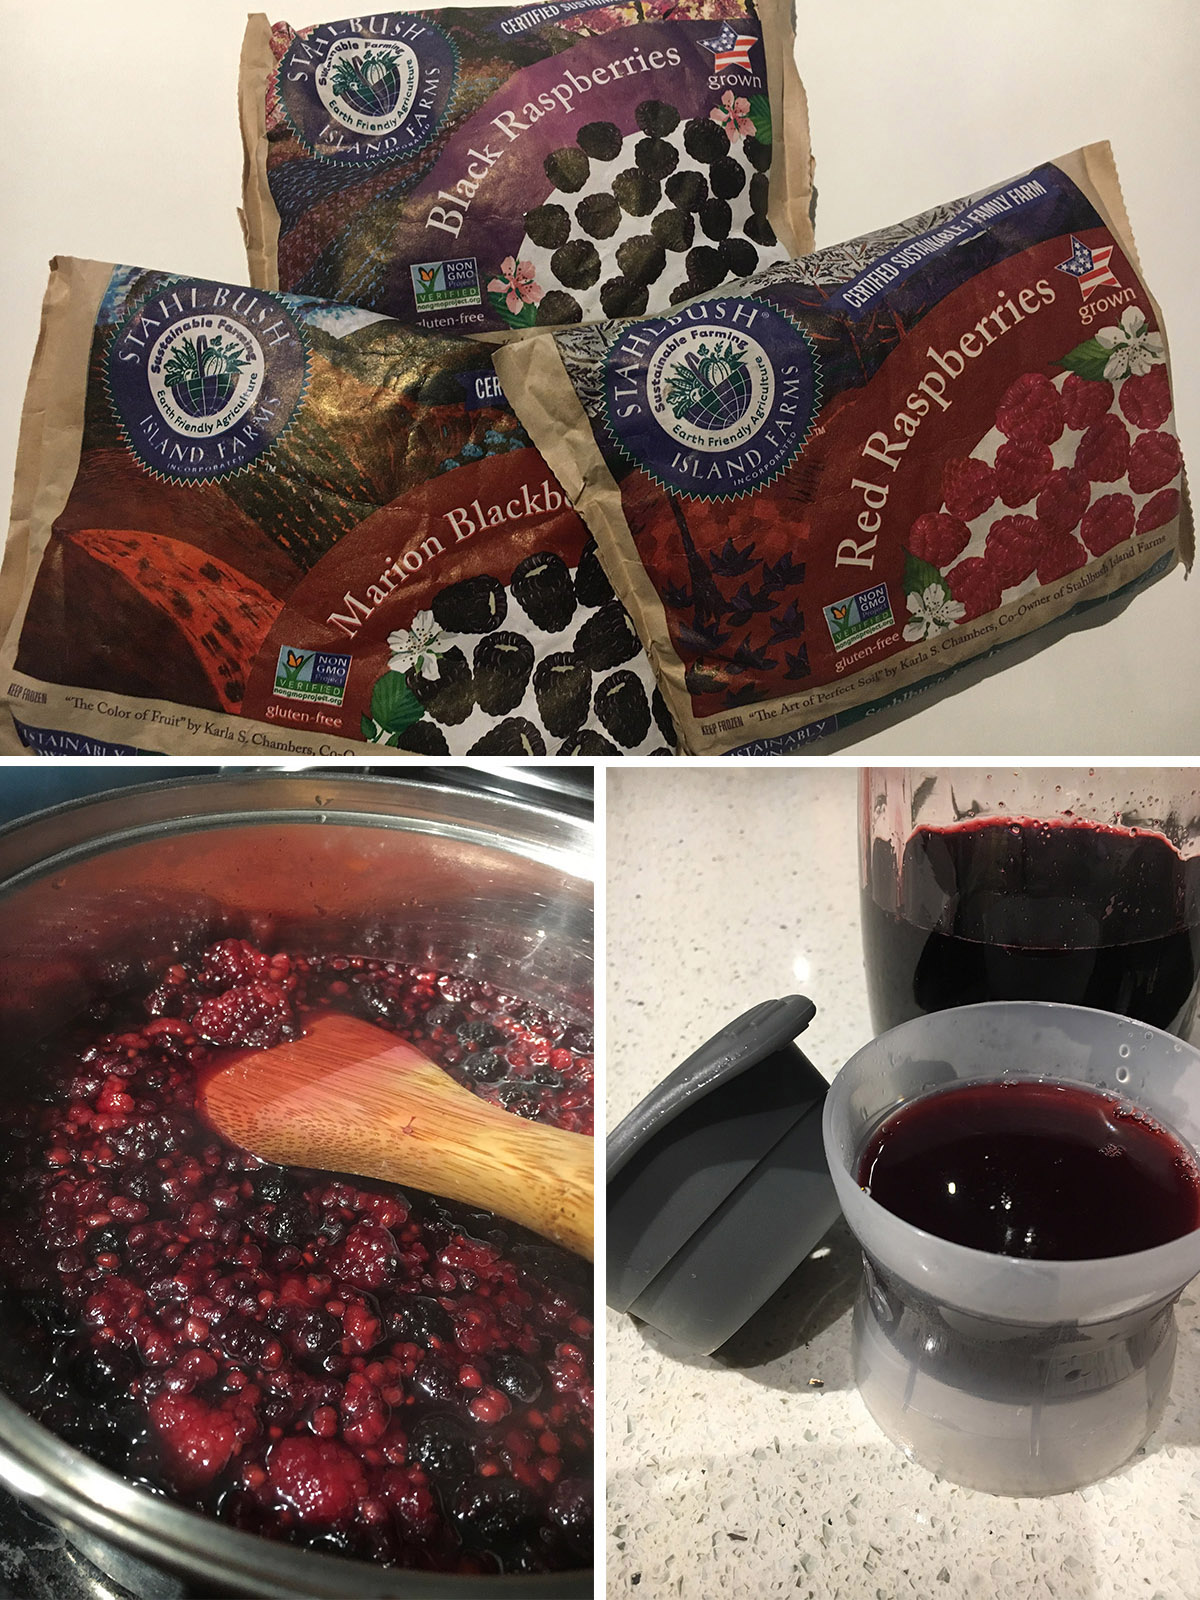
The star of this cocktail is the slowly melting ice ball created with a triple-berry syrup. The syrup is SO easy to create. I used Stahlbush Island Farms frozen black raspberries, raspberries, and Marion blackberries. I kept to the darker berries for a rich flavor that would pair well with the bourbon, but also to make sure my drink had a very dark color to it (naturally).

Triple Berry Simple Syrup

This triple berry simple syrup can be made to mix with cocktails or non-alcoholic drinks. I love this syrup in Italian Creme Sodas or mixed with lemonade. YUM.

Use the below portions to create a batch of syrup in any amount that you need:

  • 1 part each type of berry
  • 2 part water
  • 2  part granulated sugar

Or, to make approximately 2.5 cups of syrup:

  • 1 cup black raspberries
  • 1 cup raspberries
  • 1 cup Marion blackberries
  • 2 cups water
  • 2 cups sugar

Directions:

  1. Put the frozen berries and water in a saucepan and cook over medium heat (stirring occasionally so it doesn’t stick) until the berries soften. Approximately 5 minutes.
  2. Add the sugar. Stir until the sugar is dissolved. Approximately 5 minutes.
  3. Strain the liquid from the berries. Squish the berries as you go to get all the lovely juices.
  4. Refrigerate the berry syrup for up to two weeks
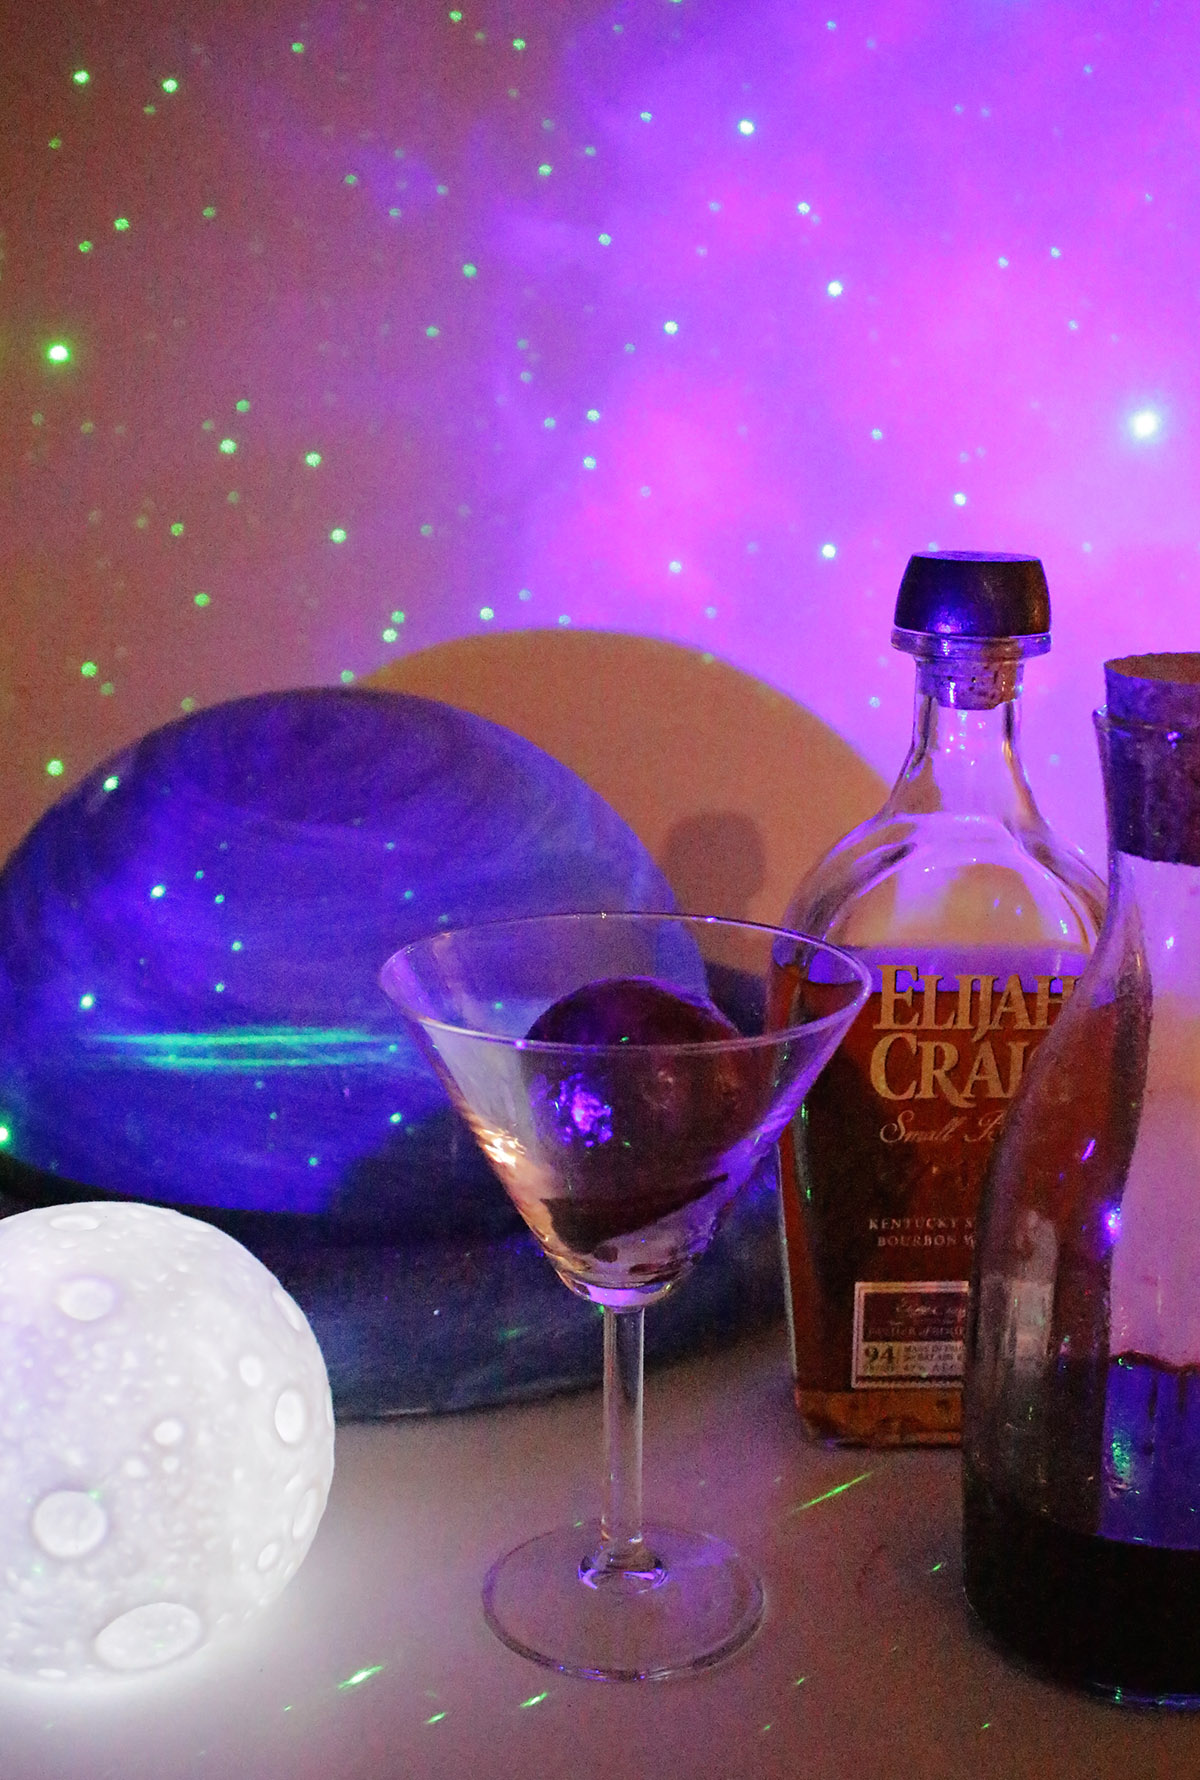
Bourbon and Berry Martini for a Space Themed Party | A Well Crafted Party

Create the Berry Ice Ball:

I use the individual ice spheres (affiliate link) to create my ice balls. I literally have these in my freezer at all times with at least two ice balls ready to go for when I want a bourbon on ice. I love the way they look, but even more, I love the way that they melt. To create the berry ice ball I didn’t want it to be TOO sweet, so I first filled the ice sphere mold a third of the way with water. I then complete the sphere with my berry syrup. I do freeze my ice balls overnight so that they are pretty hard. To release from the mold I put under running water for about 30 seconds.
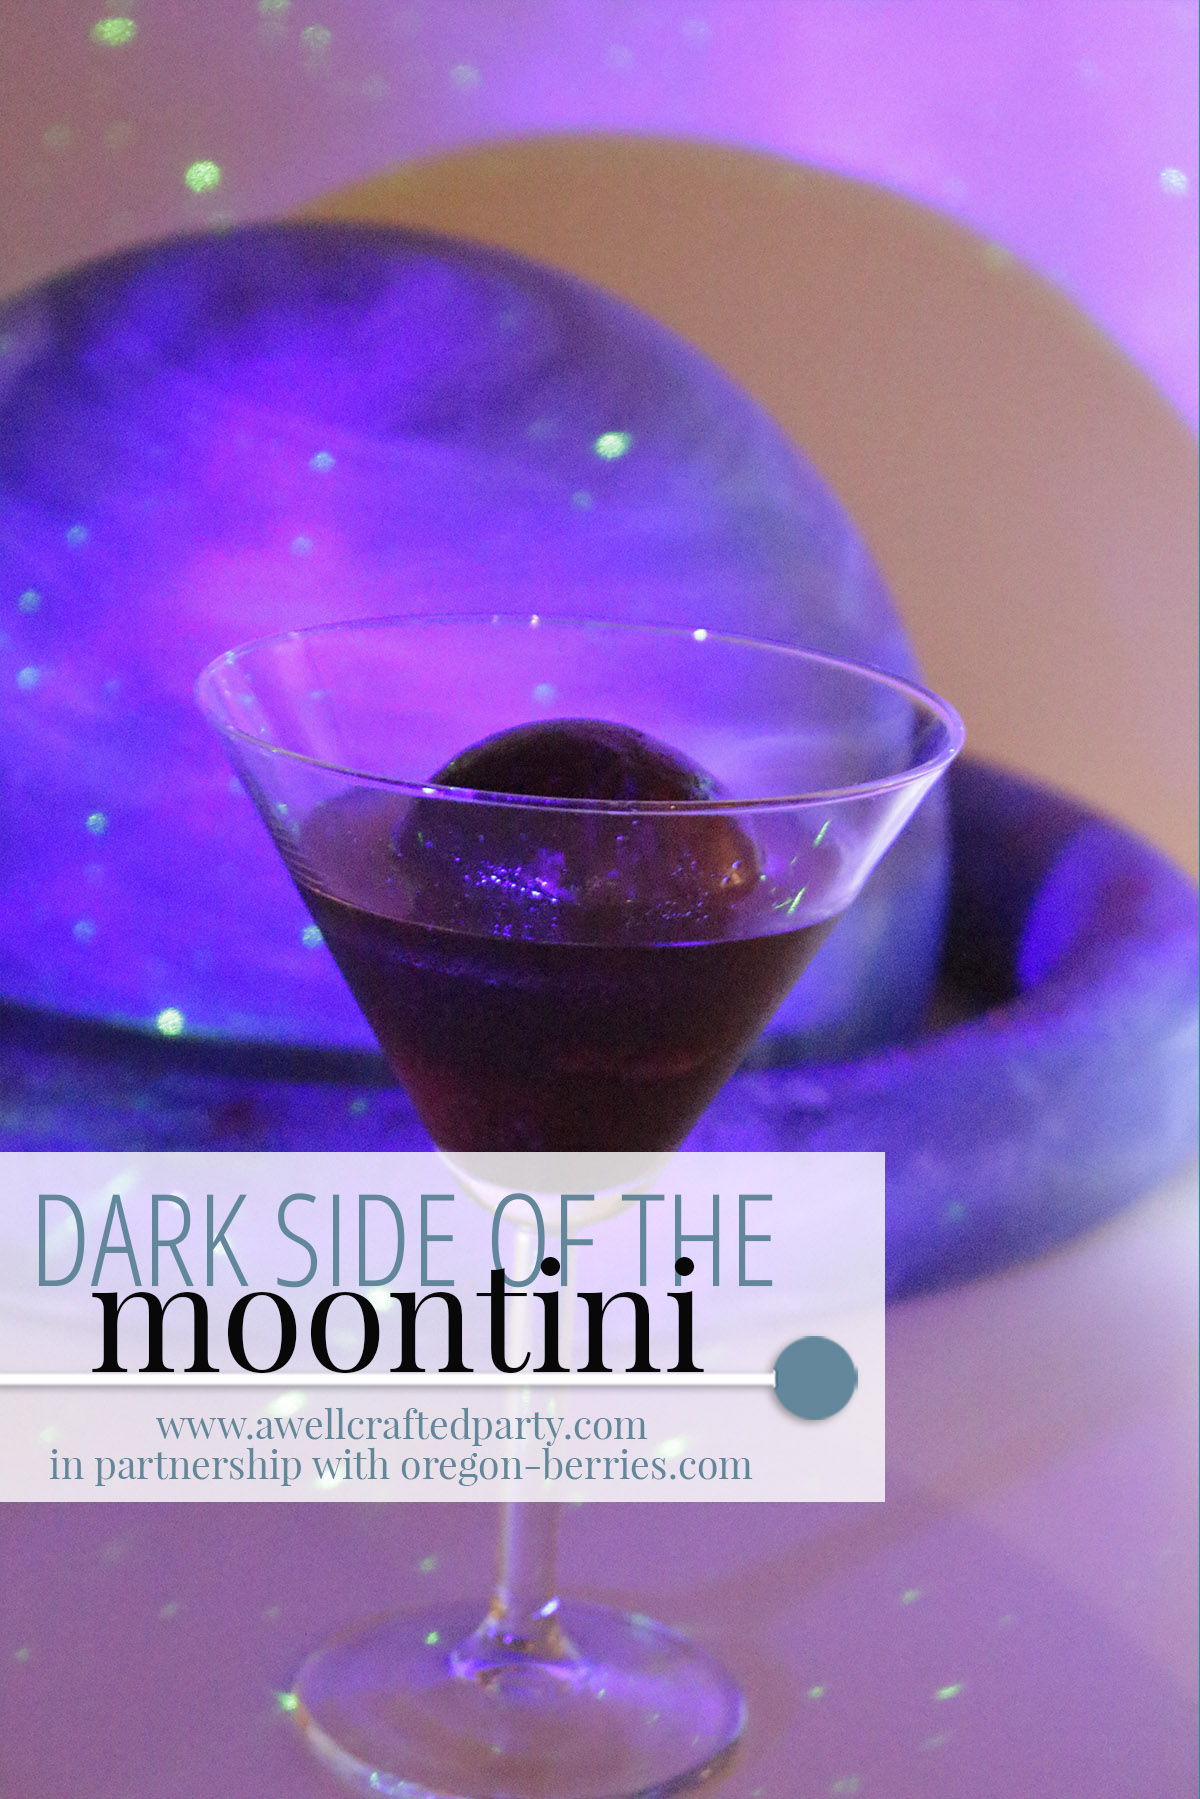

Bourbon and Berry Martini for a Space Themed Party | A Well Crafted Party

The berry ice ball would be great with a delicious lemonade or even a plopped into a lemon drop cocktail.  However, I wanted the cocktail to be both dark in color and in flavor. I wanted something complex. So, bourbon was my go to liquor.

Dark Side of the Moontini

(A Bourbon and Berry Cocktail)

Ingredients:

  • 1 Berry Ice Ball
  • 2 oz of your favorite bourbon
  • 1 oz of berry flavored soda water

Directions:

  1. Put berry ice ball in a martini glass
  2. Add 2 ounces of your favorite bourbon
  3. Top with 1 ounce (or to taste) of your favorite berry flavored soda water

This drink starts of strong and as the ice melts gets sweeter. It is a sipper for sure!

Bourbon and Berry Martini for a Space Themed Party | A Well Crafted Party

Halloween weekend was wonderful and then it was topped off by a really fun Halloween Day. Below are a few snapshots from the weekend…

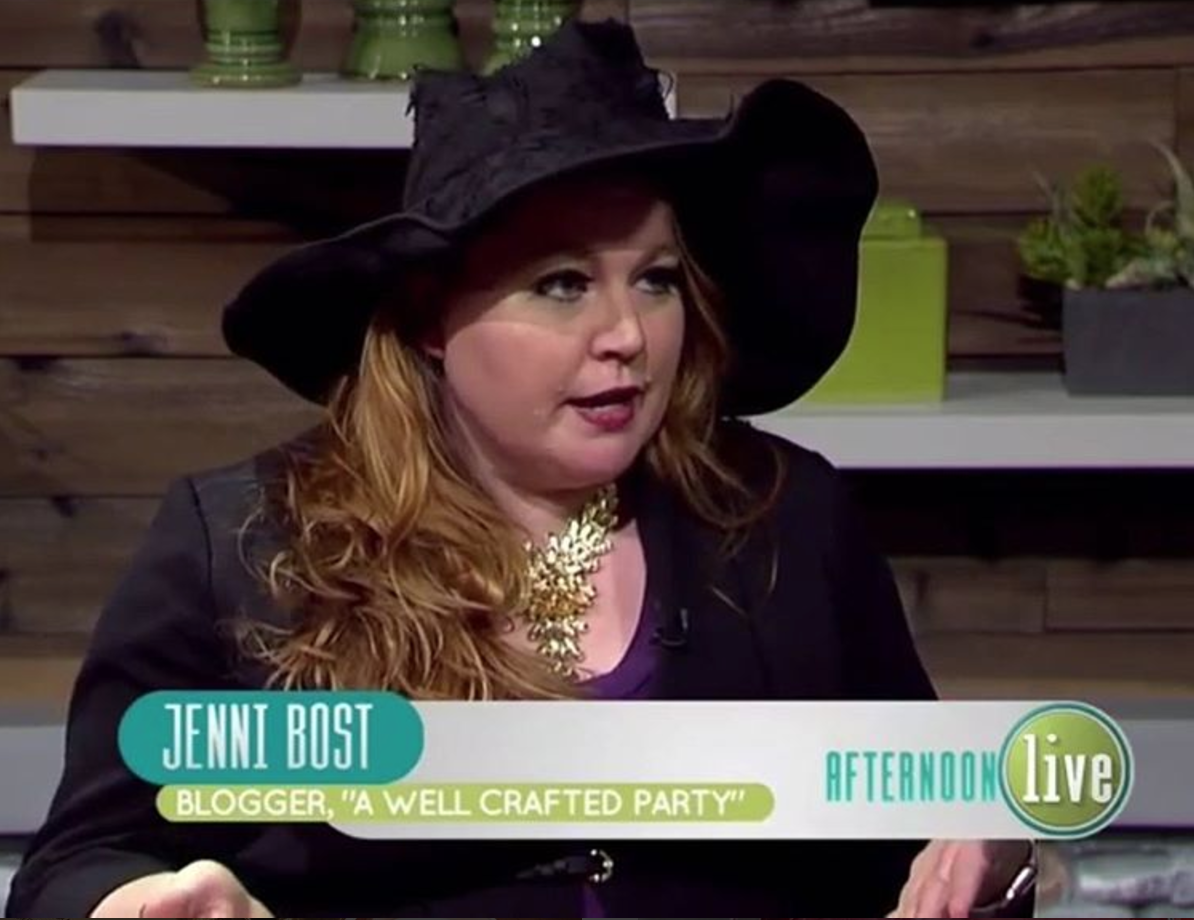
I guess it started off last Thursday when I did a Halloween spot for KATU’s Afternoon Live:

KATU Afternoon Live Halloween Ideas


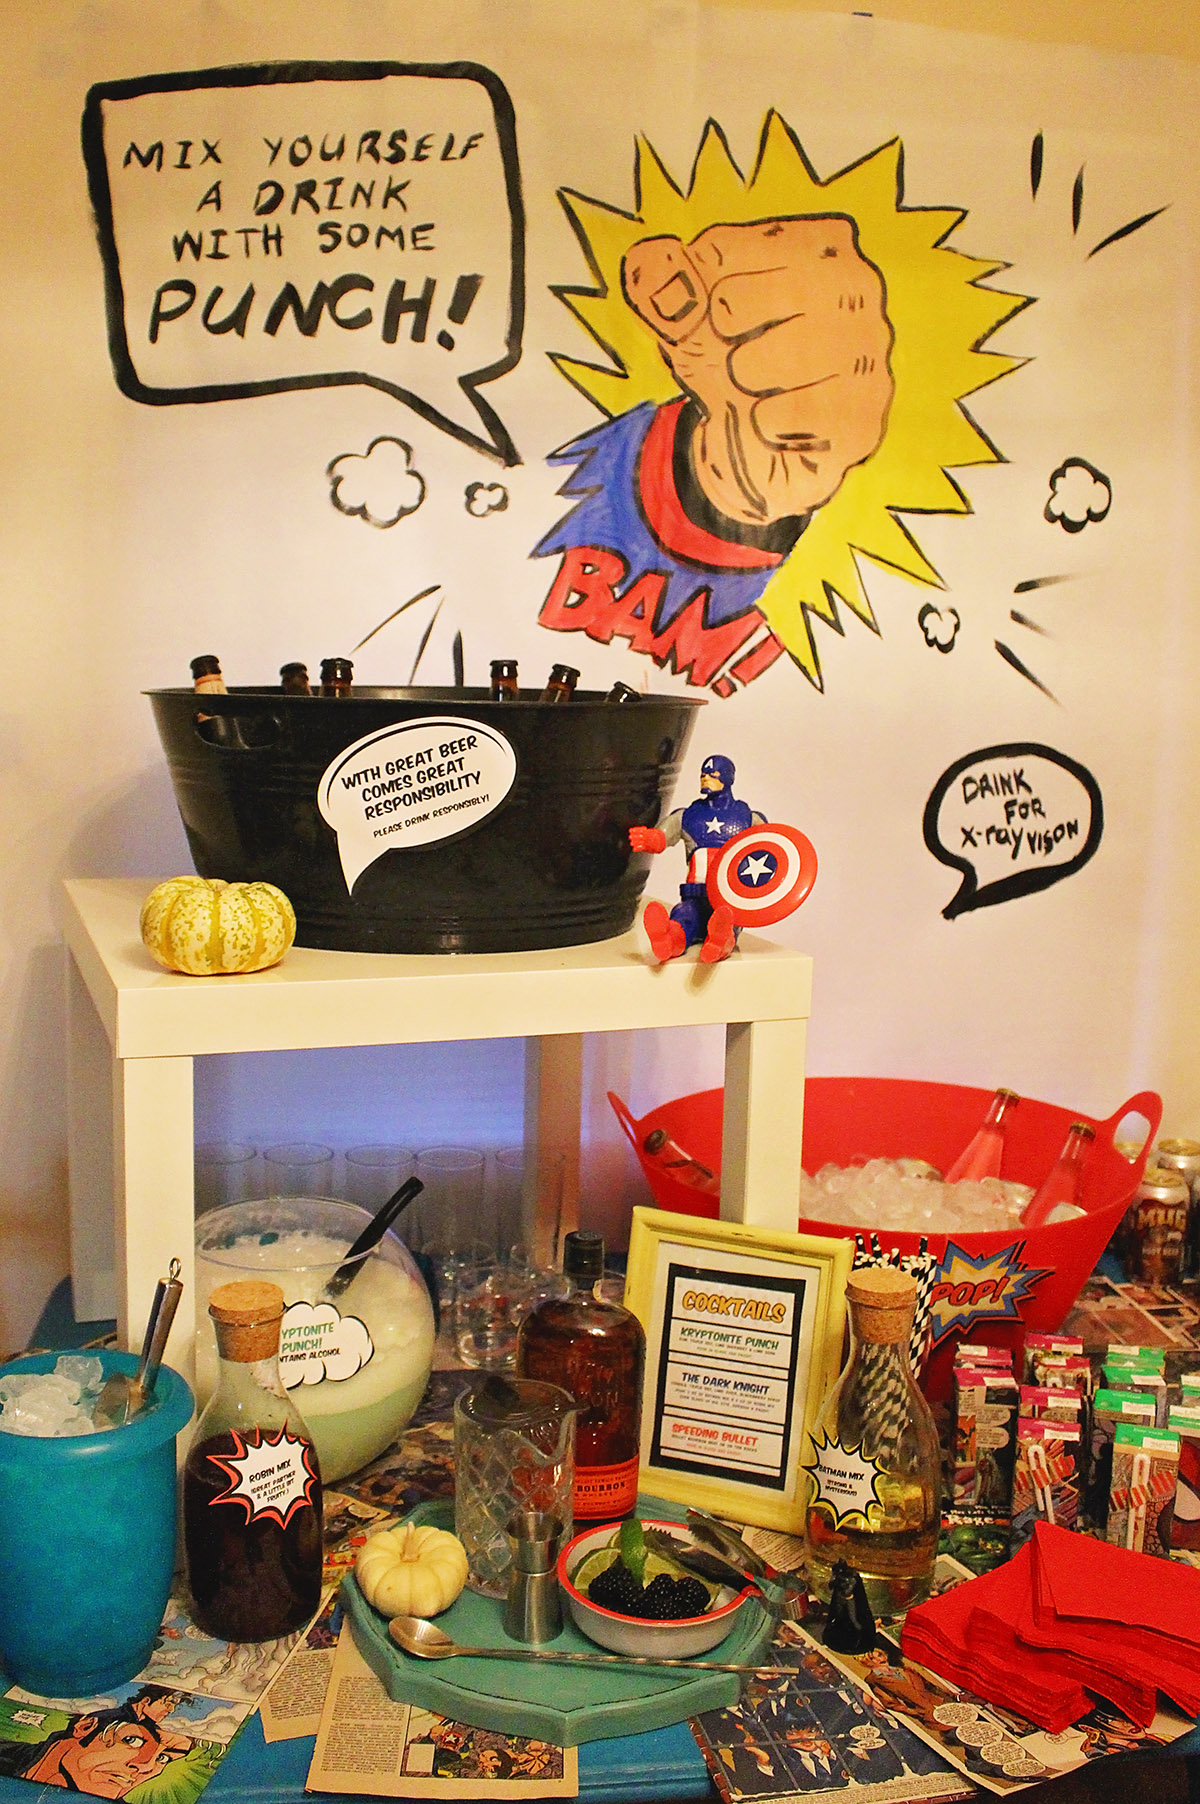
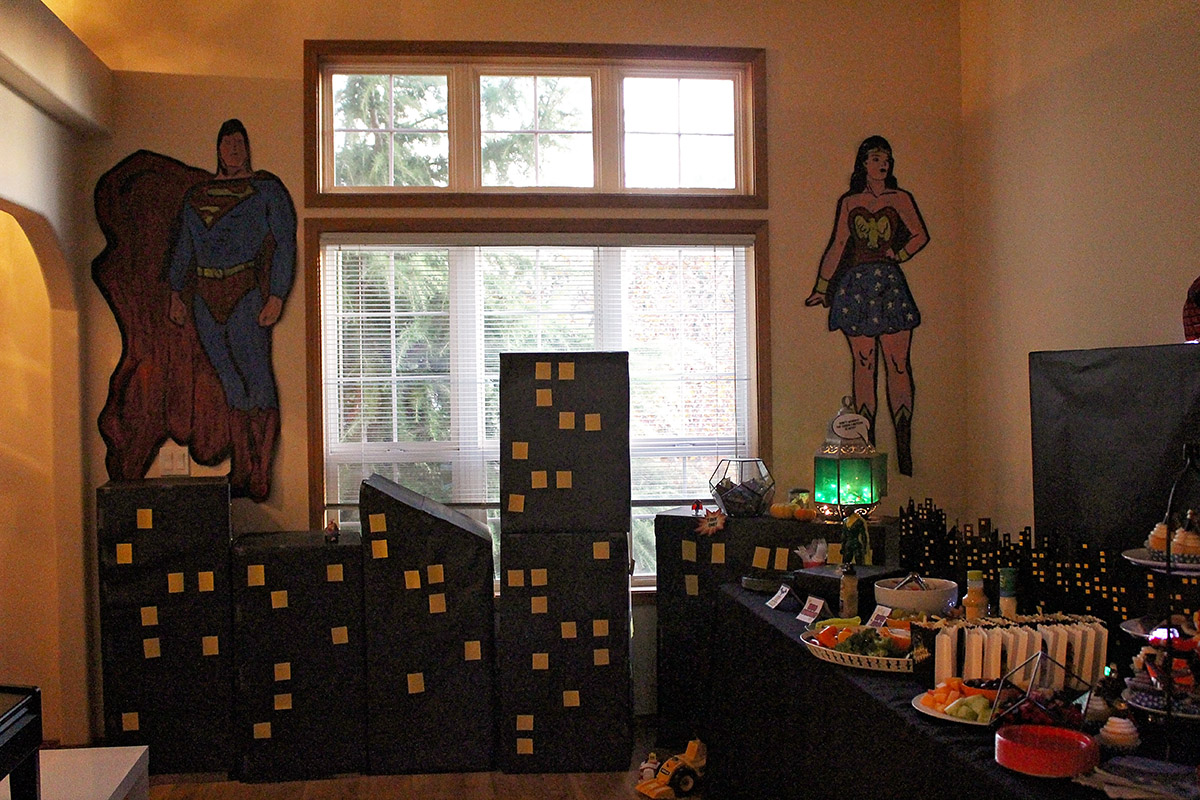
Then there was the weekend Halloween Party:


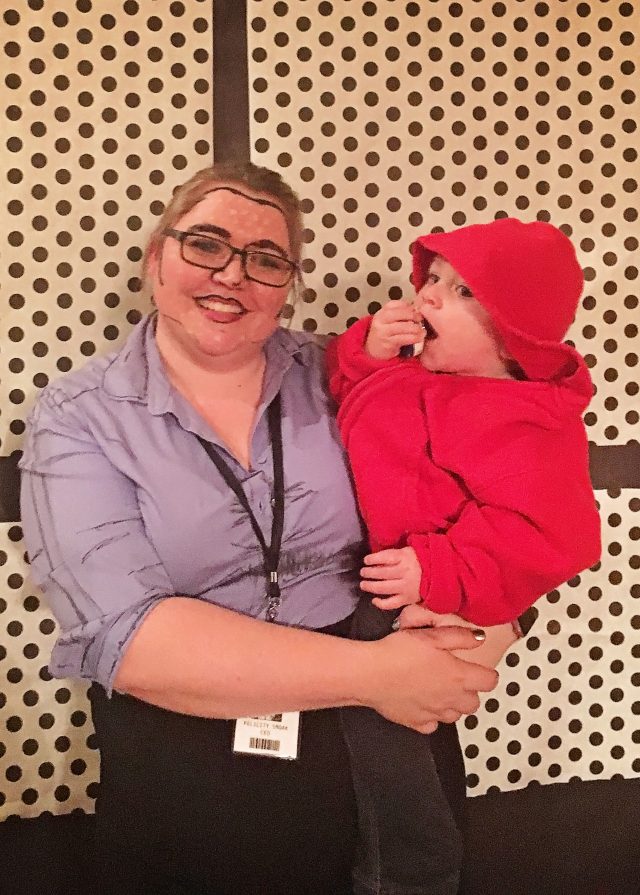
Comic Book Halloween Party


Comic Book Halloween Party


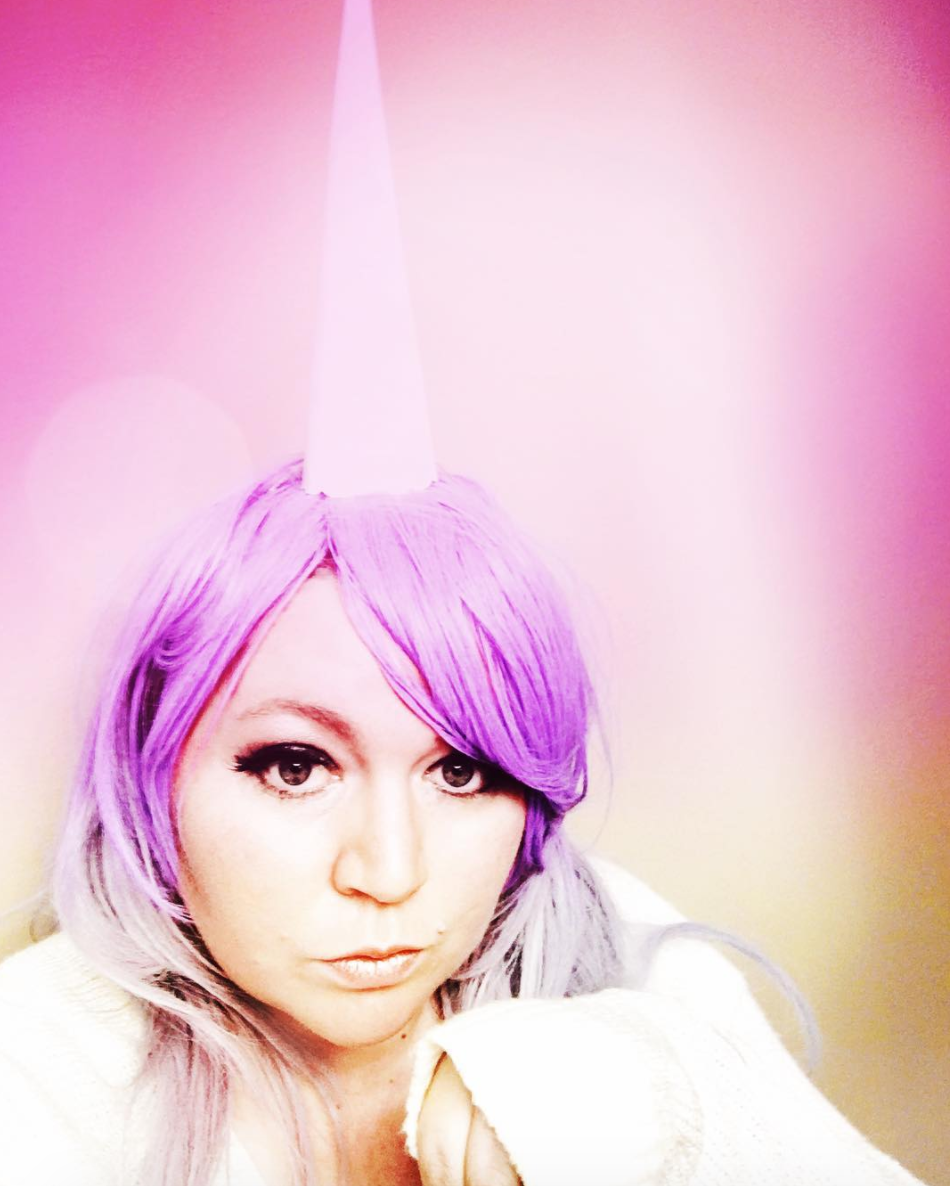
Today I dressed as a unicorn:


Unicorn Costume


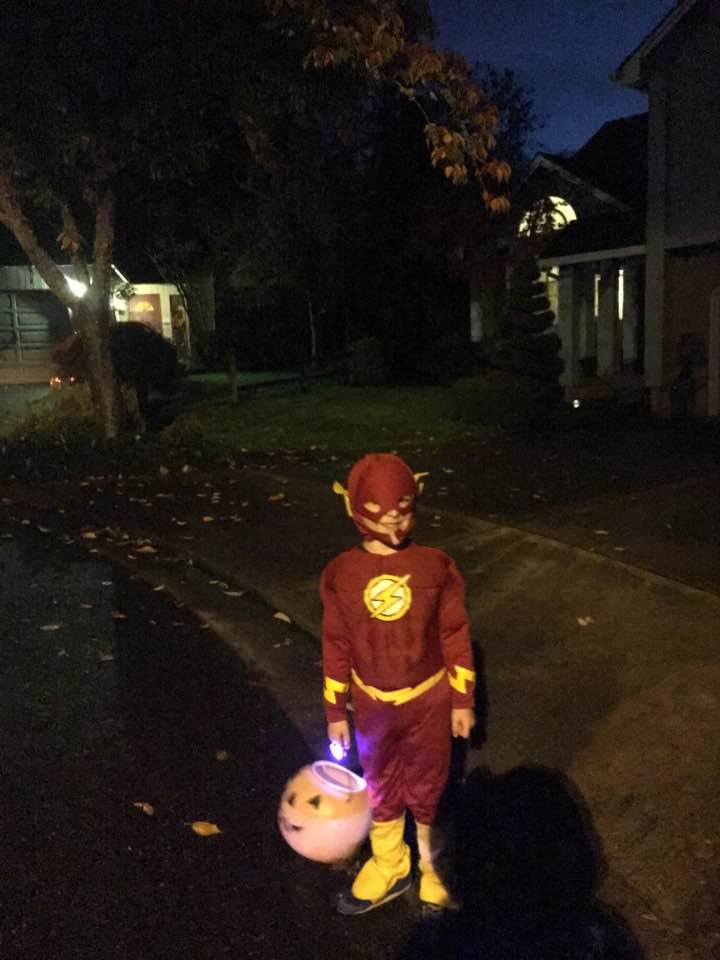
This evening was all about trick or treating with the boys.


Trick or Treating with Kiddos


I hope you all had a very happy Halloween!

Halloween this year falls on a Monday. I don’t know about you, but I don’t have time on a Monday to do an elaborate meal and then go trick-or-treating. I love the idea of trick-or-treating with a group of friends (safety in numbers and more fun) but couldn’t pull off my normal Halloween shindig and work all day. It got me thinking that I needed some cute, fun, and EASY solutions for making Halloween special and still provide some real food to my kiddos before the candy hunt begins.

These printables make for a fun store-bought (or homemade) party or for a really cool Halloween Day lunch!

Check out the printable’s TV Debut!

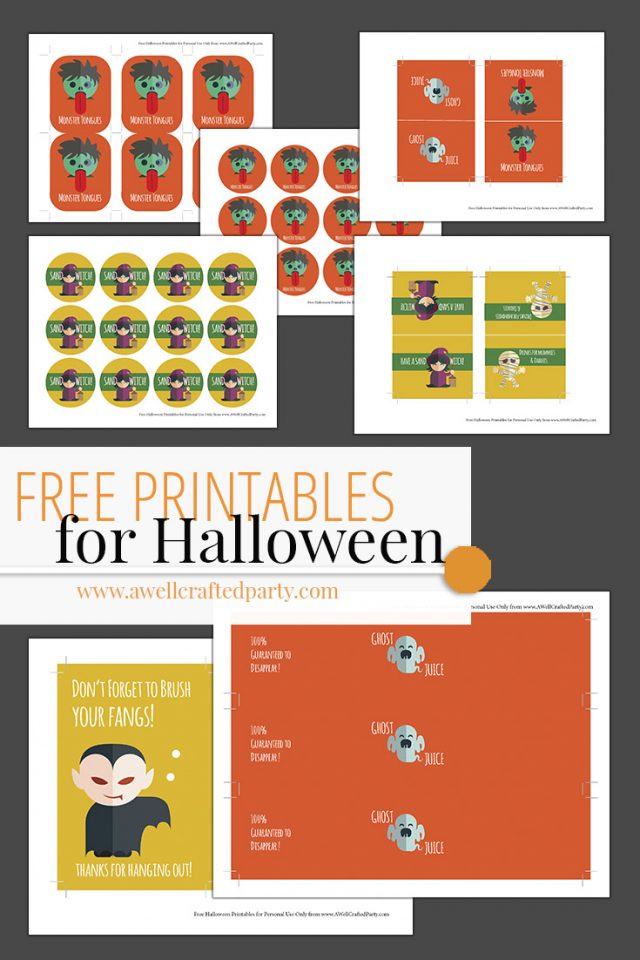
Free Halloween Printables from A Well Crafted Party


Included in the Free Halloween Printables Package:

This post contains affiliate links marked with *.

  • Monster Tongue Printables—Designed to be cut and taped onto the top of individual snack-sized Pringles* (I got mine at Target)
  • Monster Tongue Party Circles— Designed to be cut and used as a label for a can of Pringles or label a chip bowl.
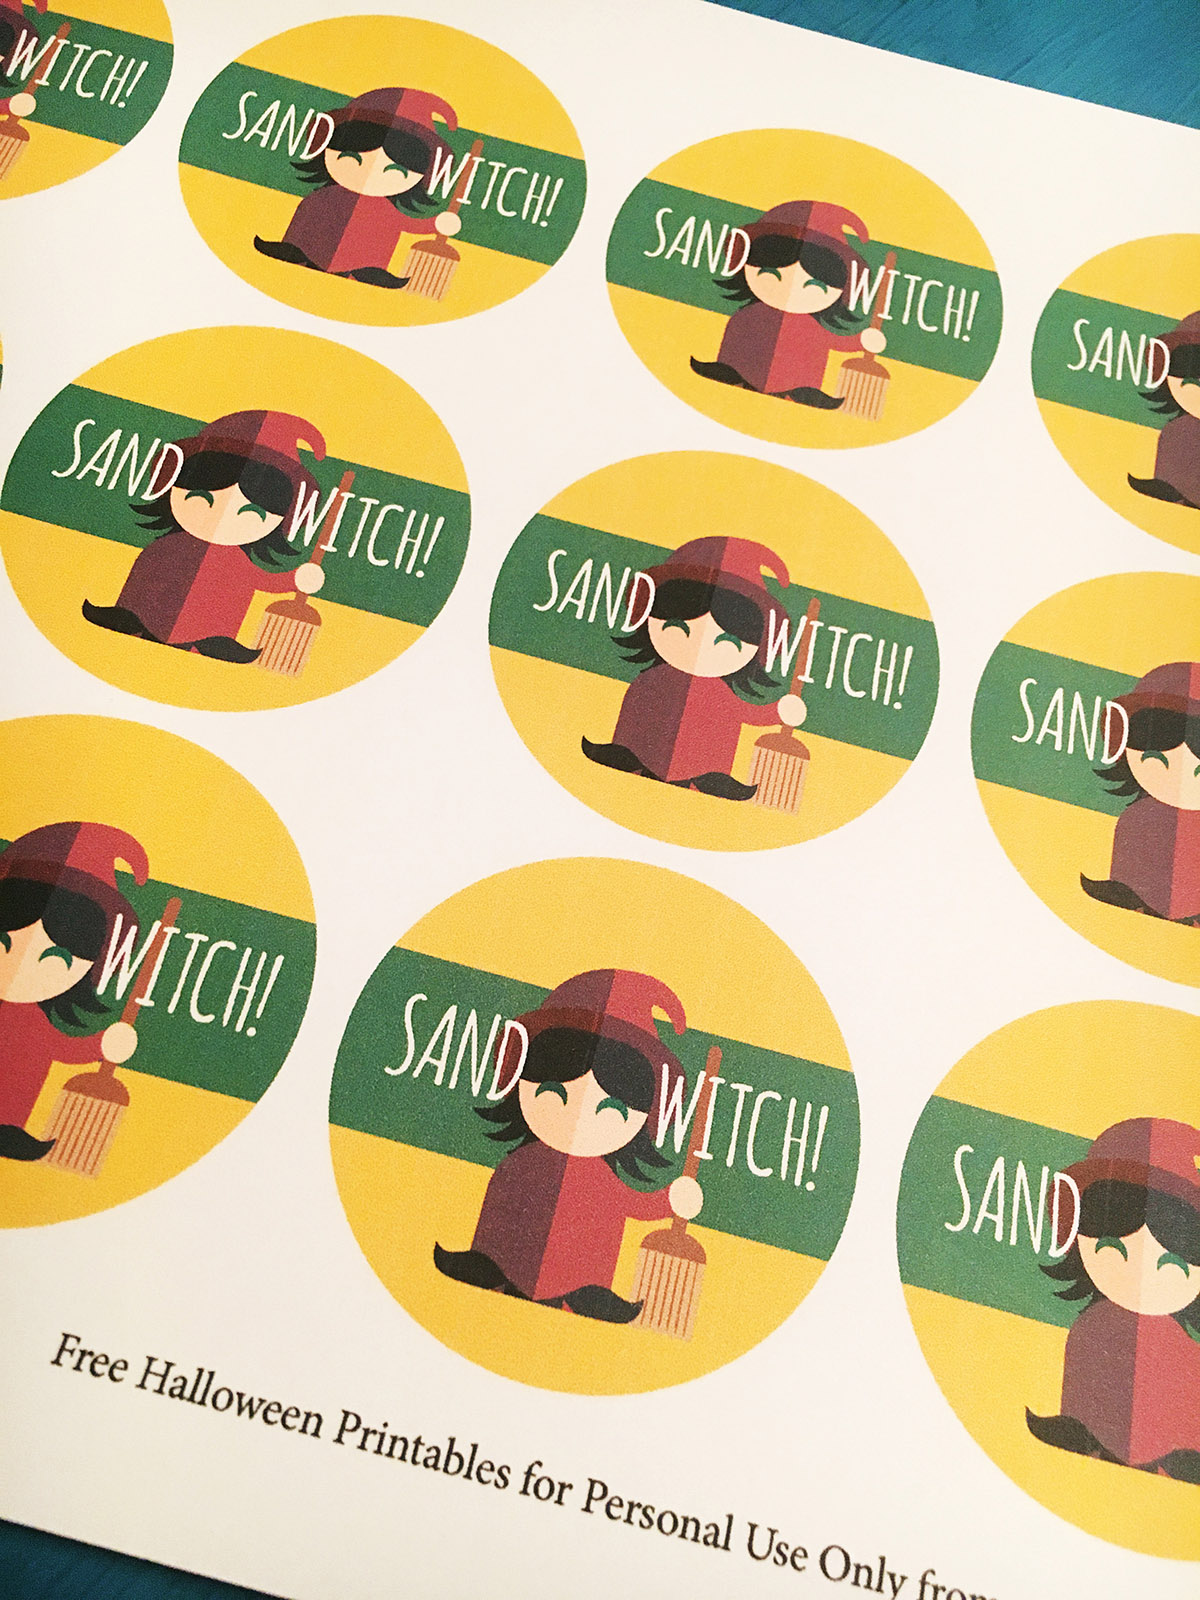
  • Sandwitch Party Circles— Designed to be printed on label paper and used on a sandwich package or to be attached to food picks and stuck in a sandwich
  • Ghost Juice Water Bottle Labels—Designed to be printed on label paper and used on water bottles
  • Food Table Tents —Designed to be printed on cardstock, folded, and put where you are displaying food items
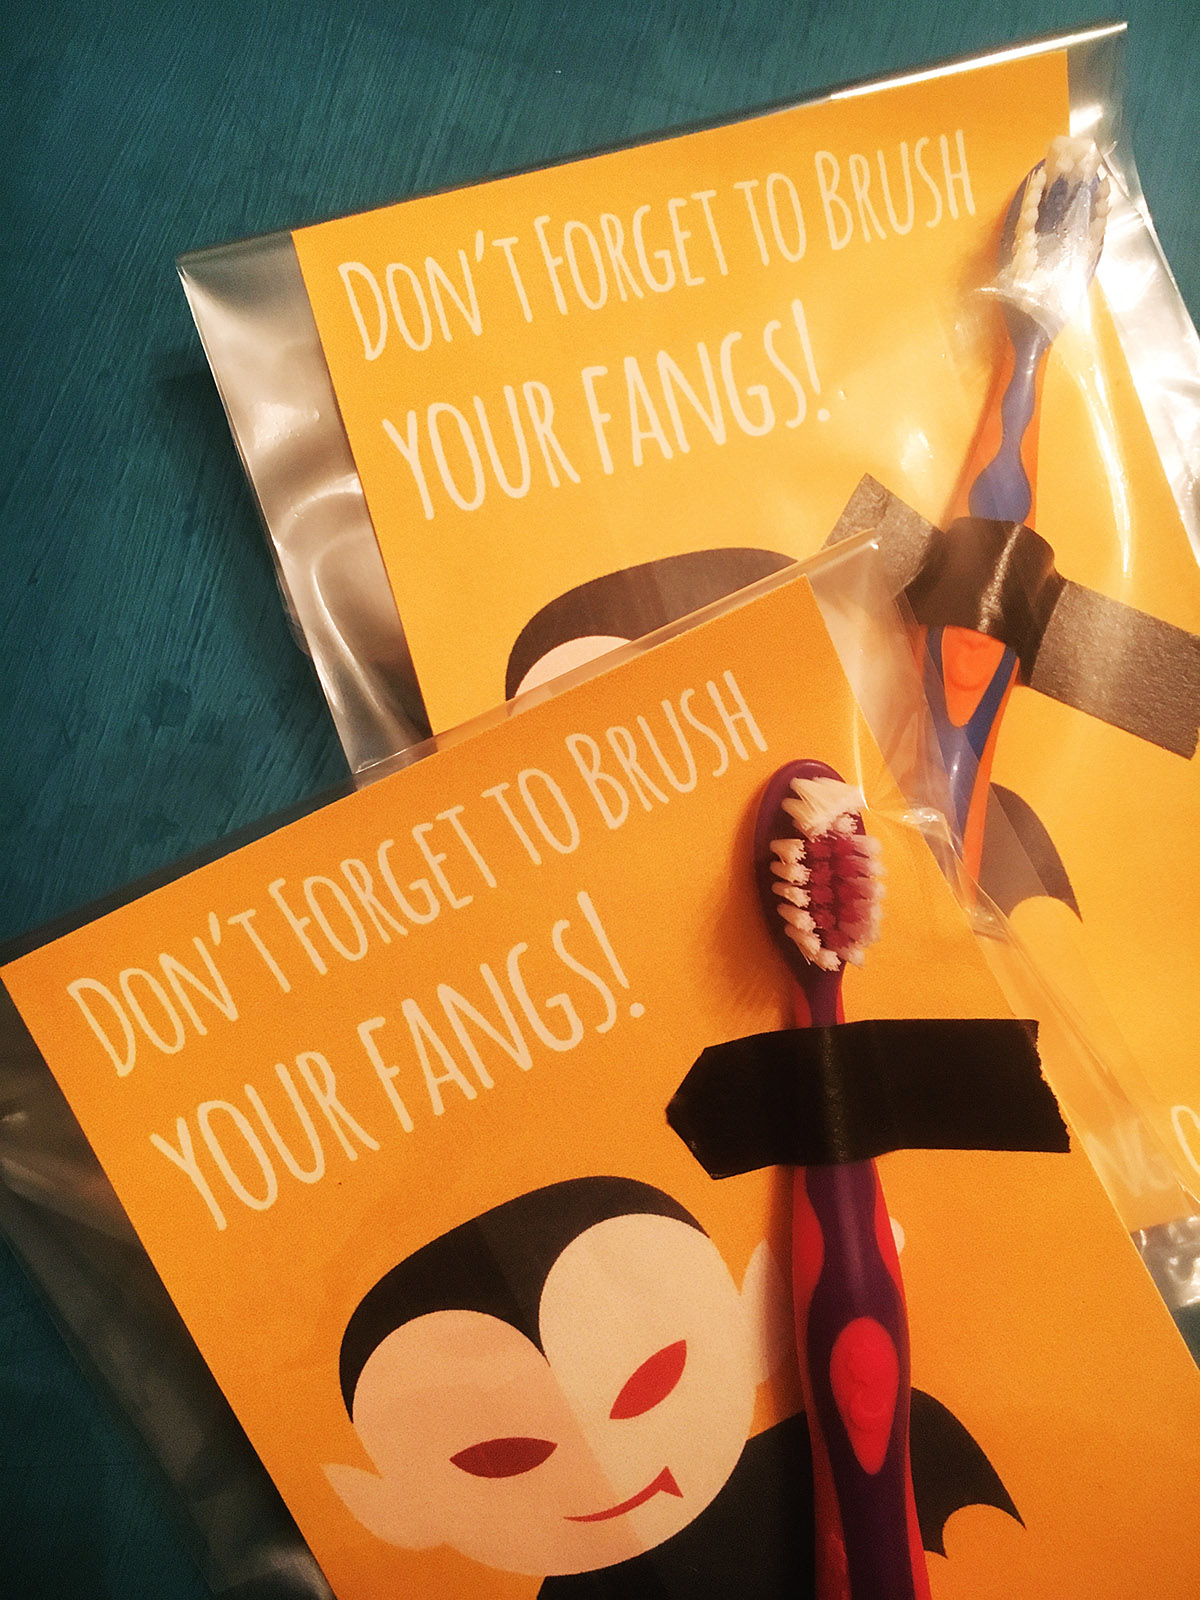
  • Brush Your Fangs Favor Tags—Designed to be printed on cardstock and attached to a toothbrush


Download Your FREE Halloween Printables


Free Halloween Printables from A Well Crafted Party


Directions:

  • Monster Tongue Printables—Print in full-color on white cardstock, cut around design, adhere to top of individual snack-sized Pringles* with double -sided tape or glue.
  • Monster Tongue Party Circles— Print in full-color on white cardstock or label paper*. Cut around design. Adhere to full size cans of Pringles, individual Cans of Pringles, individual bags of chips, or sprinkle on table in front of chip bowl!
  • Sandwitch Party Circles— Print in full-color on white cardstock or label paper. Cut around design. Adhere to sandwich packaging, sandwich bag, or to food picks that you stick inside the sandwich.
  • Ghost Juice Water Bottle Labels—Print in full-color on label paper. Cut as per markings on document. Wrap around a water bottle making sure the “100% Guaranteed to Disappear!” side of the label is attached last. It will overlap the first side of the label.
  • Food Table Tents —Print in full-color on cardstock, cut per markings on the document, fold along white line, and display with food or beverages.
  • Brush Your Fangs Favor Tags—Print in full-color on cardstock, cut per markings on the document. You can punch holes in the two “fang” marks or use them to guide where you’ll tape the toothbrush. Attach an individually wrapped tooth brush* by placing through the holes or taping to the paper. Because I was using these with just my family I didn’t not get individually wrapped toothbrushes. Because of that I chose to bag my favors in cellophane, but if the toothbrushes are individually wrapped you can really go without the extra bag.


Download Your FREE Halloween Printables