Category

Holidays

Category
So, this upcoming weekend is  
Independence Day Weekend
and, I totally forgot.
(Pregnancy Brain?)
Summer holidays have always been hard for me to get into as much as Halloween, Thanksgiving, Christmas, New Years and Valentine’s Day…Maybe because it feels like all of summer is a good excuse to throw a party I don’t really feel the need to do it on the same day as everyone else. 
  Yep, I’m a Summer Party Crab. 
I do however like Independence Day (even if I don’t often do a BIG shin-dig)…
Which is why last year I thought it would be fun to throw a Crab Boil around the holiday and spice it up with a few patriotic details so that I didn’t feel like I wasn’t celebrating at least a little. 
And, since the holiday is creeping up on me again this year I thought I’d share the photos with you just in case you needed some last minute party inspiration. 
 (If that is you then check back tomorrow for some {Friday Finds} chock full of Independence Day 
inspiration including FREE PRINTABLES!)

~*~ 
Patriotic Crab Boil
Each guest got a hand painted bib along with their silverware.
The bibs were a bit too small for most guests. But, were cute anyways.
I kept most of the decorating quite simple… a few red and white streamers really brought it all together.
The adorable printables were found FREE at Hostess with the Mostess!
No plates needed for this feast! The buckets were filled with rolls.
I wrapped boxes of sparklers up with fun homemade wrapping papers and created Thank You Tags to finish off the favors.
The aftermath… but, hey! I didn’t have a ton of dishes to do at the end of the night!

 The Details

 
Really, I didn’t do a bunch for this party. That is one of my favorite parts of a Crab Boil.

—Decorations—

I put up red and white streamers around the party areas and our porch area.
I also used the Hostess with the Mostess printables to designate the refreshments area.
Using Illustrator I created a few printables of my own
including some wrapping paper and thank you tags for the favors.
My favorite part was the table… To protect the table I put down some wax paper and then covered the whole table with white butcher paper (seriously the best party supply purchase I’ve ever made). I then added the bibs and silverware packs to each place setting. The bibs and silverware wraps I just free-handed earlier that day. I added galvanized buckets of rolls down the center of the table and ramekins of butter and lemon slices at each place setting…. and that is it!
The main attraction happened at dinner time when I dumped the food on the table!

—The Food—

I did a simple crab boil (and, to tell you the truth… at the last moment we decided to save some money and went without the crab and instead did shrimp and clams). I have two really big pots and I filled them with red potatoes, onions, lemons, corn on the cob, sausage, shrimp and clams. They steamed beautifully with a little bit of white wine. I also added in some spices to give it a bit of a kick.
(Check out this recipe from All Recipes or this one from Martha Stewart)

Well, I hope you enjoyed this {REAL PARTY} post and I hope it shows you can throw together something fun and celebratory even at the last minute. 
It can be simple and simply FUN at the same time.
We are always so happy when having friends over to our place!

What are your plans for Independence Day this year?

It might be a little late to post this… but, I wanted to get it out here.
So, if you like it bookmark it for next year’s holiday decorating!
But, before I begin with this year’s Christmas tree I wanted to let you in on the Christmas Trees of Jenni’s past. I love the idea of a perfectly trimmed Christmas tree. My first year as a married lady I went all out with our tree and decorated everything in pretty golds and reds. We had a plastic tree then and I spent a fortune getting pretty garlands and ornaments to decorate the house for the holiday.
It was a beautiful holiday. *Sigh*
Six months later when planning our move to Oregon
we decided to get rid of the tree (among other things). So, we got to buy my very first REAL TREE!
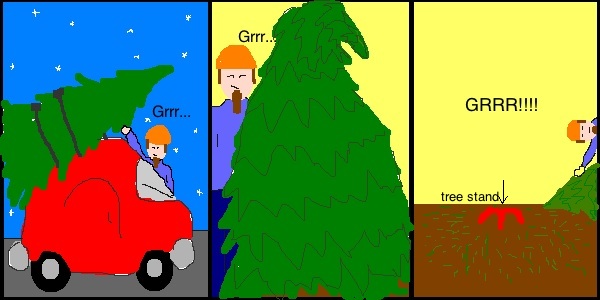
We got it for a steal because we always wait til Dec. 13 to put up the tree. I was so very excited picking out the tree and dreaming of all the pretty things I was going to do with it. My husband on the other hand did not enjoy the process near as much. I drew a picture for you so you can see what he went through.
Brian didn’t like putting the tree on the car. He also wasn’t very happy when we discovered that we bought a tree that was six feet around and nine feet tall… real trimming of the tree was needed.
And, while he enjoyed the tree while it was up he really didn’t like it when it was time to take to get recycled. Needless to say he nixed the real tree idea for the following years.
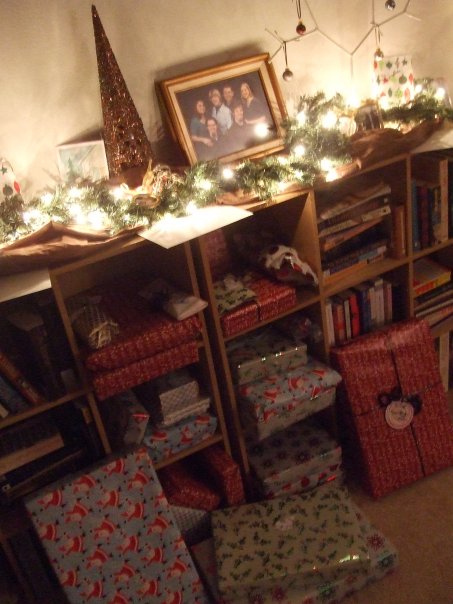
The next two years we decided to not have a tree at all…. we instead decorated the house using items we already had and put up a couple of “little” trees.
It looked something like this (including the sad faces missing the tree):
It was slightly prettier in real life though:
So, to avoid sad faces, real trees or plastic trees that take up space year round… 
I needed a new idea for this year.
 
That is when I saw this at a local Anthropologie:
And, of course I had to try it!
 
So, while I didn’t take photos of each step I did want to put up a small tutorial on how to make your own fabric Christmas tree.
Supplies:
—Chicken Wire (we got 9 feet of it but could have used a little more probably)
—Lots and Lots of fabric cut into 2 inch by 12 inch strips (I ended up using about 10 yards)
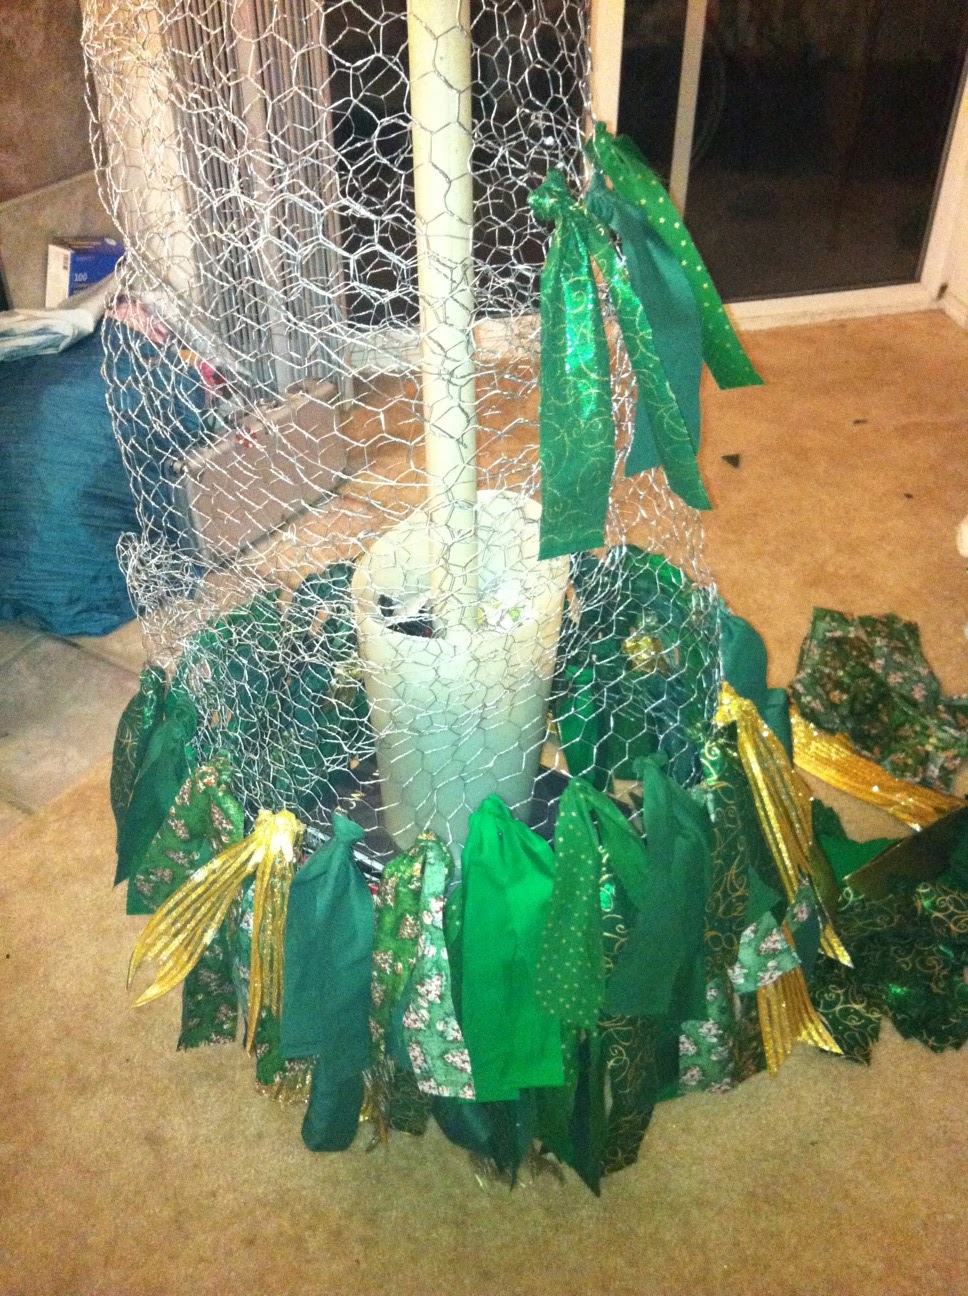
—A large stick and a bucket to use as a base for the tree. Fill the bucket with heavy items like rocks and tape the stick in place. I think you could also use other items to serve as the base of the tree…. the chicken wire does a lot of standing up on its own. We used a small trash can and the cardboard roll from a large spool of fabric. 
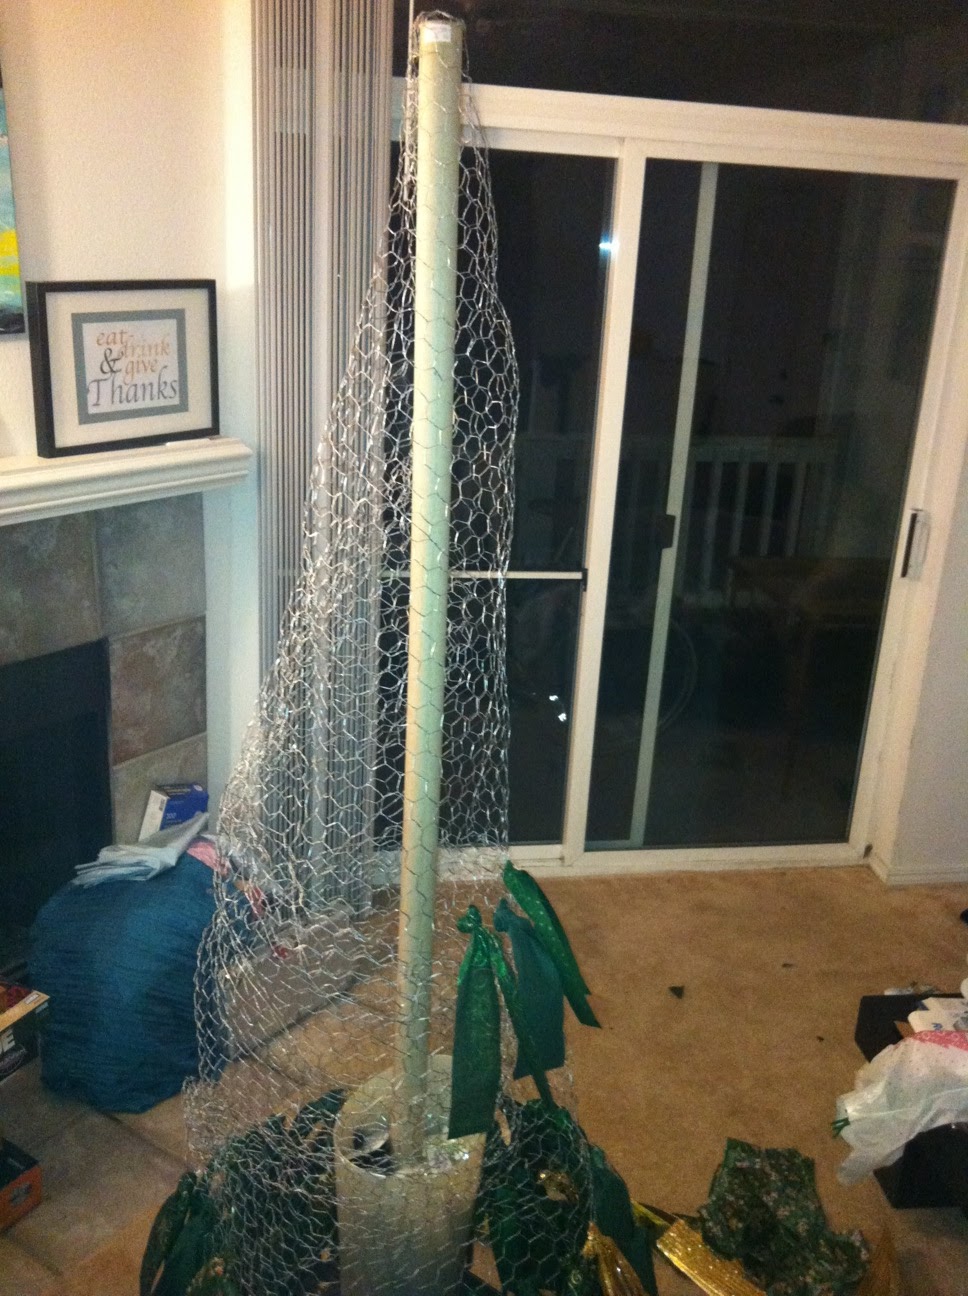
 
Step One:
Create a cone like shape out of your chicken wire. This is not an easy process. It takes some time and you might get scratched. Sorry.

Step Two:
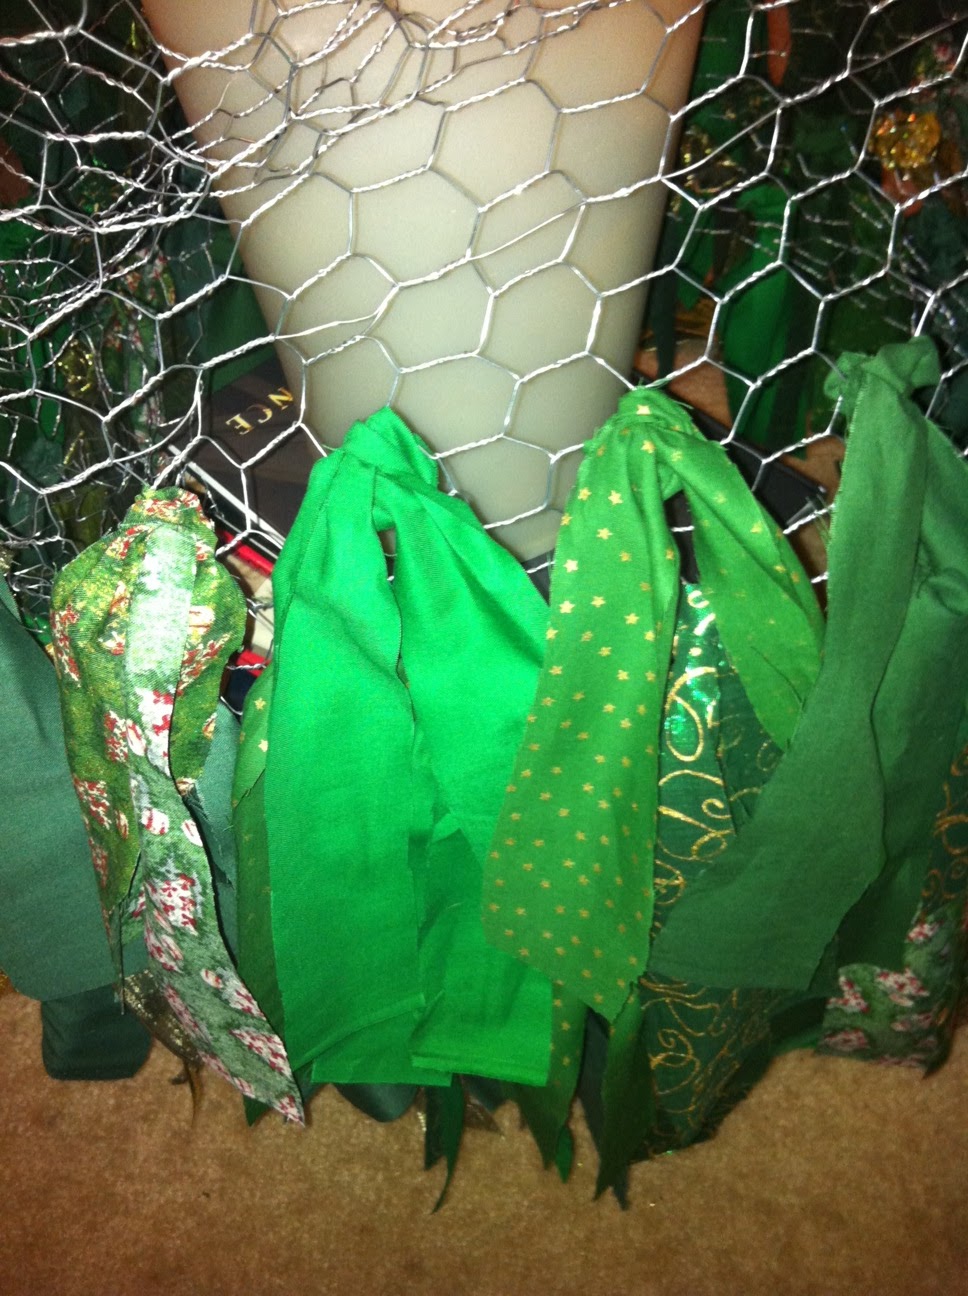
Tie fabric strips onto chicken wire skipping some of the holes so that the fabric lays nicely.
 

 Keep going…
 
 
Step Three:
Wrap lights around tree and add fun ornaments. I added fabric flowers. 🙂
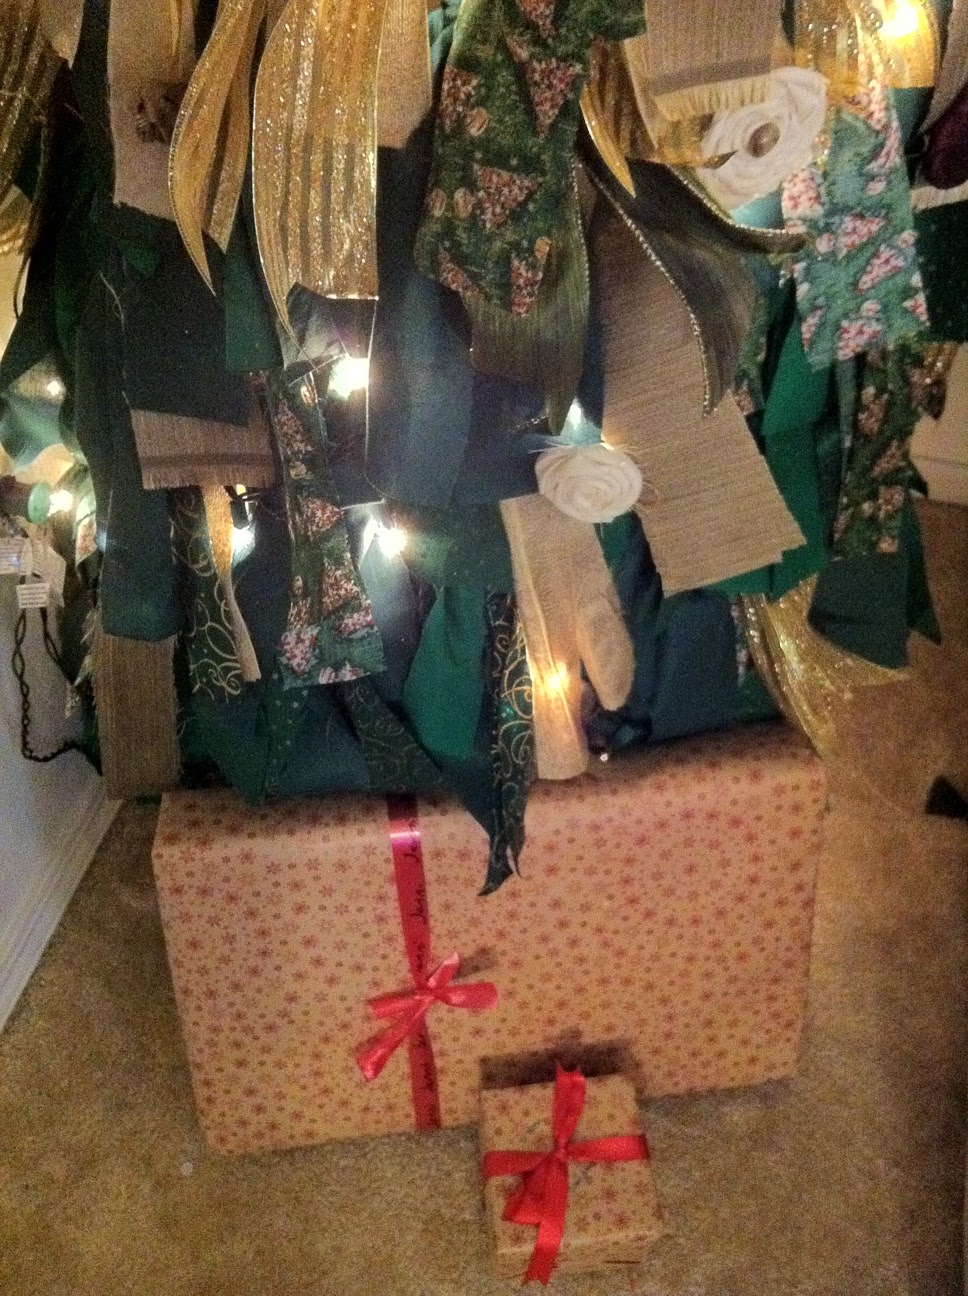
 The Final Product:
 I think the tree looks slightly like something out of a Dr. Seuss book! 
 
Close up: