Category

Party DIYs

Category
Ribbon Backdrop | A Well Crafted Party

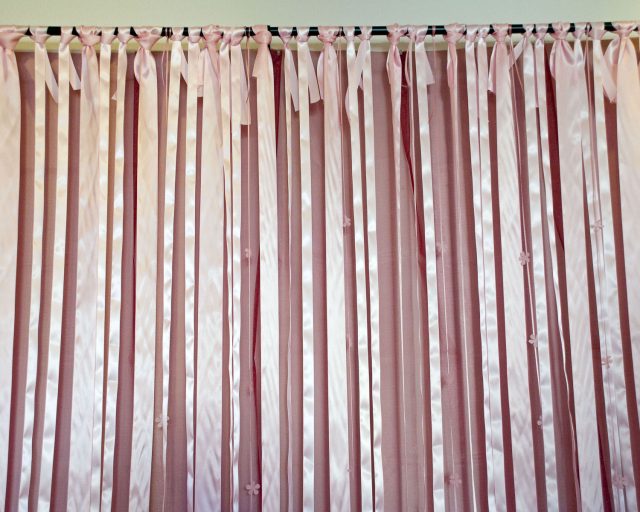
DIY Ribbon Wall Backdrop

Ribbon Backdrop | A Well Crafted Party
Supplies:
Several Yards of Various Widths of Satin Ribbon in you color choice
Curtain Rod and Brackets
Hot Glue
Blossom Confetti

Step One:
Attach curtain brackets to wall approximately 8 feet from ground. Put curtain rod on brackets. If you do not wish to attach brackets to a wall then you can suspend rod from ceiling.

Step Two:
Measure lengths of ribbon so that they are 5 inches longer than what you need to reach  curtain rod to floor. Use a slip knot to attach the ribbon to the rod with the 5 inches of ribbon hanging behind the longer ribbon. Vary the lengths of ribbon while attaching to the rod.

Step Three:
Attach blossom confetti randomly on lengths of ribbon using a dab hot glue to attach.
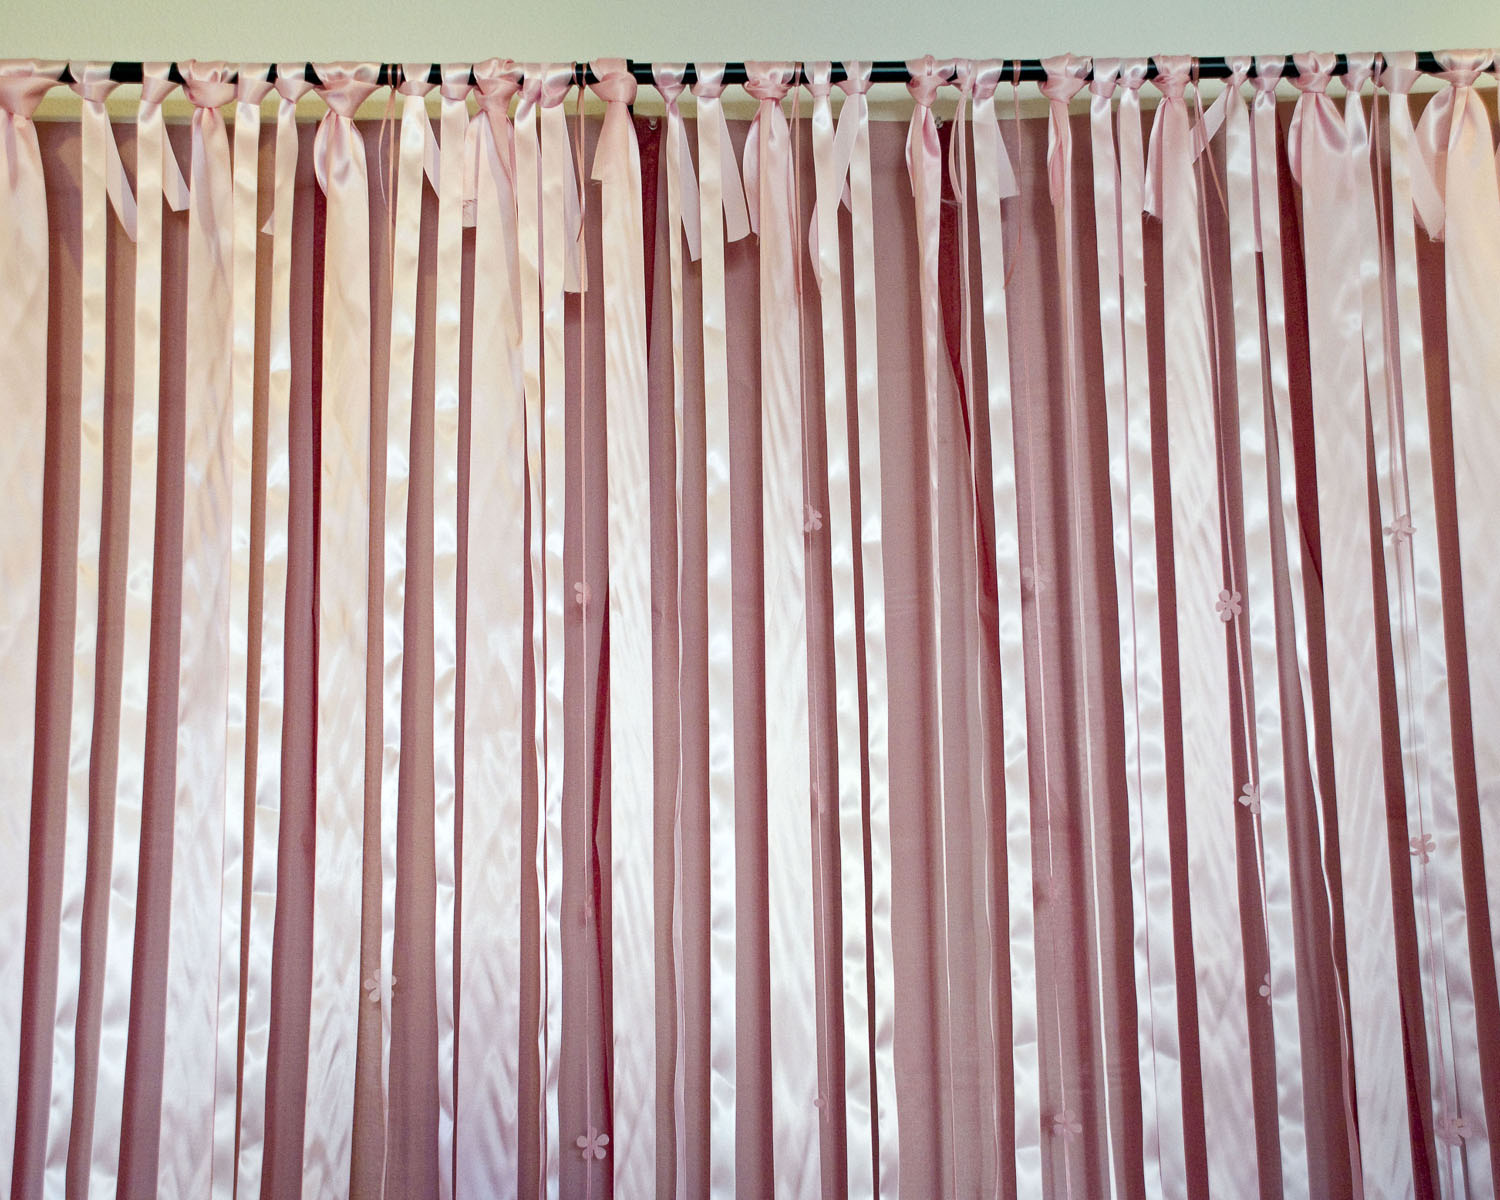
Ribbon Backdrop | A Well Crafted Party
Notes:
My 8-foot ribbon wall required 100 yards of 1-inch width ribbon, 50 yards of 3-inch ribbon and 30 yards of 3/8-inch ribbon. Strips of linen or lace would also work very well in this project. Purchasing ribbon in bulk helps make this project more cost effective. Also, save the rolls the ribbon come on because you’ll be able to save most of the ribbon used on this wall for other projects.

Sources:
8-foot curtain rod and brackets— Ikea
Ribbon— www.papermart.com and www.paper-source.com

BIG THANK YOU
to Hostess With the Mostess for featuring this DIY
and to Capturing Grace Photography for taking such beautiful photos!
If you are a fan of the Love in Blossom photoshoot that I featured a while back…
 (and that was featured on Hostess with the Mostess)
then you were possibly waiting for these DIY posts!
**By the way, if you use any of these DIY projects I’d LOVE to see pictures!**
Just e-mail me at Jenni[at]awellcraftedparty.com
Well…with no further hullabaloo… 
 ~*~
DIY Cherry Blossom Confetti

Supplies:
Blossom Paper Punch
Tissue Paper in shades of Pink

Step One:
Punch several layers of tissue paper with blossom punch. 

Repeat until you have as much confetti as needed.
 

Note: The confetti can be used on tables,
but also to shower the bride and groom with as they leave for their honeymoon.
Sources: 
Craft Punch: I used one that is no longer being made… but, you can find a great cherry blososm punch at the Scrapbooking Warehouse website!
Tissue Paper: You can use any tissue paper for this project but, I got mine at Paper Source 
BIG THANK YOU
to Hostess With the Mostess for featuring this DIY
and to Capturing Grace Photography for taking such beautiful photos!
Yesterday I posted the inspiration board for this concept shoot.
Today…
THE PHOTOS!
Again, I’m so excited to be able to share these photos with you because I got to work with fabulous people and we worked really hard on this shoot! I have so many pictures that I thought I’d divide them into two posts. This post features what I’d imagine the head table could look like for this wedding.
The beautiful photography was done by my friend, and Portland photographer,
Aubrie LeGault of Capturing Grace Photography.
So, with no further ado… the pics!
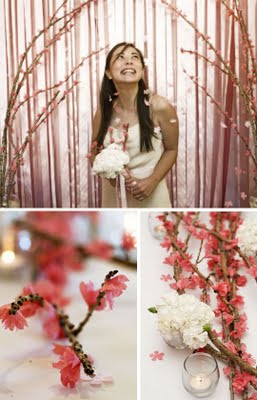
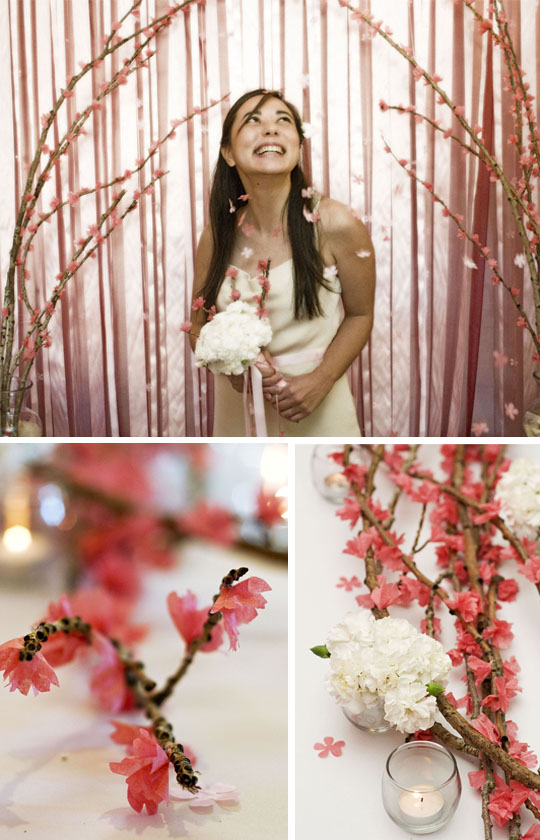
The lovely bride (model Joan Stevens) is showered in cherry blossom confetti as she looks out at tables adorned with cherry blossom branches, tea lights and small arrangements of white carnations.
Low arrangements make it easier for people to see across the table and allow for more intimate conversations.
For the table settings we played with a mixture of traditional Japanese plates and a more modern look with the wine glasses and tall water glasses.
Cherry Blossom confetti (made from tissue paper) is sprinkled across the table and guests can find their spots by looking at their chopstick holders that double as place cards.
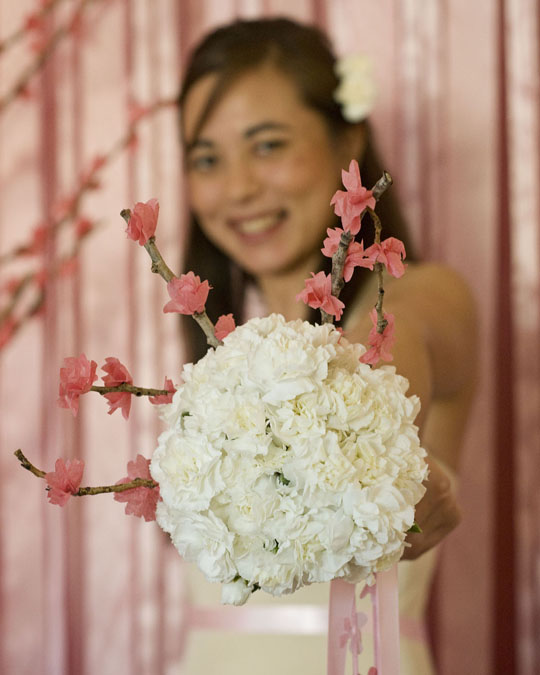
The happy bride shows off her white carnation and cherry blossom bouquet.
Check back later today for images of the dessert table and the amazing cake made by
Alicia Smith of The Sweet Smith blog!
This Love in Blossom concept shoot was featured on Hostess with the Mostess!
*****
To see the DIY project instructions you can visit Hostess with the Mostess for instructions and photos!
I’ll be posting the DIY projects on this site next week!