Category

Party DIYs

Category

12 Days of Christmas DIYs // A Well Crafted Party

This post is the third in my series of the 12 Days of Christmas DIYs for A Well Crafted Party. Check in each day for the next 12 Days for new DIY posts. There will be LOTS of free printables to boot! (Check out yesterday’s post: “Festive Holiday Drink Garnish”)


DIY Copper Flatware // A Well Crafted Party

How to Make Copper Flatware Knock-Offs

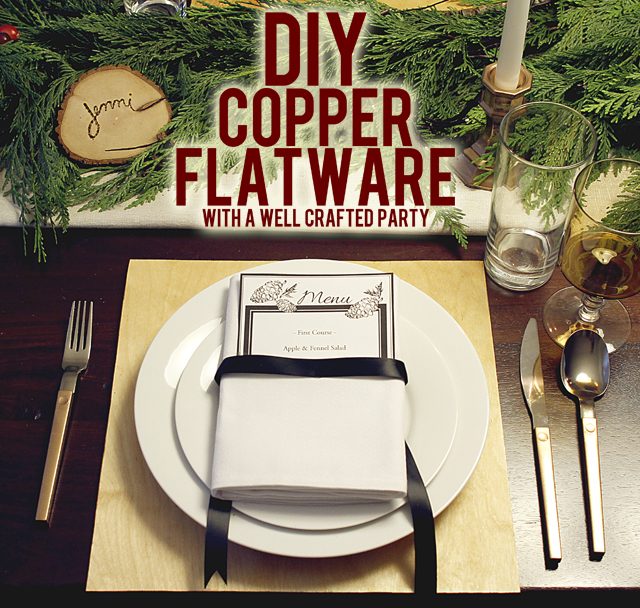
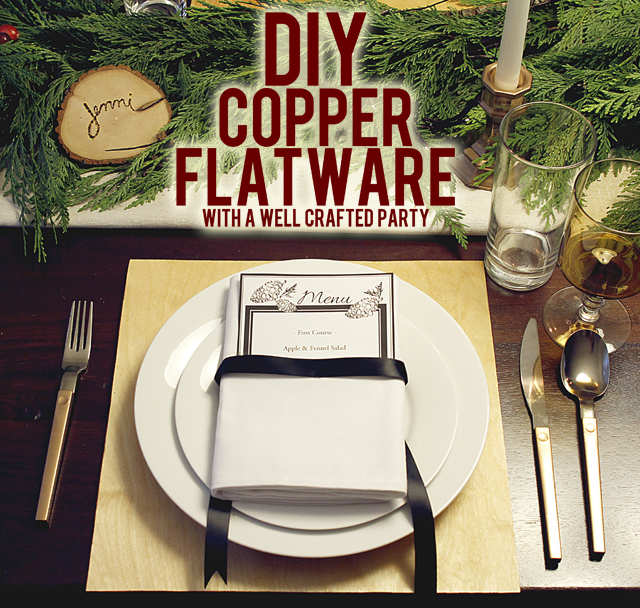
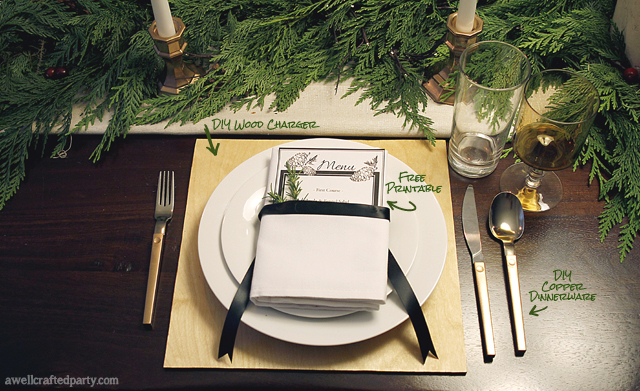
I’m obsessed with all the beautiful mixed metal, copper, rose gold and gold dinneware I’ve seen becoming more and more popular. Someday I hope to own some of these beauties from West Elm, but until then, I wanted something to give a similar feel at a fraction of the cost. These mixed metal DIY dinnerware ended up costing around $3 per set buying all supplies needed (I got enough for 8 sets)!

Now, I’ve seen a few different posts on spraypainting silverware. They are all GREAT! I wanted to share my process and what I did differently. One, I used copper instead of gold! I know that this isn’t a huge difference, but I’ve seen this done in gold before and wanted to give it my own small spin. I love gold, but the copper flatware gives the look a little bit of depth. Second, I used a silverware that was already two-tone. The two piece flatware from Ikea had a plastic handle that set it apart and when painted looked purposeful and helped keep it safer for eating.

A big thank you to the Tigrad, Oregon Orchard Supply Hardware store for the the painting supplies!

DIY Copper Flatware Step One // A Well Crafted Party

Copper Flatware DIY Supplies:

(Affiliate Links Below)

DIY Copper Flatware Step Two // A Well Crafted Party

Copper Flatware DIY Directions:

  1. Make sure your flatware is clean and dry. Do this with your gloves on to prevent the oils from your fingers messing up your paint.
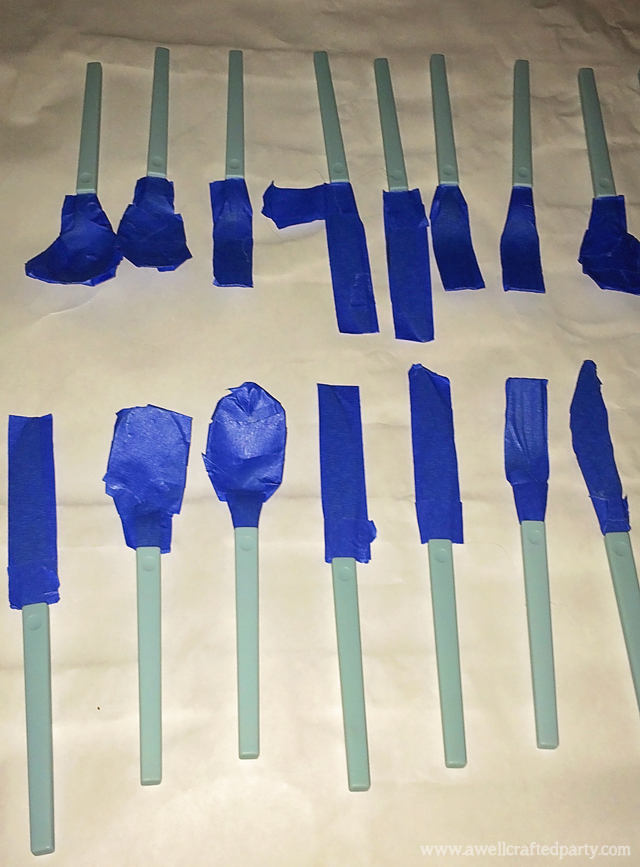
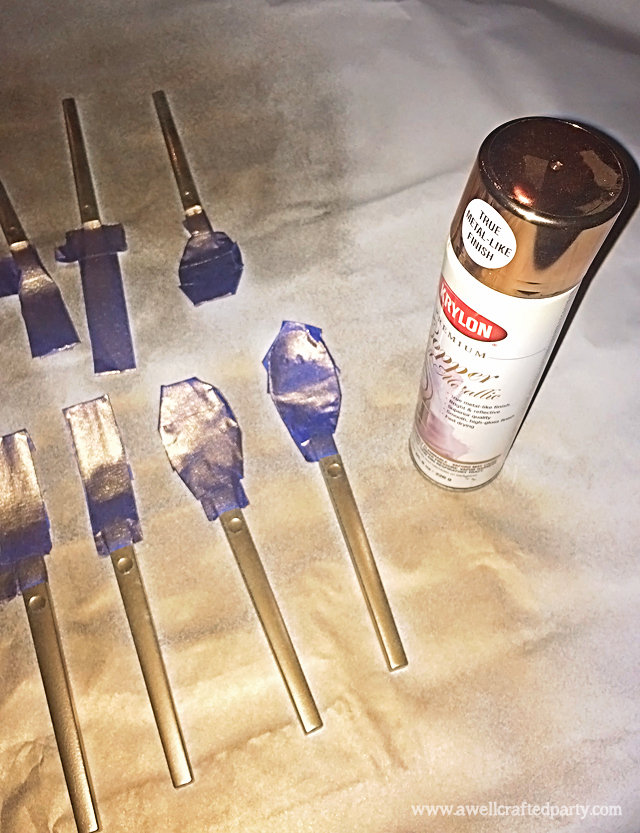
  2. Cover the eating utensil part of the flatware with painters tape. Make sure this is completely covered— spray paint is not food-safe.
  3. Put the dinnerware on a flat surface and spray according to the directions on the spary paint can. This may take a couple of coats, do so with 15 seconds in between coats.
  4. Turn the dinnerware using the paint-tape covered part of the flatware. Continue spraying and turning until the flatware is completely covered.
  5. Let flatware dry completely. Use your paint directions for drying times. The Krylon Premium paint was dry within 15 minutes, could recoat at anytime, and can be handled after 2 hours. This is not common for many spraypaints.
  6. After the flatware has dried completely and is completly covered in the copper color, cover in a clear coat according to the directions on the spraypaint.

I don’t have a dishwasher so I have not tested the flatware in the dishwasher. I hand wash carefully trying not to scratch the paint!

DIY Copper Silverware // A Well Crafted Party

Do you want to see more from this Holiday Styled Shoot?

Photos from this project was from a recent Holiday Styled Shoot collaboration between myself and Suzannah of Create/Enjoy and Macey from Motormouth Studio. Check out my main post with links to DIY projects & recipes: “Natural Green and White Holiday Party + Free Printables”

12 Days of Christmas DIYs // A Well Crafted Party

This post is the first in my series of the 12 Days of Christmas DIYs for A Well Crafted Party. Check in each day for the next 12 Days for new DIY posts. There will be LOTS of free printables to boot! 


Natural Holiday Party with DIY Elements // A Well Crafted Party

Natural Green & White Holiday Party Styled Photoshoot

Each holiday I like to mix it up when it comes to decorations. I don’t know if I’ll ever be the type of person that has a set of decorations that I’ll use year after year. Don’t get me wrong… I keep all my decorations and I try to utilize many of them each year. I do however like to change color schemes, decor placement and gift wrap ideas throughout the year.

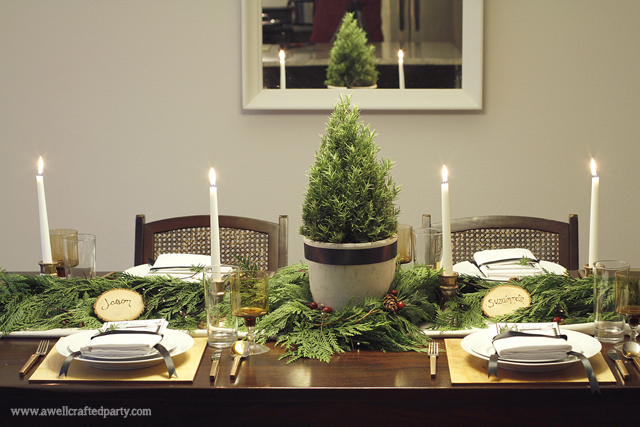
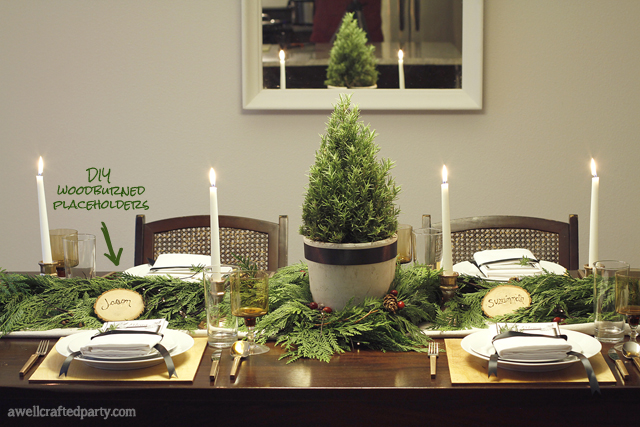
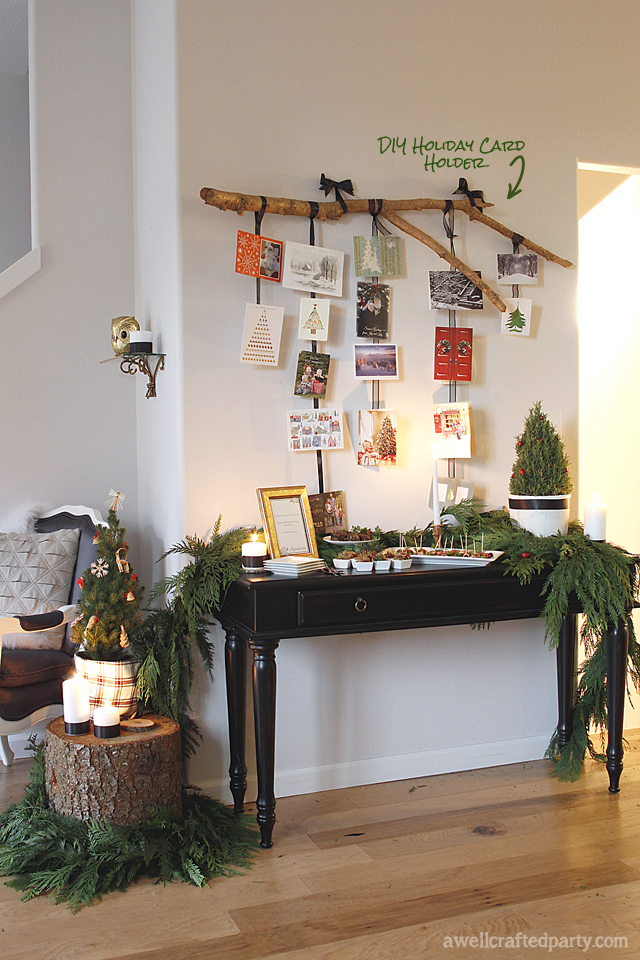
My good friend Suzannah from Create/Enjoy came to me with the idea of creating a very simple and natural holiday scene for a collaboration between our two blogs and the hardware and gardening store Orchard Supply Hardware. I was beyond thrilled to work on a new-to-me holiday style. Macey from Motormouth Studio was kind enough to photograph our styled shoot and her photos show how beautiful this simple dinner party showcases natural holiday elements.

Natural Holiday Party with DIY Elements // A Well Crafted Party Natural Holiday Party with DIY Elements // A Well Crafted Party Natural Holiday Party with DIY Elements // A Well Crafted Party

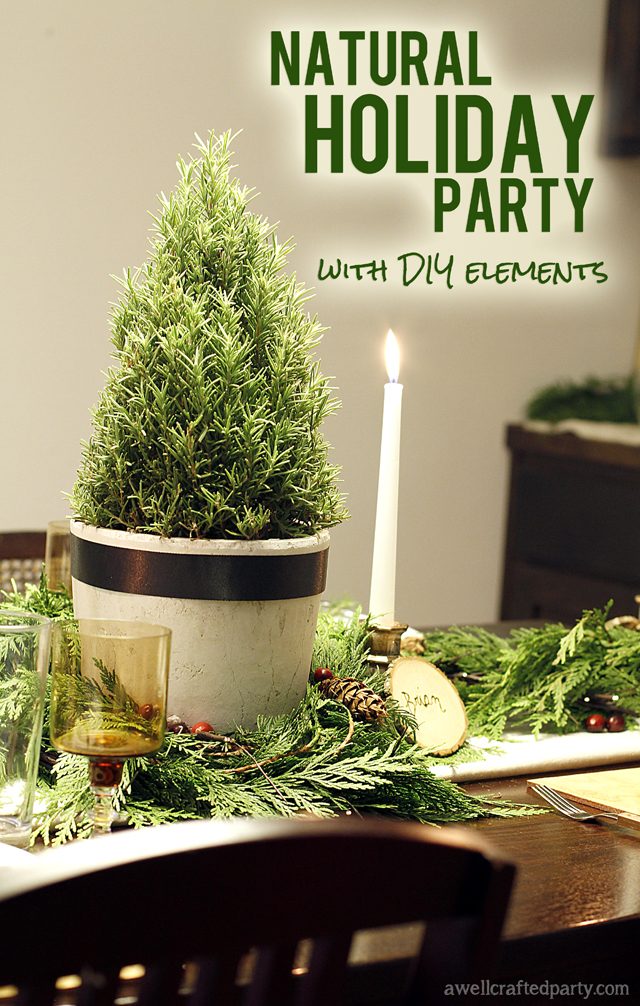
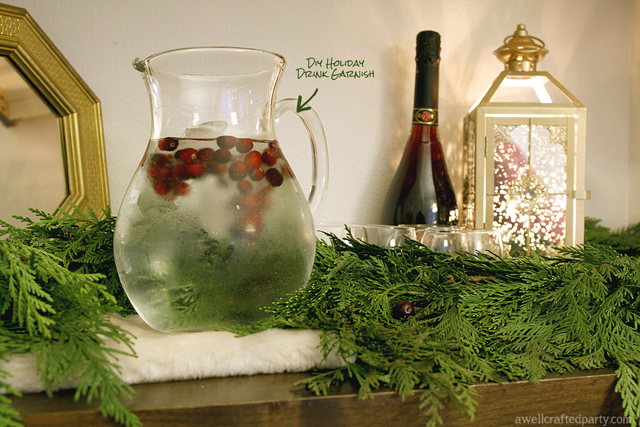
We stuck to a general colorscheme of black and white with the natural elements of green, red and brown woods to create this look. One of the best parts of using natural elments in your holiday decor is that you can incorporate a variety of colors and textures into your event. Orchard Supply in Tigard, Oregon helped us find just the right natural elements to create this look including gorgeous 15 foot natural garlands, small potted trees and a beautiful rosemary bush shaped into a christmas tree and in a clay pot. They also helped us create many of the DIYs that I’ll be featuring this with some painting & hardware supplies!

Suzannah even created a festive array of party appetizers just for this event! She’ll be sharing the paleo-approved, dairy & grain free appetizers on her blog soon. I’ll be sure to link to her recipes on this post as they go live!

Check out Suzannah’s post about this party here:

Free Printable Holiday Appetizer Menu // A Well Crafted Party Free Printable Holiday Menus // A Well Crafted Party

Natural Hand-Drawn Holiday Party Printables + DIY

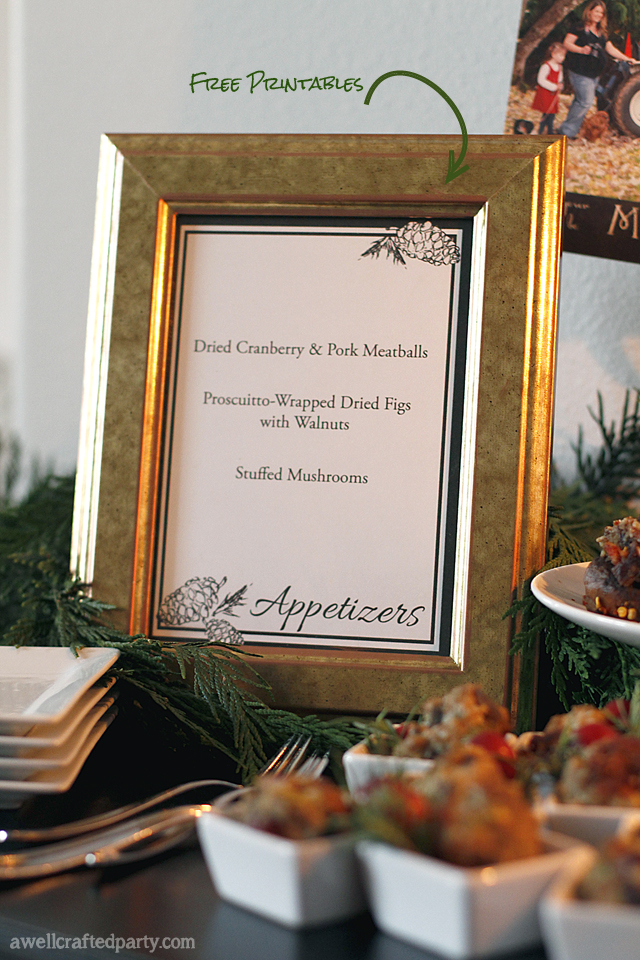
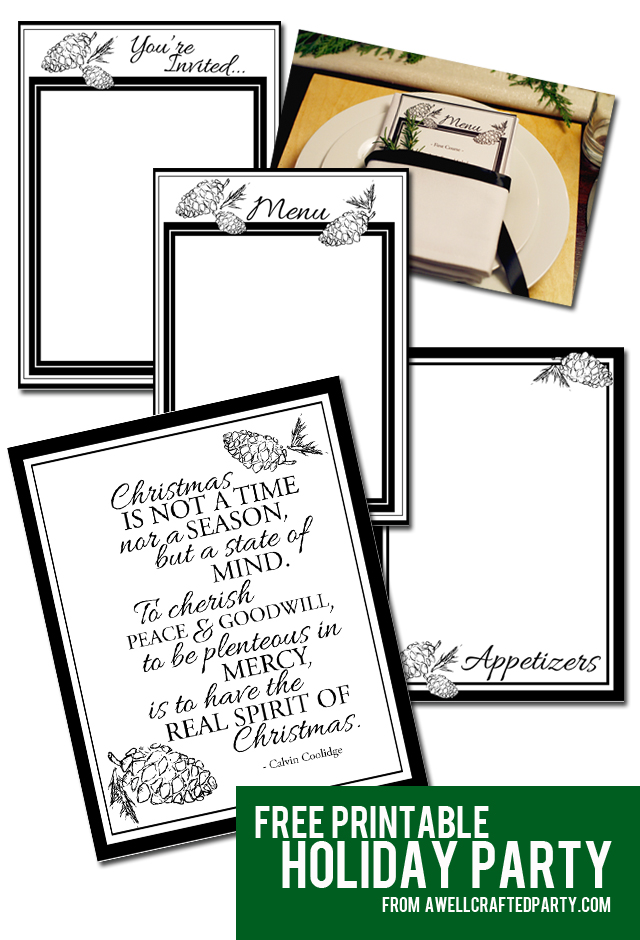
I’ve really been into hand drawn elements in many of my parties lately. So, when we decided to go with a very natural look, I kept imagining hand-drawn pinecones on the menus. I created a printable set for this party and am offering it free to readers!

Free Printable Holiday Party // A Well Crafted Party

Directions: To use the printables click on the downloadable item and save to your computer. Print on white cardstock and cut out for use! I’ve uploaded both a PDF version with two items per page for you to print and hand write your menus/invitation information. I’ve also uploaded JPG version that you can open up in a photo editing program (such as Photoshop or PicMonkey.Com) and add your text in digitally.

Bookmark or Pin this post because I’ll be coming back to add in all of the fun DIY posts that came out of this photoshoot!

(Cool arrows on photos via Freepik)

Free Vampire Portraits from A Well Crafted Party

It is almost Halloween… can you believe it? I’ve been prepping for our annual Halloween party and have been so swamped with preparations that I haven’t really had the opportunity to sit down in front of my computer for any extended period of time. If you are feeling just as swamped as I am then you might need a few last minute Halloween decoration ideas! Hey, you may even appreciate getting some for free.

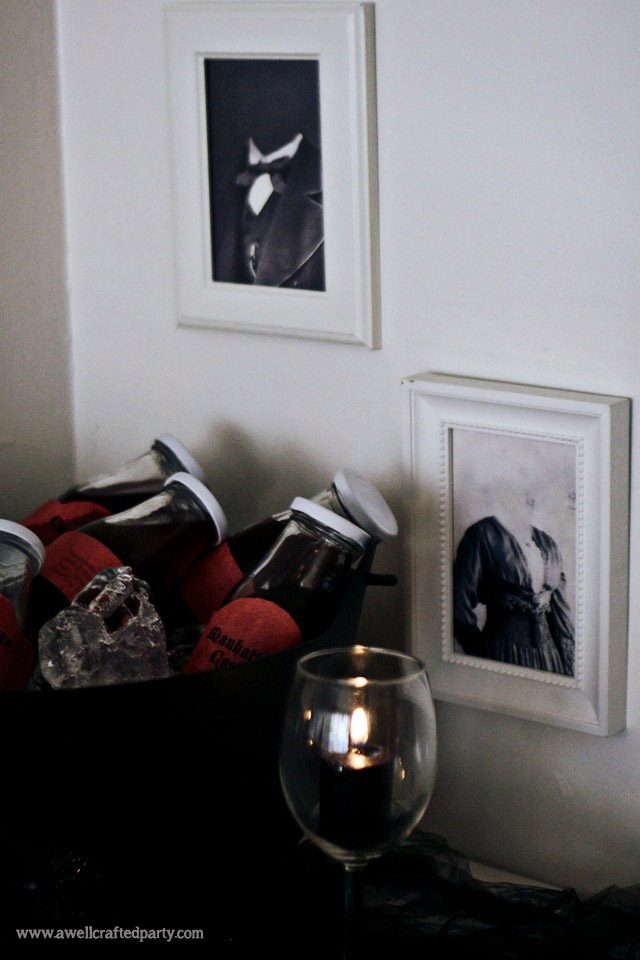
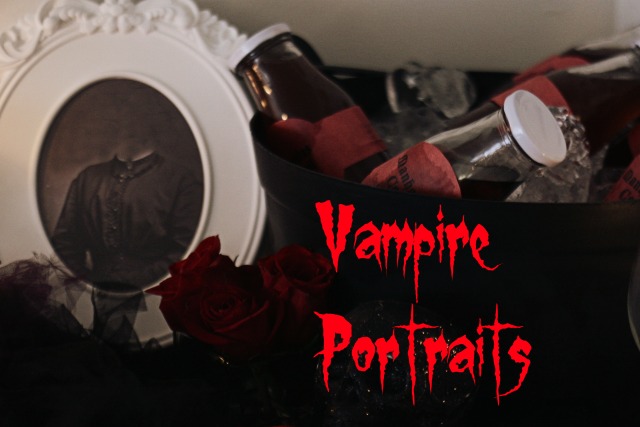
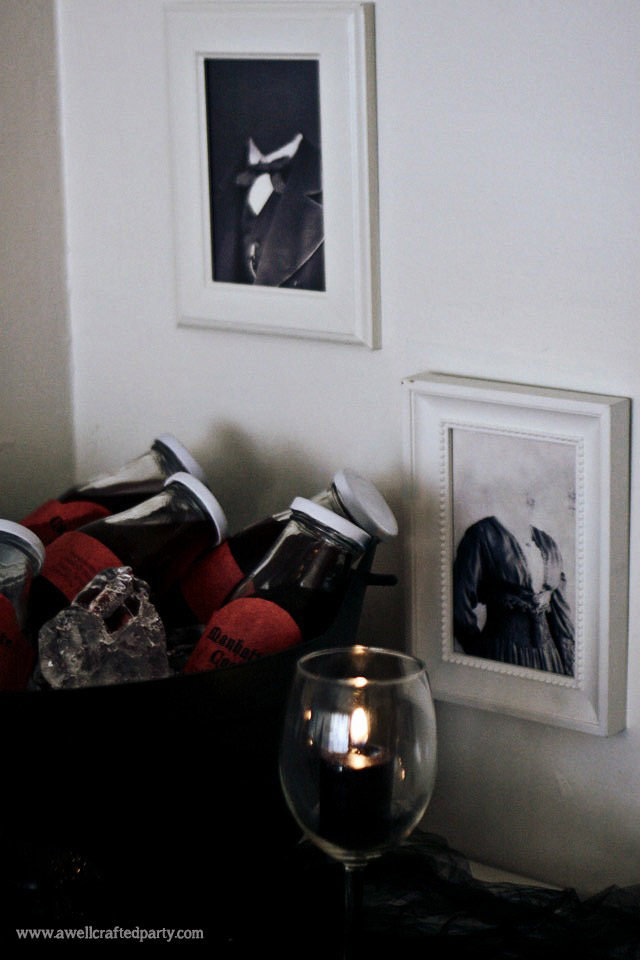
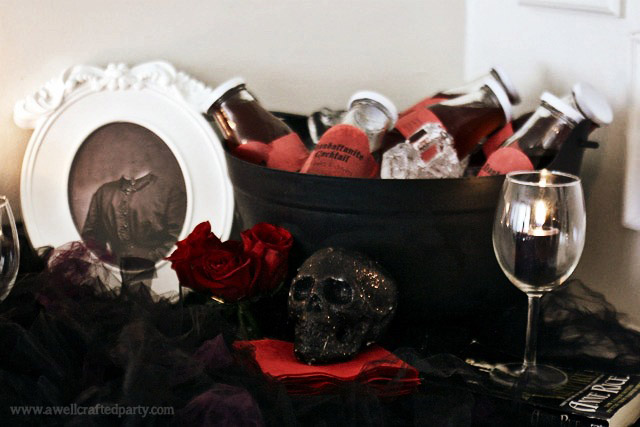
Using vintage images, I created a few Vampire Portraits that you can print off and put in frames around your home. How do I know what a vampire looks like in a portrait? Well that is easy! Vampires don’t show up in mirrors or film of course. These vampires sit in front of the camera to produce eery images of people without descernable bodies.

Free Vampire Portraits from A Well Crafted Party Free Vampire Portraits from A Well Crafted Party

Vampire Portrait Free Printables

Directions:

  1. Download the image of your choice (see below)
  2. Print – You can print these off on your home computer and cut out or you can print at any photo processing source.
  3. Frame!

Downloads:

  1. Male Vampire 1
  2. Male Vampire 2
  3. Woman Vampire 1
  4. Woman Vampire 2

Vintage Portrait of a Lady via Tony Alter’s Flickr the rest are Public Domain images via Wikipedia