Tag

charcuterie

Browsing

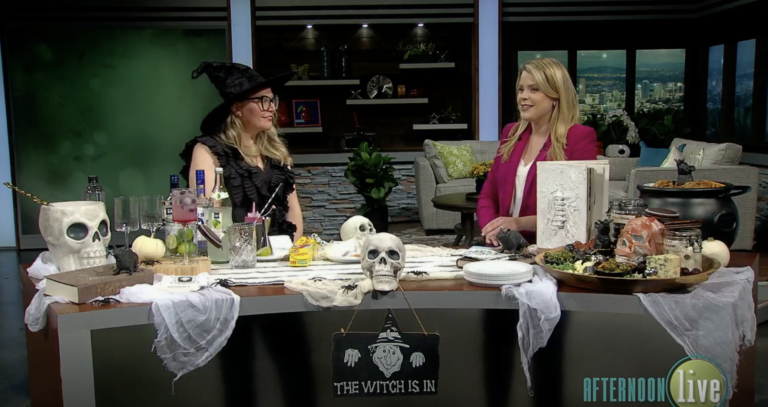
It’s spooky season! KATU Afternoon Live had me back again to share my entertaining tips for my favorite holiday, Halloween! Watch my segment to see simple tips on making a Halloween charcuterie board and spooky Halloween cocktail that is sure to catch your guests eye!

Tips for a Spooky Halloween Cocktail Party:

Whether you are hosting a quick get together for the adults while the kids are out trick or treating, or you are putting together a teen Halloween party with mocktails, these tips are sure to win over even the most frighteningly picky of party guests to have a howling good time. (I know… terrible, but Halloween is just made for puns!)

  1. Grazing Boards: Charcuterie boards (for those who eat meat, cheese boards for cheese only crew, or snack boards for those who like to mix it up) are ALL the rage for a reason… people can make snacks to their tastes and liking!

They can also be catered to different dietary restrictions. Note: Do not put meat and cheese on a board with fruit and nuts and say that it is vegan friendly because it has vegan-friendly foods… that does not cut it. You CAN make a vegan snack board that is completely filled with items that your Vegan friends and family can graze on. I’d recommend putting it on the other end of the table than the meat items or on its own, just to be a bit more accomodating and avoid contamination if possible. Same goes for any allergens! 

Links marked with an asterisk

How to make your Halloween grazing board more spooky: 

      • Use dark fruit and vegetables on the tray to pair with your meat and cheeses. Add in some dark chocolate for a fun sweet pairing to a tasty soft cheese like brie.
      • My favorite cheeses for a halloween cheese board or spooky charcuterie are Blue Cheese, a bright yellow Gouda, and white cheddar.  A good way to add to the creepy appeal, and tastiness!, is by adding goat cheese balls rolled in black sesame seeds, poppy seeds, or fresh herbs. Oh, and don’t forget the famous cream cheese, cheese stick, and prosciutto meat hand with a clever trick!  (I bought my cleaver cheese board knife on Amazon*!)
      • Add a meathead! I did this YEARS ago for a halloween party and have been perfecting my meathead game for years. (haha!) The trick to making it look super creepy (and keeping things food safe) is first adding a layer of saran wrap over a plastic halloween skull and covering it with a bit of cream cheese. Add in some roasted bell peppers for an extra creepy layer! Finally, pull off strips of prosciutto and lay onto the skull, dipping into the crevices and making sure the eyes and teeth stay clear of the meat. After covered put the meathead in the middle of a dish with tasty charcuterie and olives. My son likes to say, “this guy has a bit of meat on his bones!”
      • Add olives and peppers. Seriously, do it.

2. Decorate with things that creep you out! I am not a big fan of gore or scares. But, things that give me the heebie jeebies… spiders, rats, bugs, snakes, skulls, ghosts, vampires, witches, that is my jam. I like to decorate with layers of textures and lights.

3. Make a cocktail extra eerie with eyeballs! Use a 1 inch sphere ice tray* and blueberries to make the coolest little eyeballs to FILL your glass with to pair with nearly any cocktail. I paired it with a Booberry Eyeball (blueberry highball) cocktail.

What are your Halloween go-tos!?


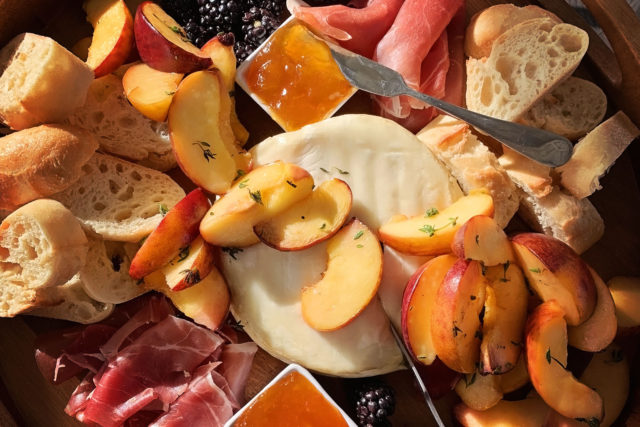
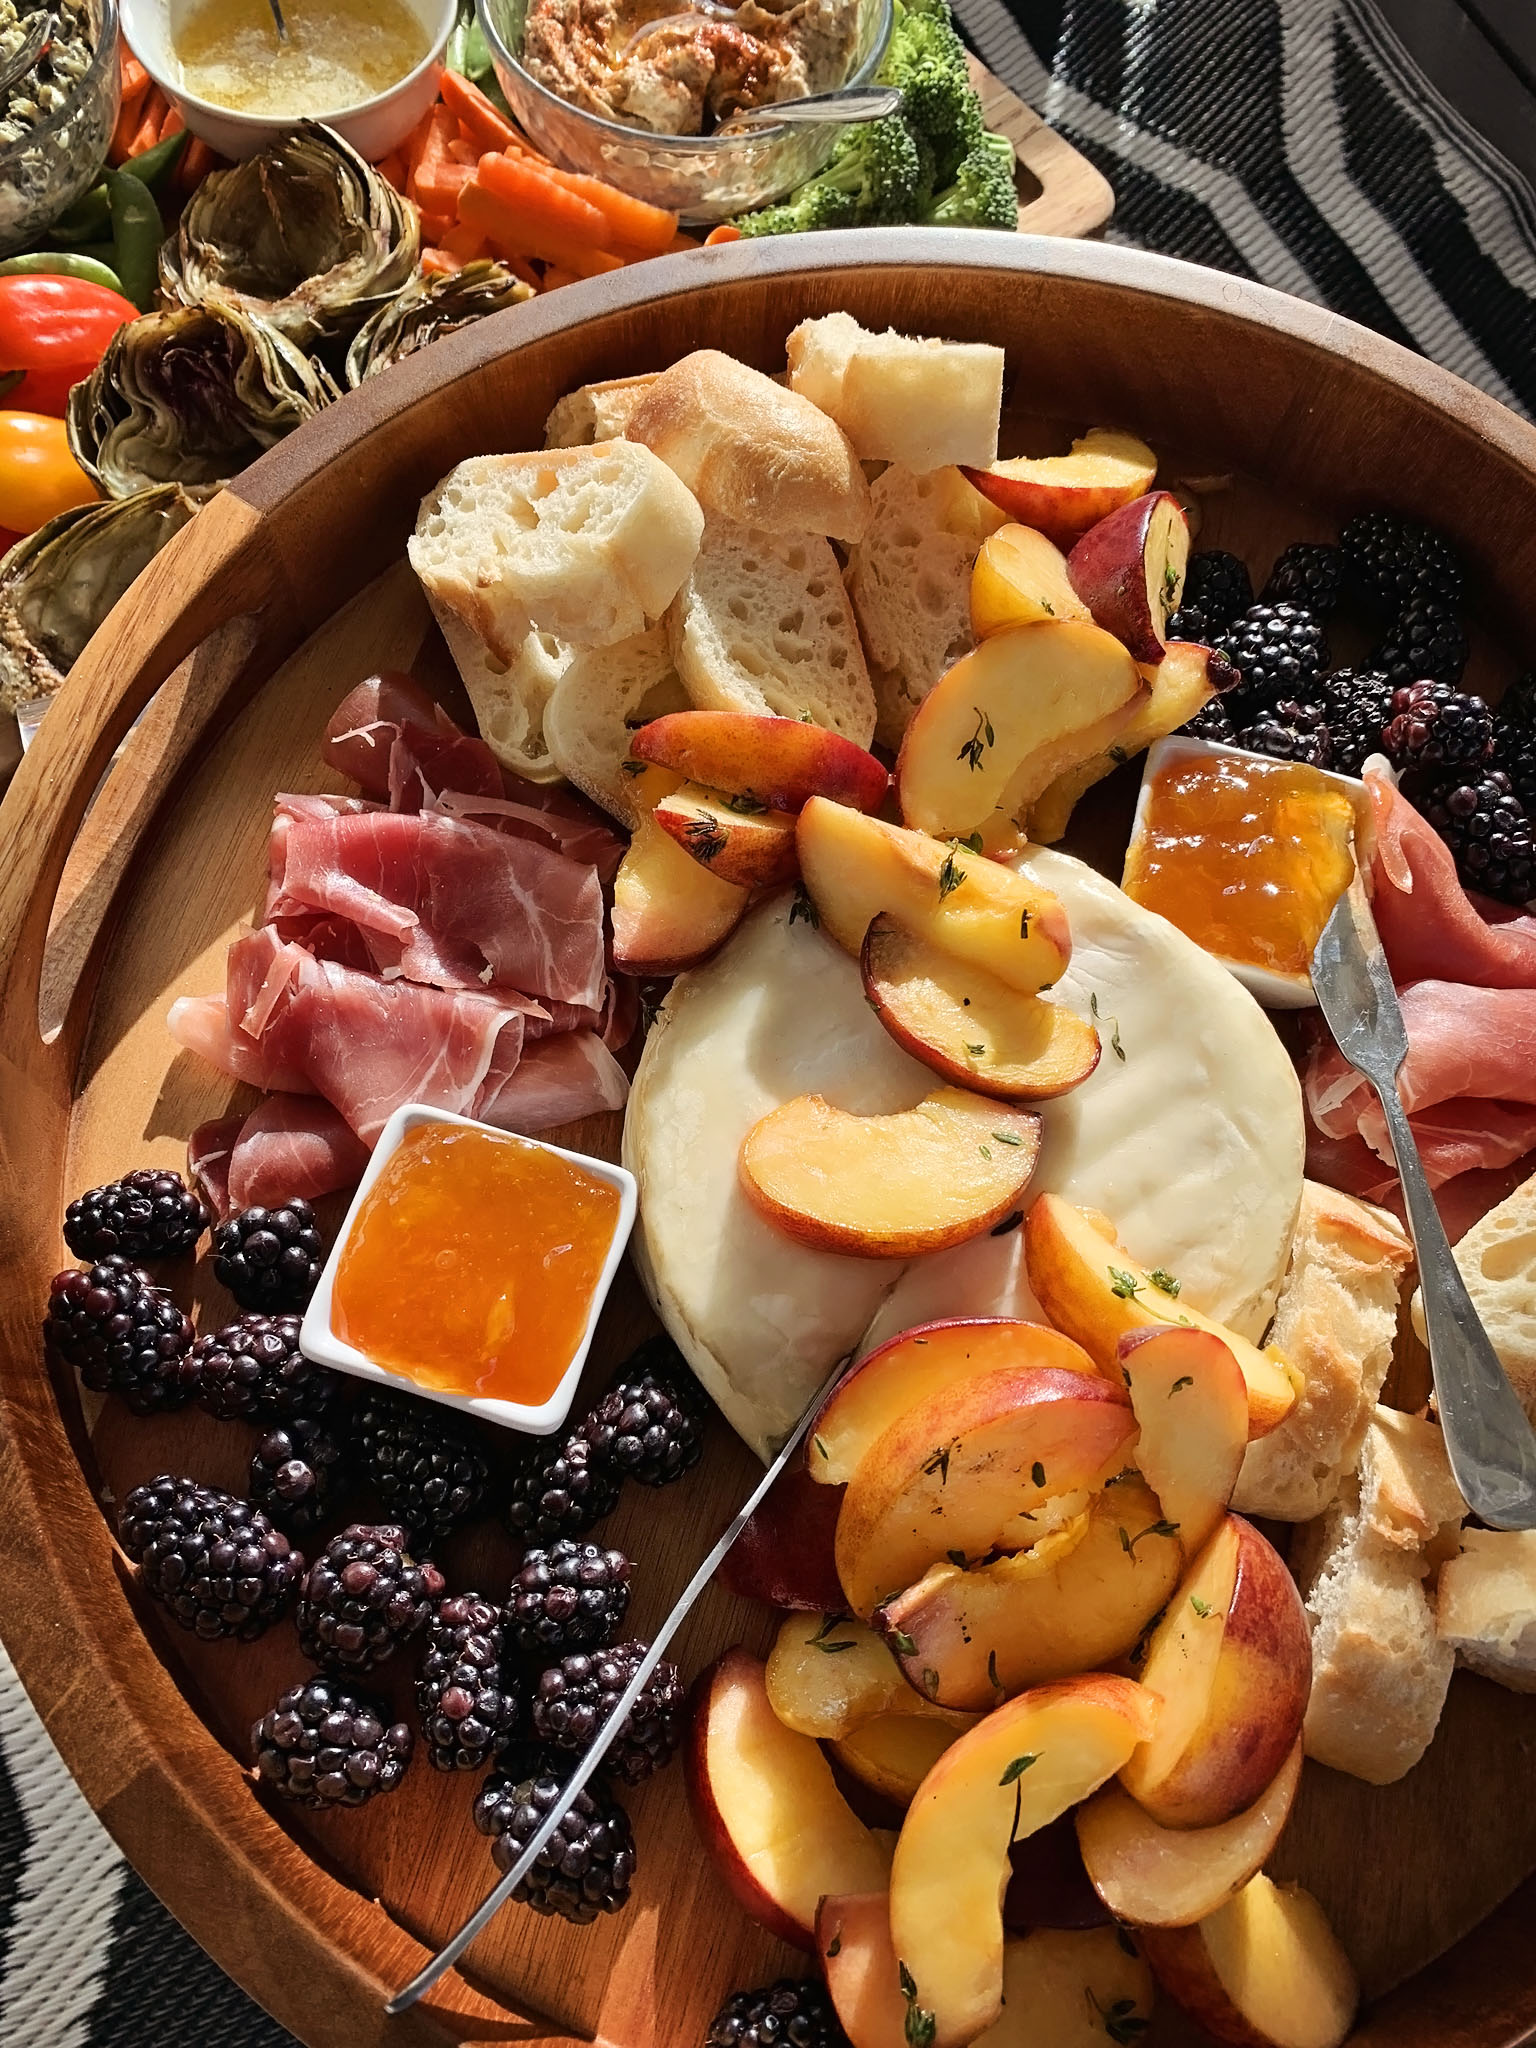
Cheese boards are having a big moment right now and I’m here for it. I love a good cheese board, charcuterie platter, or grazing table. This grilled peaches and brie summer cheese board is not only a showstopping party dish, but also so easy to put together that it works for a nice weeknight meal!

This post is not sponsored by any of the companies or products mentioned below. There are affiliate links within this post. Purchases made from affiliate links help support this blog without any additional cost to the buyer. Thank you for supporting this blog as it allows me the opportunity to create new content!

I am a part of a Facebook group in which group members are always sharing photos of everything from super simple cheese boards to extravagant platters. I think that this type of dining works so well these days because people are all on different diets and because they can be put together without a ton of cooking skills.

This cheese board was inspired by an email or pamphlet I received from Fred Meyer’s with a recipe for Cedar Plank Grilled Peaches and Brie. I have linked the recipe here and you are welcome to follow it as it is very close to what mine ended up being, but I did make a couple of small changes that I feel like made a nice difference.

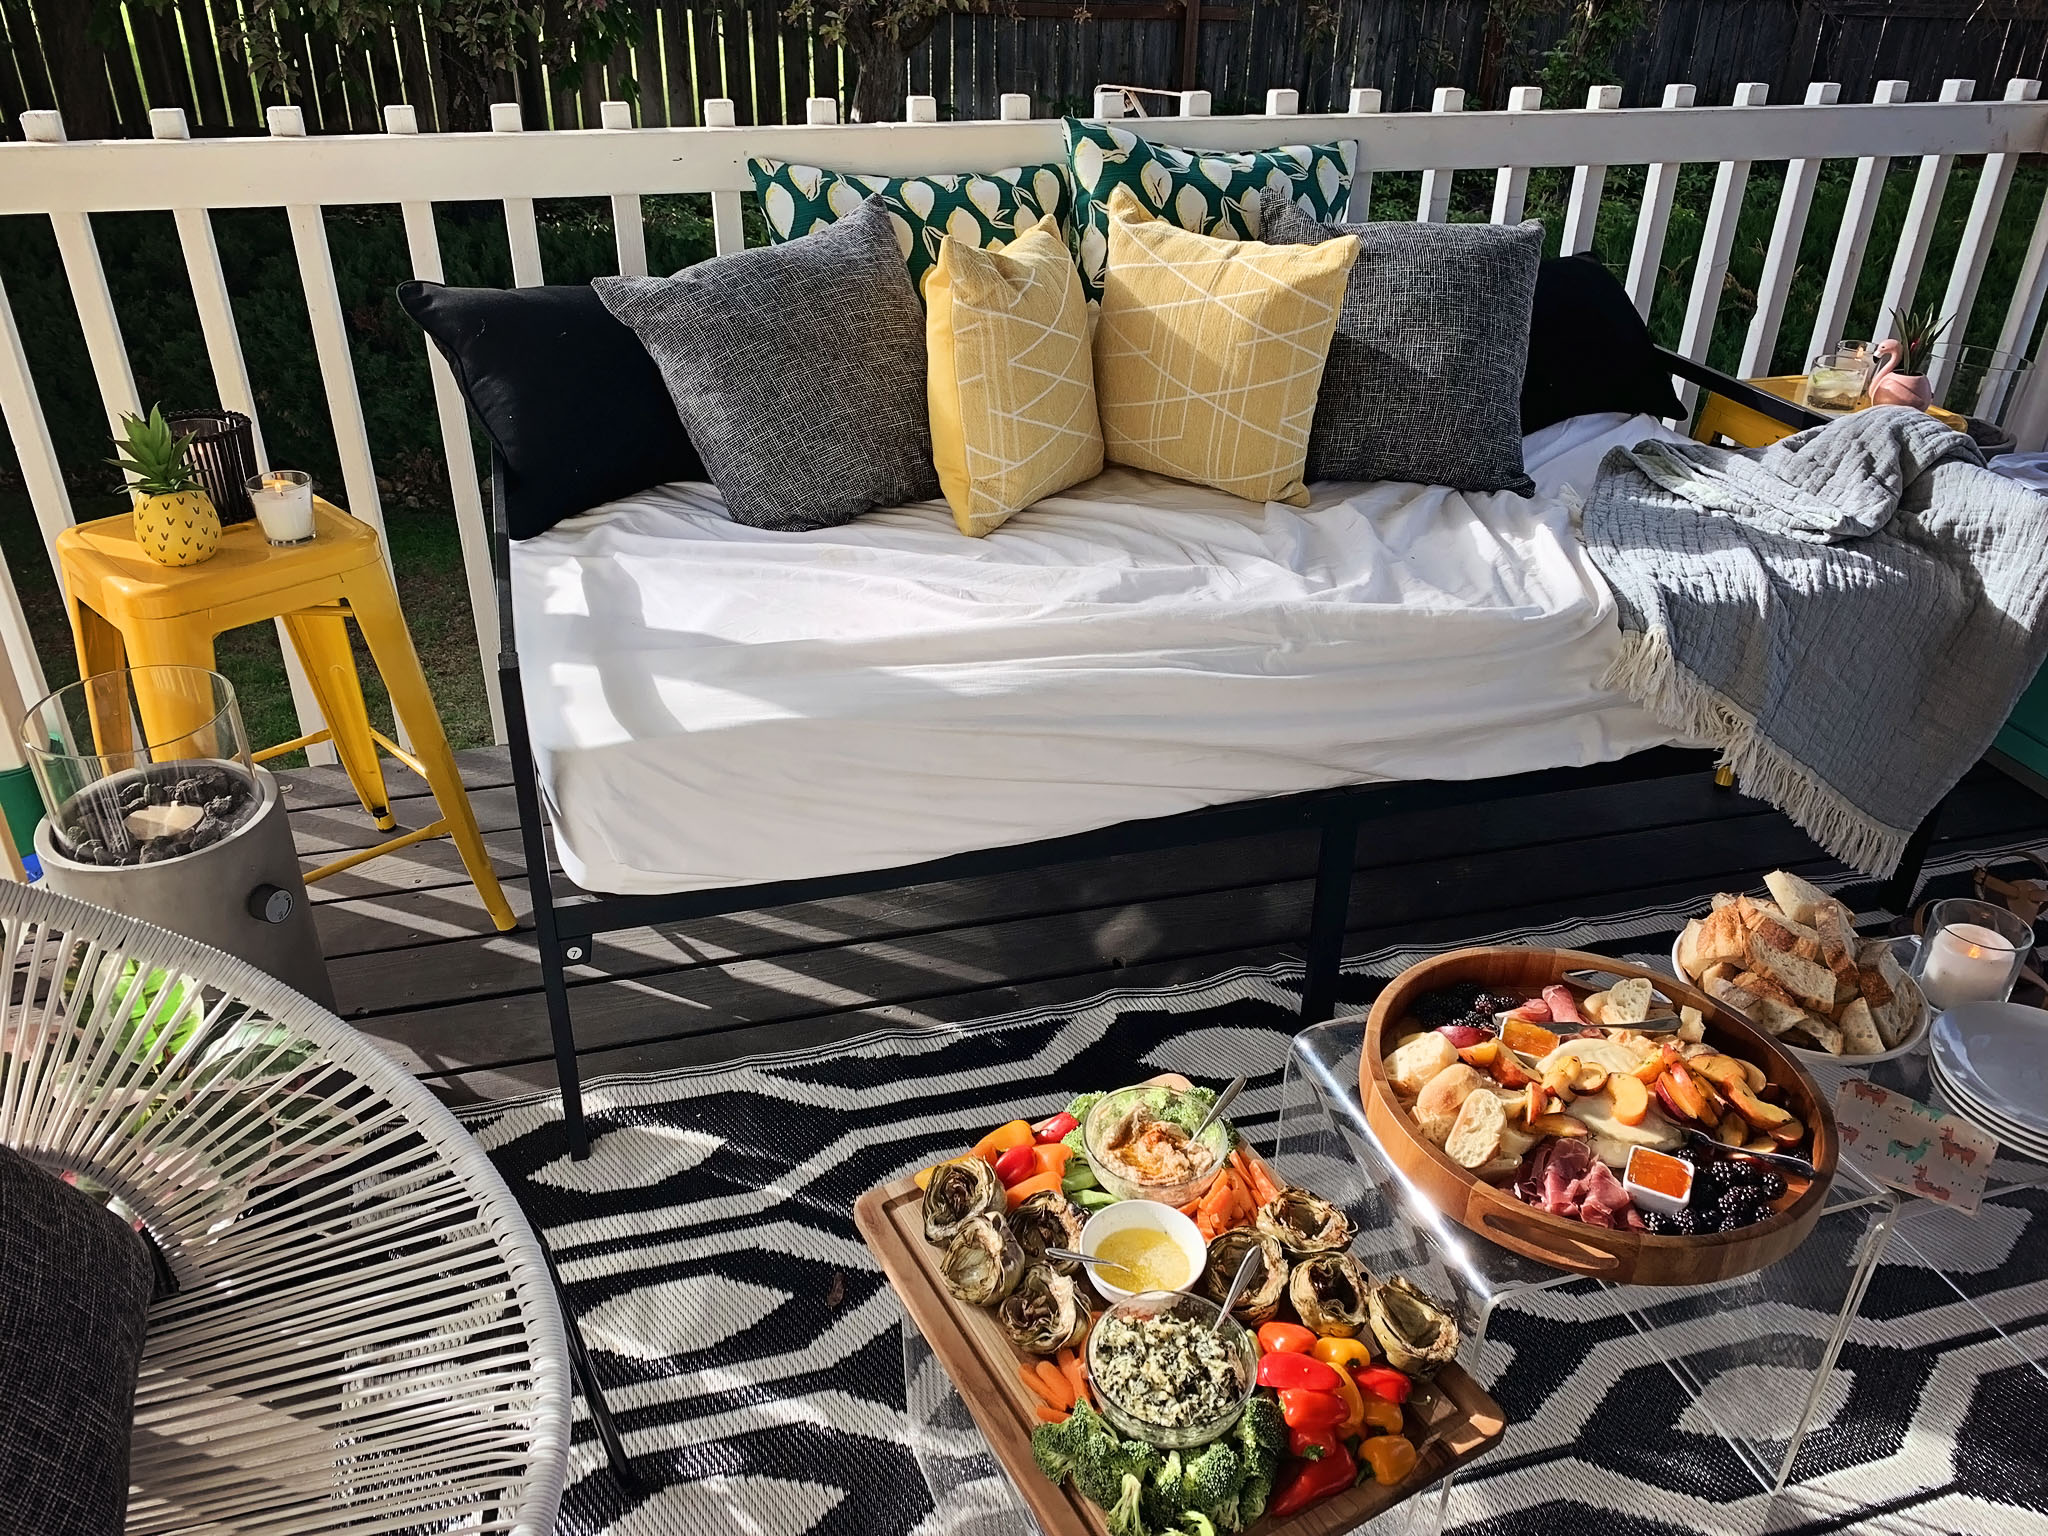
I wanted to make a the grilled brie and peaches to go with a few small items to create a nice charcuterie board or cheese board. However, as I was serving it as dinner, I also served a vegetable platter which is why you are seeing the artichokes on the grill in pictures. (I’ll share the vegetable platter in another post.)

Cedar Plank Grilled Brie and Peaches

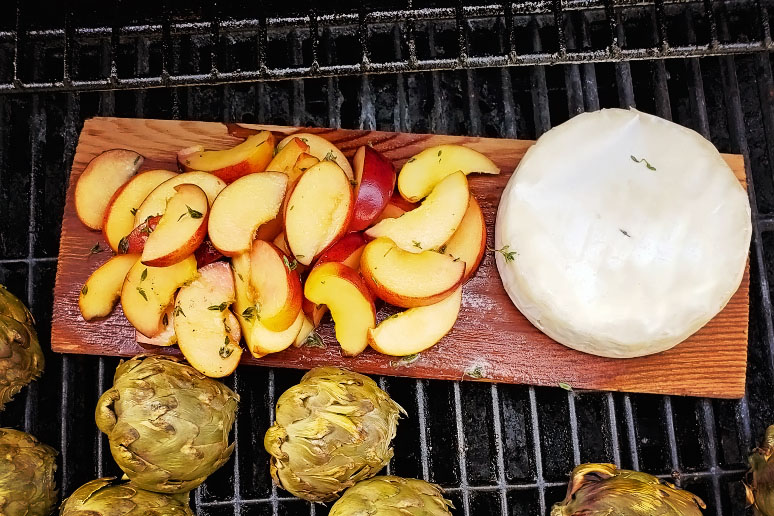
This is the most labor intensive part of this whole platter and it takes around 20 minutes aside from prepping your cedar plank. Cedar planks are going to be important for two reasons: 1) to impart a nice smokey flavor to your dish and 2) to prevent the peaches or brie from just melting right into the grill. You’ll want to make sure your cedar plank gets a good soak in water so that it doesn’t just burn on the grill.

Grilling brie and peaches on a cedar plank prevents leaking.

Cedar Plank Grilled Brie and Peaches Supplies/Ingredients:

  • 1 Cedar Plank *(Affiliate link) soaked in water for approximately 2 hours
  • 1 wheel of brie
  • 2-3 ripe peaches (not too ripe as they will just get mushy)
  • 1/4 cup honey + extra for drizzling after
  • 2 tablespoons olive oil
  • Fresh thyme- approximately 1/4 teaspoon
  • Salt & Pepper to taste (I used sea salt flakes and fresh ground pepper)
  • Grill (an alternative is using your oven and broiler but again, it is essential that your cedar plank has been properly soaked)

Cedar Plank Grilled Brie and Peaches Supplies/Ingredients:

  1. Soak your cedar plank in water. I put mine on a baking dish and cover in water for two hours.
  2. Heat grill (or oven) to approximately 350 degrees F or medium heat.
  3. Slice peaches, discarding pit.
  4. Mix together olive oil, thyme, and honey in a bowl.
  5. Toss your peaches in the olive oil and honey mixture. Remove from bowl and set aside.
  6. Brush your brie with the remaining olive oil and honey mixture.
  7. Place the brie and peaches on the cedar plank and place on grill. If there isn’t room for all of the peaches and brie on the plank then grill your peaches first, and then move to your brie.
  8. Cover the lid of the grill and let cook for approximately 10 to 12 minutes. The cheese will be warm and melted (it will still hold its shape with the rind, but you should be able to see that it might be starting to seep through a bit. The peaches should be warmed through and softened a bit. If using the oven, you can put the broiler on for a moment at the end to help caramelize the peaches a bit.
  9. Place on platter, salt & pepper to taste, drizzle with some honey, and serve!

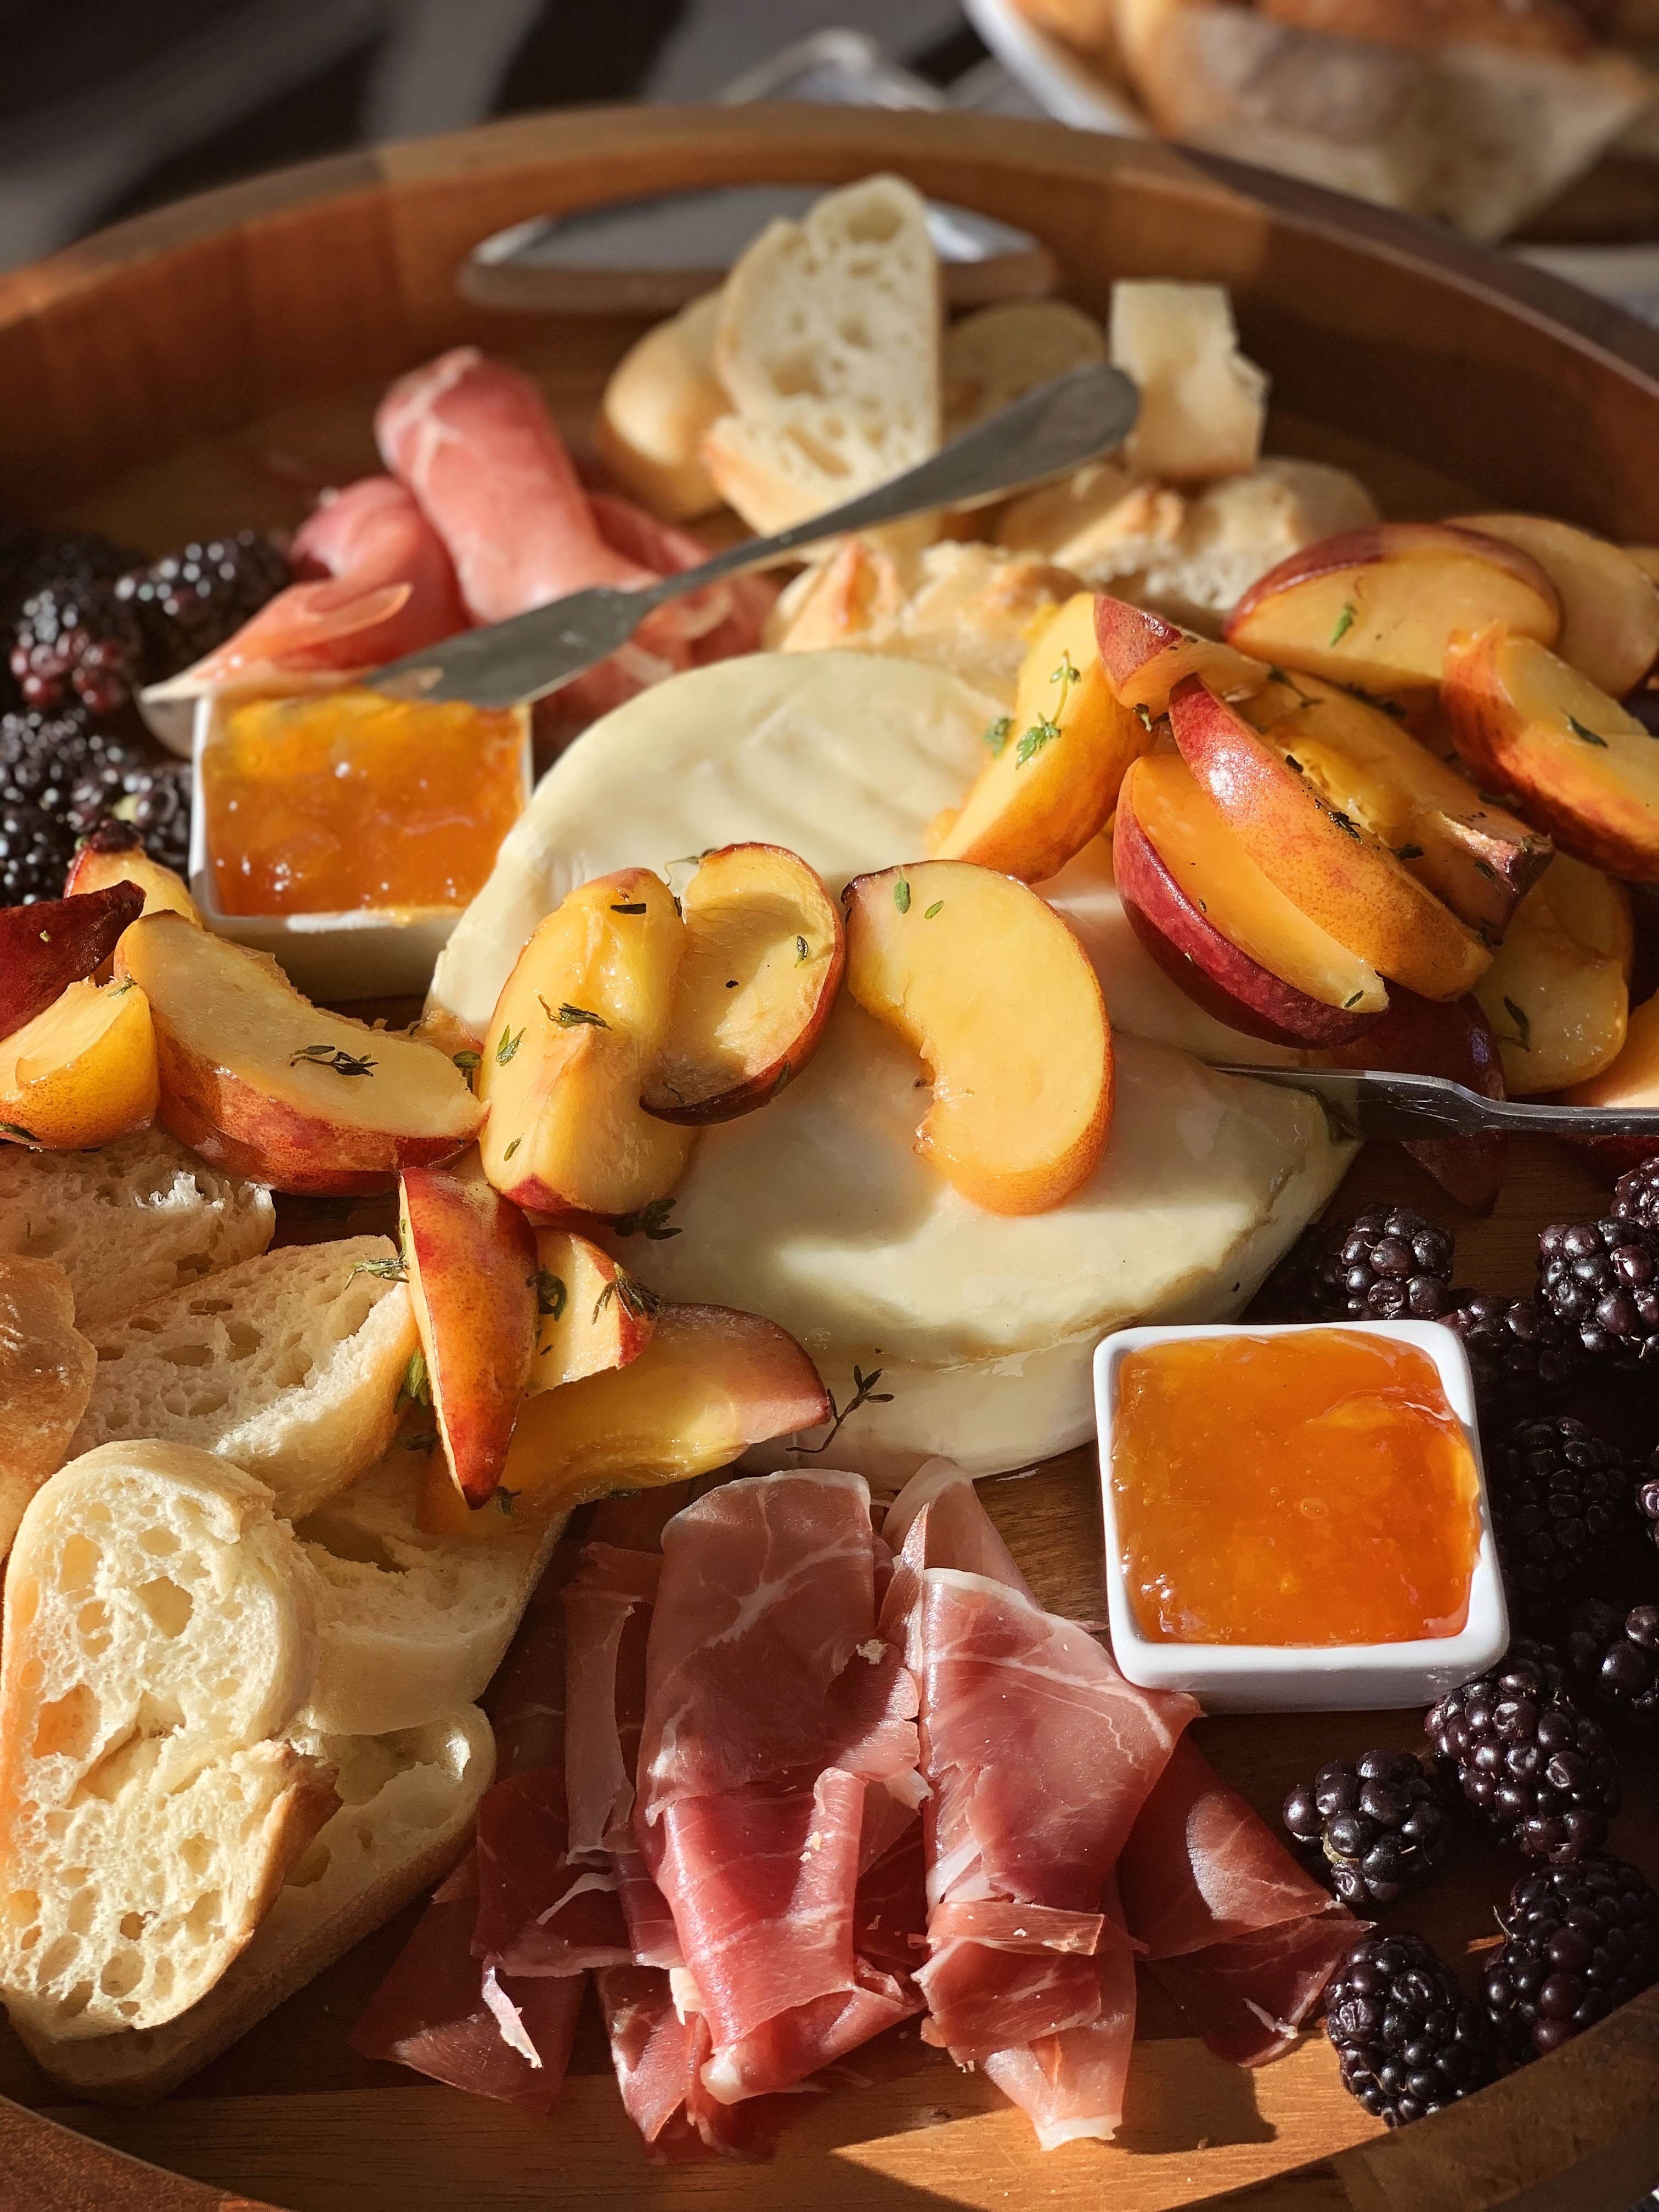
How to serve grilled peaches and brie

You can do so many different things in serving this dish starting with just adding some grilled bread or tasty crackers and calling it a day. I wanted to add a bit more bulk to the dish so I added prosciutto, blackberries, apricot jam* (affiliate link), and sliced baguette.

What other summer fruit or vegetables would pair well with grilled brie? Share your thoughts in the comments below or @ me @JenniBost!