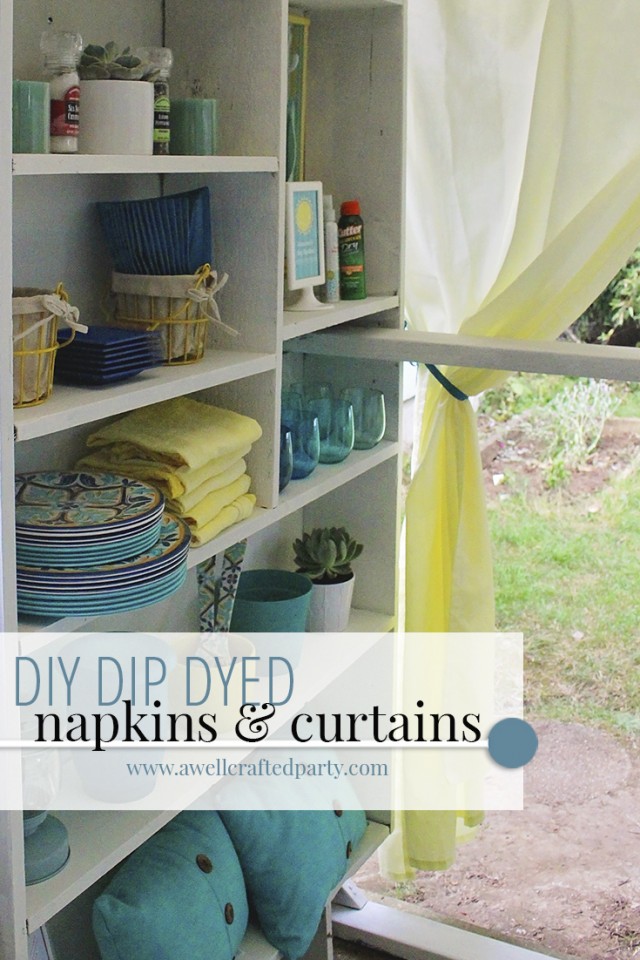
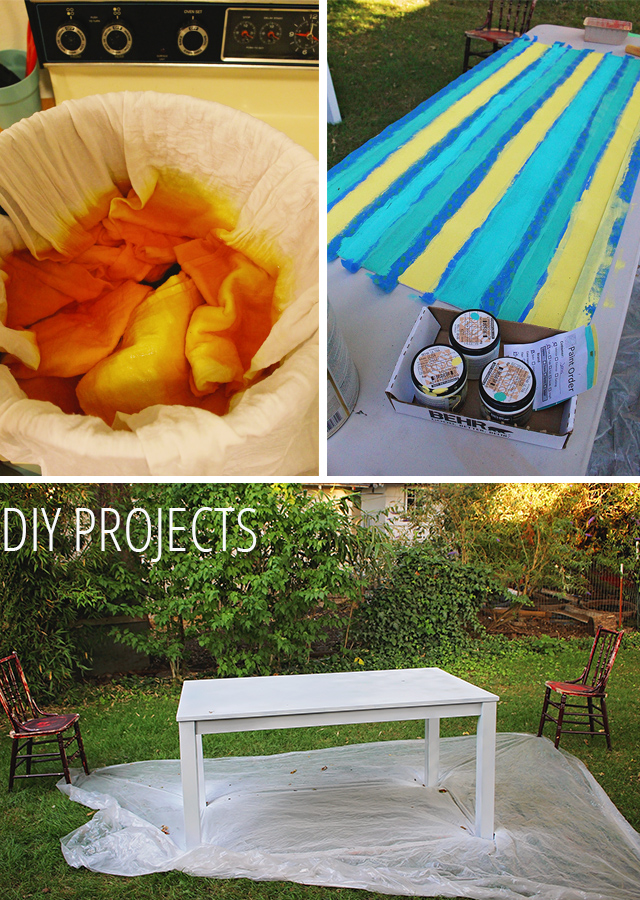
I don’t know if there is any DIY I love more than dying fabric. I have used the technique on a variety of projects including party backdrops, napkins, curtains and clothing up-cycles. It is a quick, inexpensive and super easy way to make an impact.
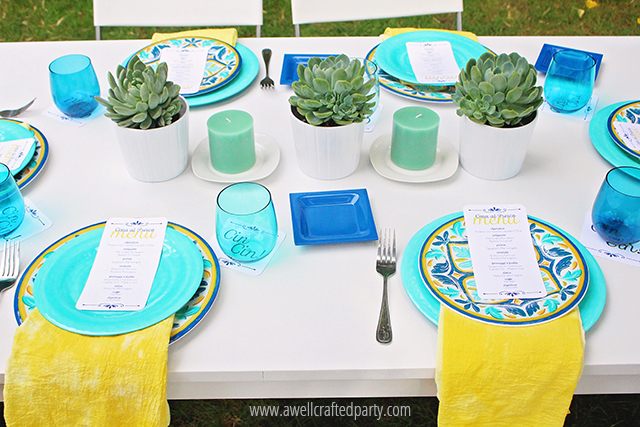
For my Summer porch makeover I knew that I would want to have cloth napkins for the many parties that I would be having in my new space. They already had a space on the bookshelf that houses all my entertaining supplies, but I didn’t have exactly what I wanted on hand. I wanted a fairly durable but inexpensive cloth napkin, ideally in a bright yellow or ombre yellow. People get messy in the back yard and BBQ meals don’t really lend themselves to the really nice cloth napkins due to staining. I needed something that could get messy and wash up easily, but wouldn’t be terrible to move into my cleaning cloth pile if stained. After searching unsuccessfully at all my favorite stores I landed on DIYing the napkins out of flour sack towels.
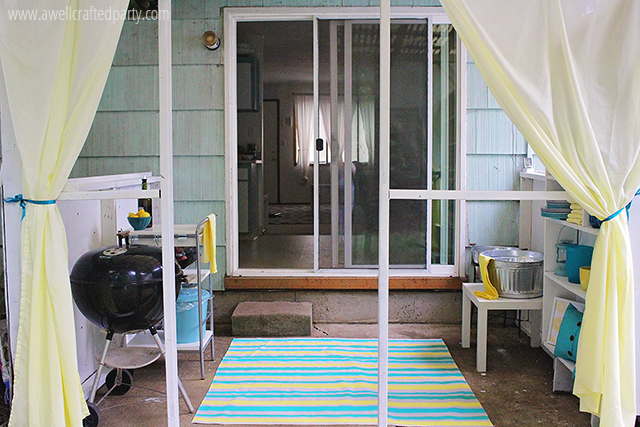
At the very last minute I also decided that we needed curtains for our porch area. One trip to Ikea and I came home with inexpensive white curtains that I was able to dip dye to coordinate with the napkins. The curtains are seriously my favorite part of the whole space and I hadn’t even planned on doing them!
DIY Dip Dyed Linens
I used the same process on both my DIY Dip Dyed Napkins and my DIY Dip Dyed Curtains. The curtains were a slightly different material than the napkins so the dye didn’t soak in quite as well and get the bright yellow look, but I loved the paler ombre look nonetheless. That is the joy of dying cloth… you never quite know what you are going to get!
(Some of the below links are affiliate links. Affiliate links help support this blog with no cost to you the reader.)
Supplies:
- — Linens of choice in WHITE! For the napkins I purchased 12 Flour Sack Towels via Amazon for just about $22. The curtains I got at Ikea for $10!
- — Rit Dye of Choice. Personally I have used the powder and liquid Rit Dyes for dying linens and have had good results both times. The biggest thing to remember when using the powdered dye is that you really need to mix in the powder well because if it isn’t mixed in well you will get speckled results on your final product. Follow the directions on the Rit bottle. They are there for a reason and they really do help! I used the Golden Yellow liquid dye and one 8oz bottle was enough for all 12 napkins and two curtains with some to spare.
- — Large pot for stove or bucket for dying fabrics. I used my canning pot for this project because it is huge and I can put it on my stove top to make sure the water stays hot enough. The package directions also gives options for large buckets or the washing machine, but the stove top has always been my choice of dying method.
How to Dip Dye Linens:
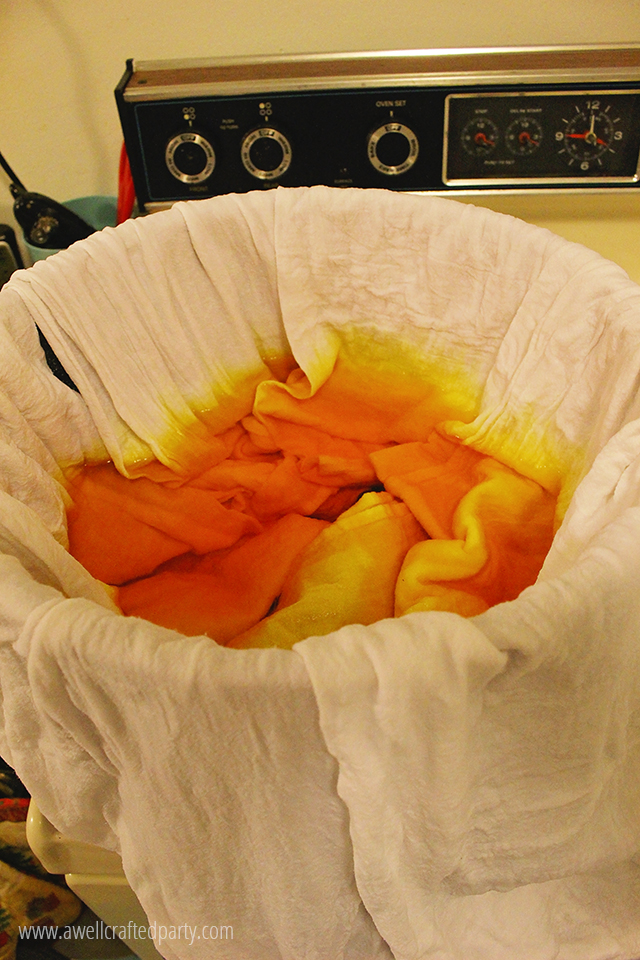
- Prep your dye according to package instructions. My dye required super hot water and some salt because I was dying cotton items. It only took a few minutes to really get this all set up, the heating of the water taking the most time! As the water was heating I prepped my linens.
- Prep linens by wetting them and ringing out. I’ve dyed things from dry before and just do not like the results as much as I like the results of dying from wet. I wet all of my linens and rung them out prior to dying.
- Slowly dip linens into prepared dye. I am not one to take a lot of time in DIY projects. I just don’t have the patience. So, instead of dip dying these one at a time I chose to do them all at once. I put each of the napkins in with about an inch of the fabric in the dye water. I let sit for about 5 minutes and then lowered each one more into the water. I continued this process until the first dipped ends were in for about 30 minutes. You can choose to not dye the very ends at all if you’d like the ombre look to go into a full-on white, or dip the ends in the dye for just a moment. I chose to have the entire napkin be covered in the dye with the top ends being slightly lighter. The ombre on my napkins is very subtle. The ombre on my curtains is much more pronounced because of the difference in fabric. The fabric was a polyester blend and didn’t soak in the dye quite as much as the cotton flour sacks.
- Rinse and dry as directed on dye package directions. After rinsing out the dye in the sink a bit I threw in the washer for a good rinse cycle. I then dried the linens in the dryer.
I love how these came out and with the napkins costing around $2 each I could not have gotten the same results for the same price any where else. I was able to do the entire process in one evening as well, so that is my kind of DIY!
Check out my other Summer Porch DIYs:
Other great Linen DIYs from around the web:
- — DIY Dye Painted Cloth Napkins
- — Fabric Marbling via Sugar and Charm (seriously good gift idea!)
- — DIY Shibori Designs via Design Sponge
- — DIY Watercolor Napkins via Paper & Stitch
- — No Sew Napkins out of drop cloth via Maison de Pax
- — DIY Ombre Table Cloth via Oh Happy Day or this amazing pink Ombre Table Cloth DIY on Green Wedding Shoes
- — This step by step ombre dyeing tutorial form Stand and Deliver is AWESOME.
Have you ever dyed fabric for a project? Comment below telling me all about the project! Links welcome.


