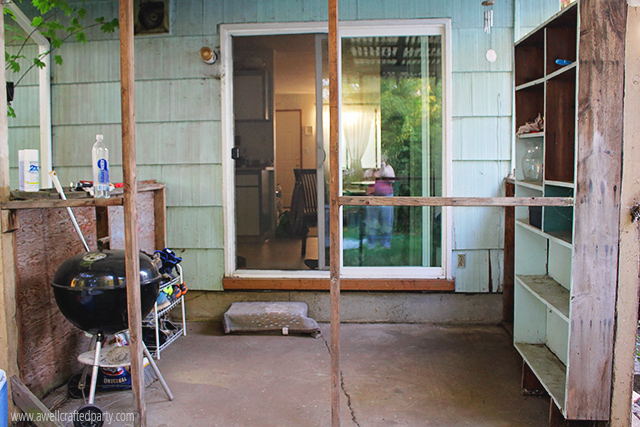
When working on my porch makeover for our rental home I knew that I wanted to cover up as much as the back porch’s cracked and ugly surface as I could, but had to do so affordably. If you’ve ever looked up the cost of large outdoor rugs then you’d know that I was looking to spend a large portion of the very little money I had to do my porch makeover. I wasn’t really willing to give up the cash, even when I found some really cool rugs. A quick reminder of what my poor porch area looked before the redo…
I had seen DIYs in the past where people had painted inexpensive outdoor rugs, painted drop cloths to make curtains, or even created their own rugs using thing like t-shirts! I knew I wanted to try out doing it myself, but I wasn’t entirely sure what I was going to do until a trip to Home Depot really lucked out.
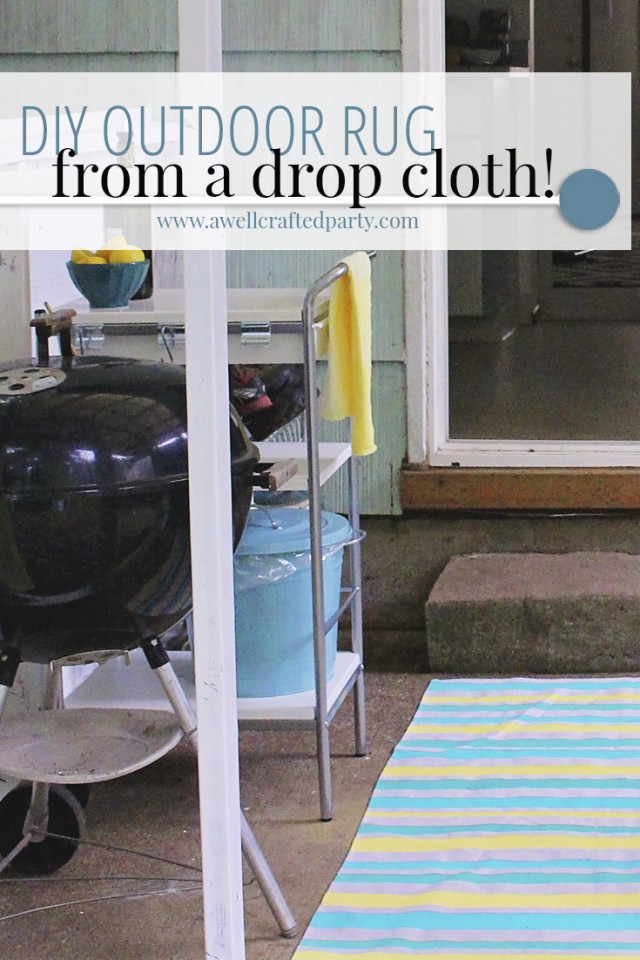
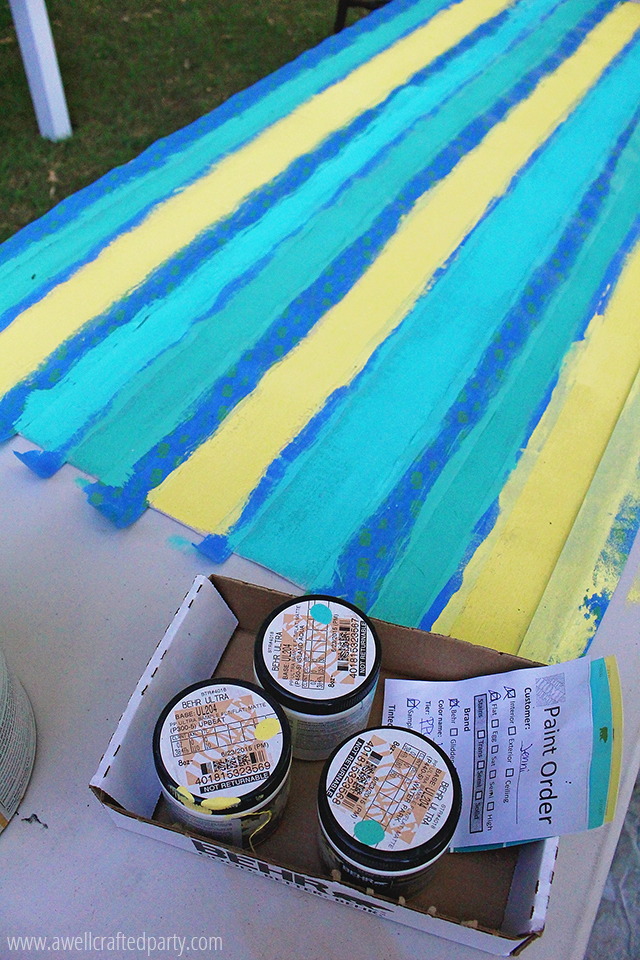
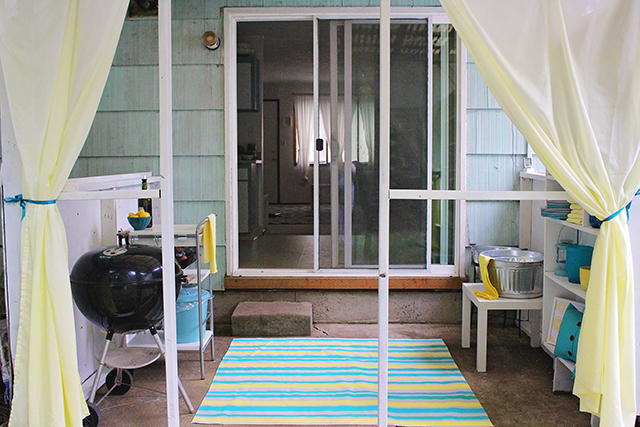
While getting my porch paint I decided to check out the drop cloths and see if any of them would work for a thin, inexpensive, and washable outdoor rug. I lucked out and found a 5X5 canvas drop cloth with finished hems and a leak proof backing for just $8! The drop cloth is reusable, which is great because all the shoes across it from our back yard have made it super dirty. We’ve been able to sweep it off easily and hose it off for bigger messes. I chose to paint the rug in multiple sized stripes in three colors that coordinated with the other items going in my back yard decor. The sample sizes were just right for this size of rug, but they only came in interior paint. I decided to go ahead and use the interior flat paint from Behr and then chose to spray it with a few layers of sealant after it dried.
The most exciting part of this project for me was the fact that it was so easy and inexpensive that I’ll be making another one as the Fall season approaches to go with my outdoor Fall decor. Heck, we may even make a different one for the holidays!
DIY Outdoor Rug from a Drop Cloth & Paint
This entire rug cost me about $14 which I felt was a great price for a 5X5 rug! The DIY process was super easy and fast… even the drying process wasn’t bad! I taped by rug up on a table and did in sections because I can’t bend over easily now days, but you could easily put this on the floor on top of another drop cloth or paper (in case of paint accidents) to paint it all in one session.
Supplies:
(Below links may be affiliate links. Affiliate links help support this blog with no cost to you the reader.)
- — 1 lined canvas drop cloth in the size of your choice (5X5 drop cloth via Amazon or grab at your local Home Depot)
- — Painters tape (I used two different sizes of painters tape to add variety to my rug stripes, though you only really need one. Both were Scotch Blue painters tapes.)
- — Paint ( I used Behr paint samples in Island Aqua, Upbeat, and Water Park)
- — Paint brush (a roller would also work depending on size)
- — Sealant ( I used a spray sealant.)
- — Ruler if you want to be precise… I didn’t care, so I didn’t use one!
How to make a drop cloth into an outdoor rug:
- Pull out your reusable drop cloth and adhere to a hard surface. Don’t forget to protect your surface with a plastic drop cloth, paper or another drop cloth that you use for your painting projects. You don’t want to accidentally get paint on a surface you don’t want paint on! Tape down your rug using the painters tape so that it does not move while you are working.
- Tape out your design on the rug. I went with imprecise stripes that were a variety of sizes. I basically just taped out the stripes trying to make sure my tape was straight. If you are a little bit more inclined to like things precise then I’d highly suggest taking a yard stick or ruler and marking out your stripes with a light pencil line before adding your tape.
- Paint! The canvas soaks in the paint pretty well so this can take some time. But, it will also dry very fast.
- Let dry then remove tape. I let my rug dry for just a couple of hours and it was ready to go. I tested the paint with my finger tips a bit before taking off the tape. The tape comes off easily!
- Spray with sealant. Spray the rug with the sealant according to the directions on the sealant you purchased. Let dry overnight and your rug is ready for feet!
Note: These rugs do not help with cushioning the area or taking off mud at the door. If your needs require that then you’ll want to look for an outdoor rug with more heft. (Check out the links below that show some other outdoor rug projects that you can do if you want a different look/feel to your DIY rug.)
Check out my other Summer Porch DIYs:
Check out these great porch DIYs from around the web:
- DIY Outdoor Curtains from Tiny Sidekick (this gave me the idea to make the rug out of a drop cloth!)
- This bright and beautiful outdoor rug is actually just painted right on the cement via A Beautiful Mess.
- If you don’t feel super comfortable free-handing the design of your outdoor rug you can try stenciling it instead! (via The Hunted Interior)
- This outdoor rug from Addicted to Decorating inspired the stripes on my own outdoor rug!


