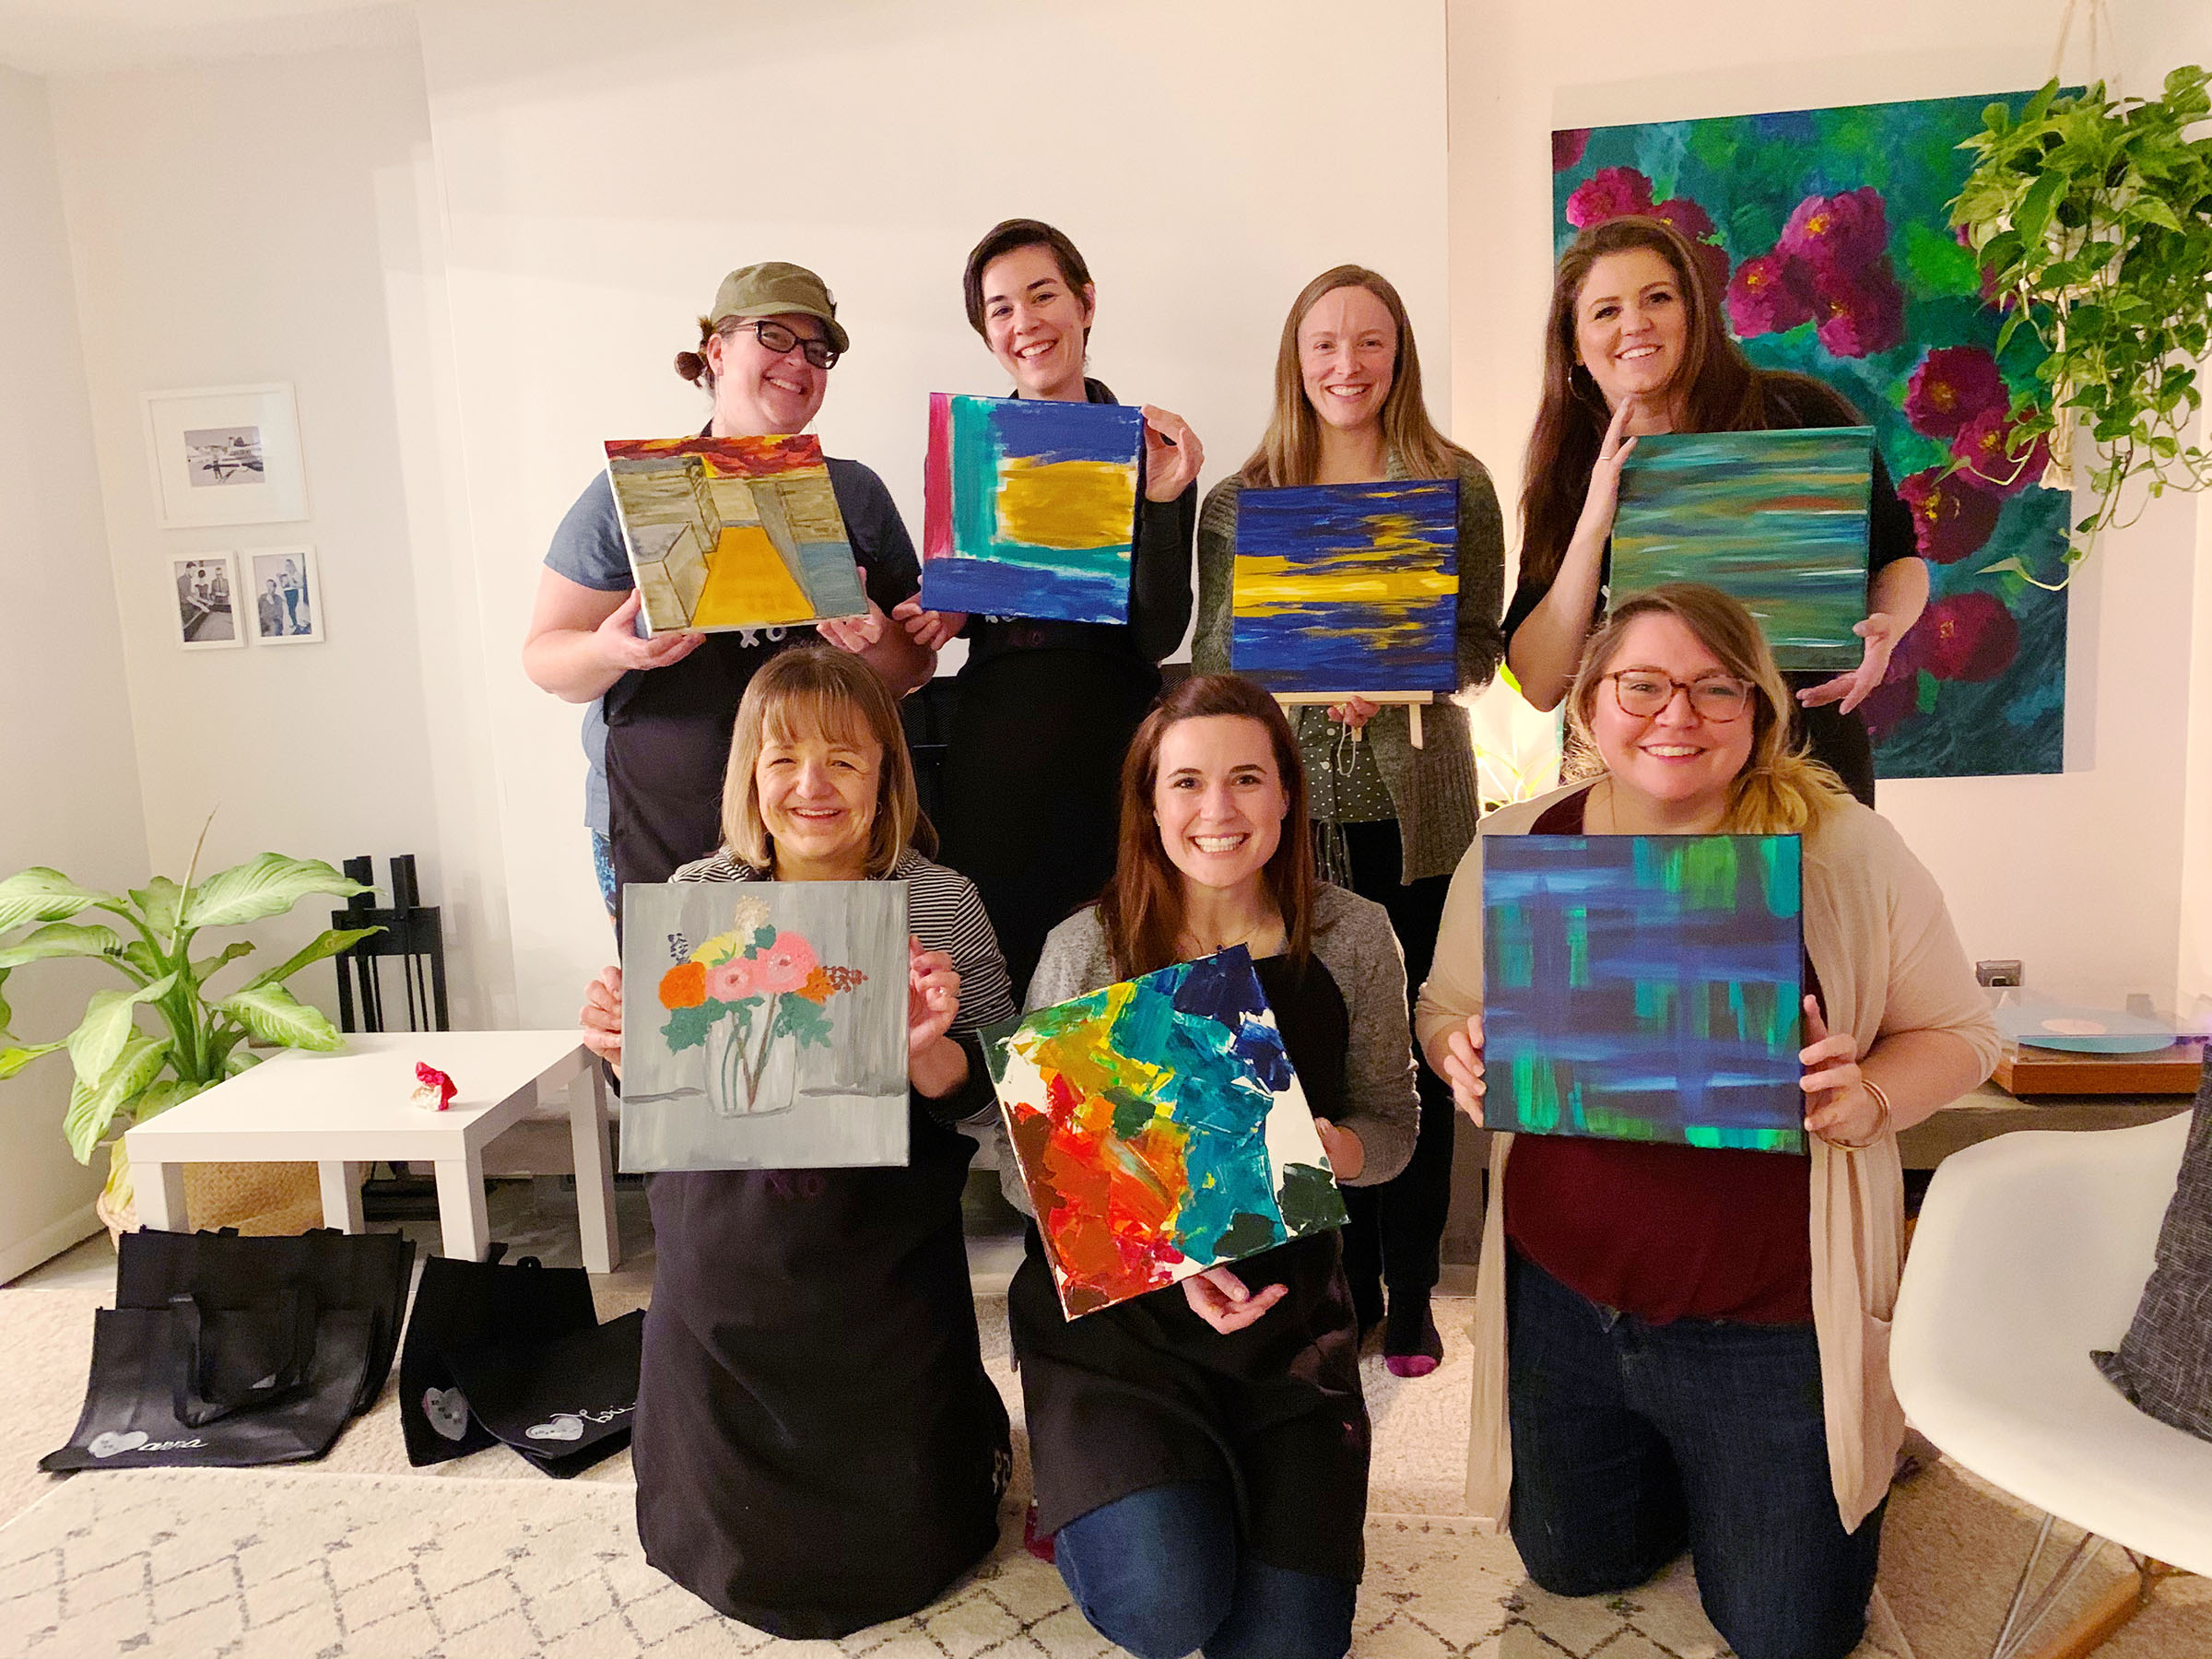
A splash of paint, a dash of gin, and a gaggle of your favorite friends and you have a recipe for a super fun ladies night in. Host a painting night (also known as a Sip & Paint) with your favorite gal pals and give the gift of a fun evening in and a party favor that’ll decorate their homes! Read on to see my recent Galentine’s Day version of a painting party along with some tips to host your own!
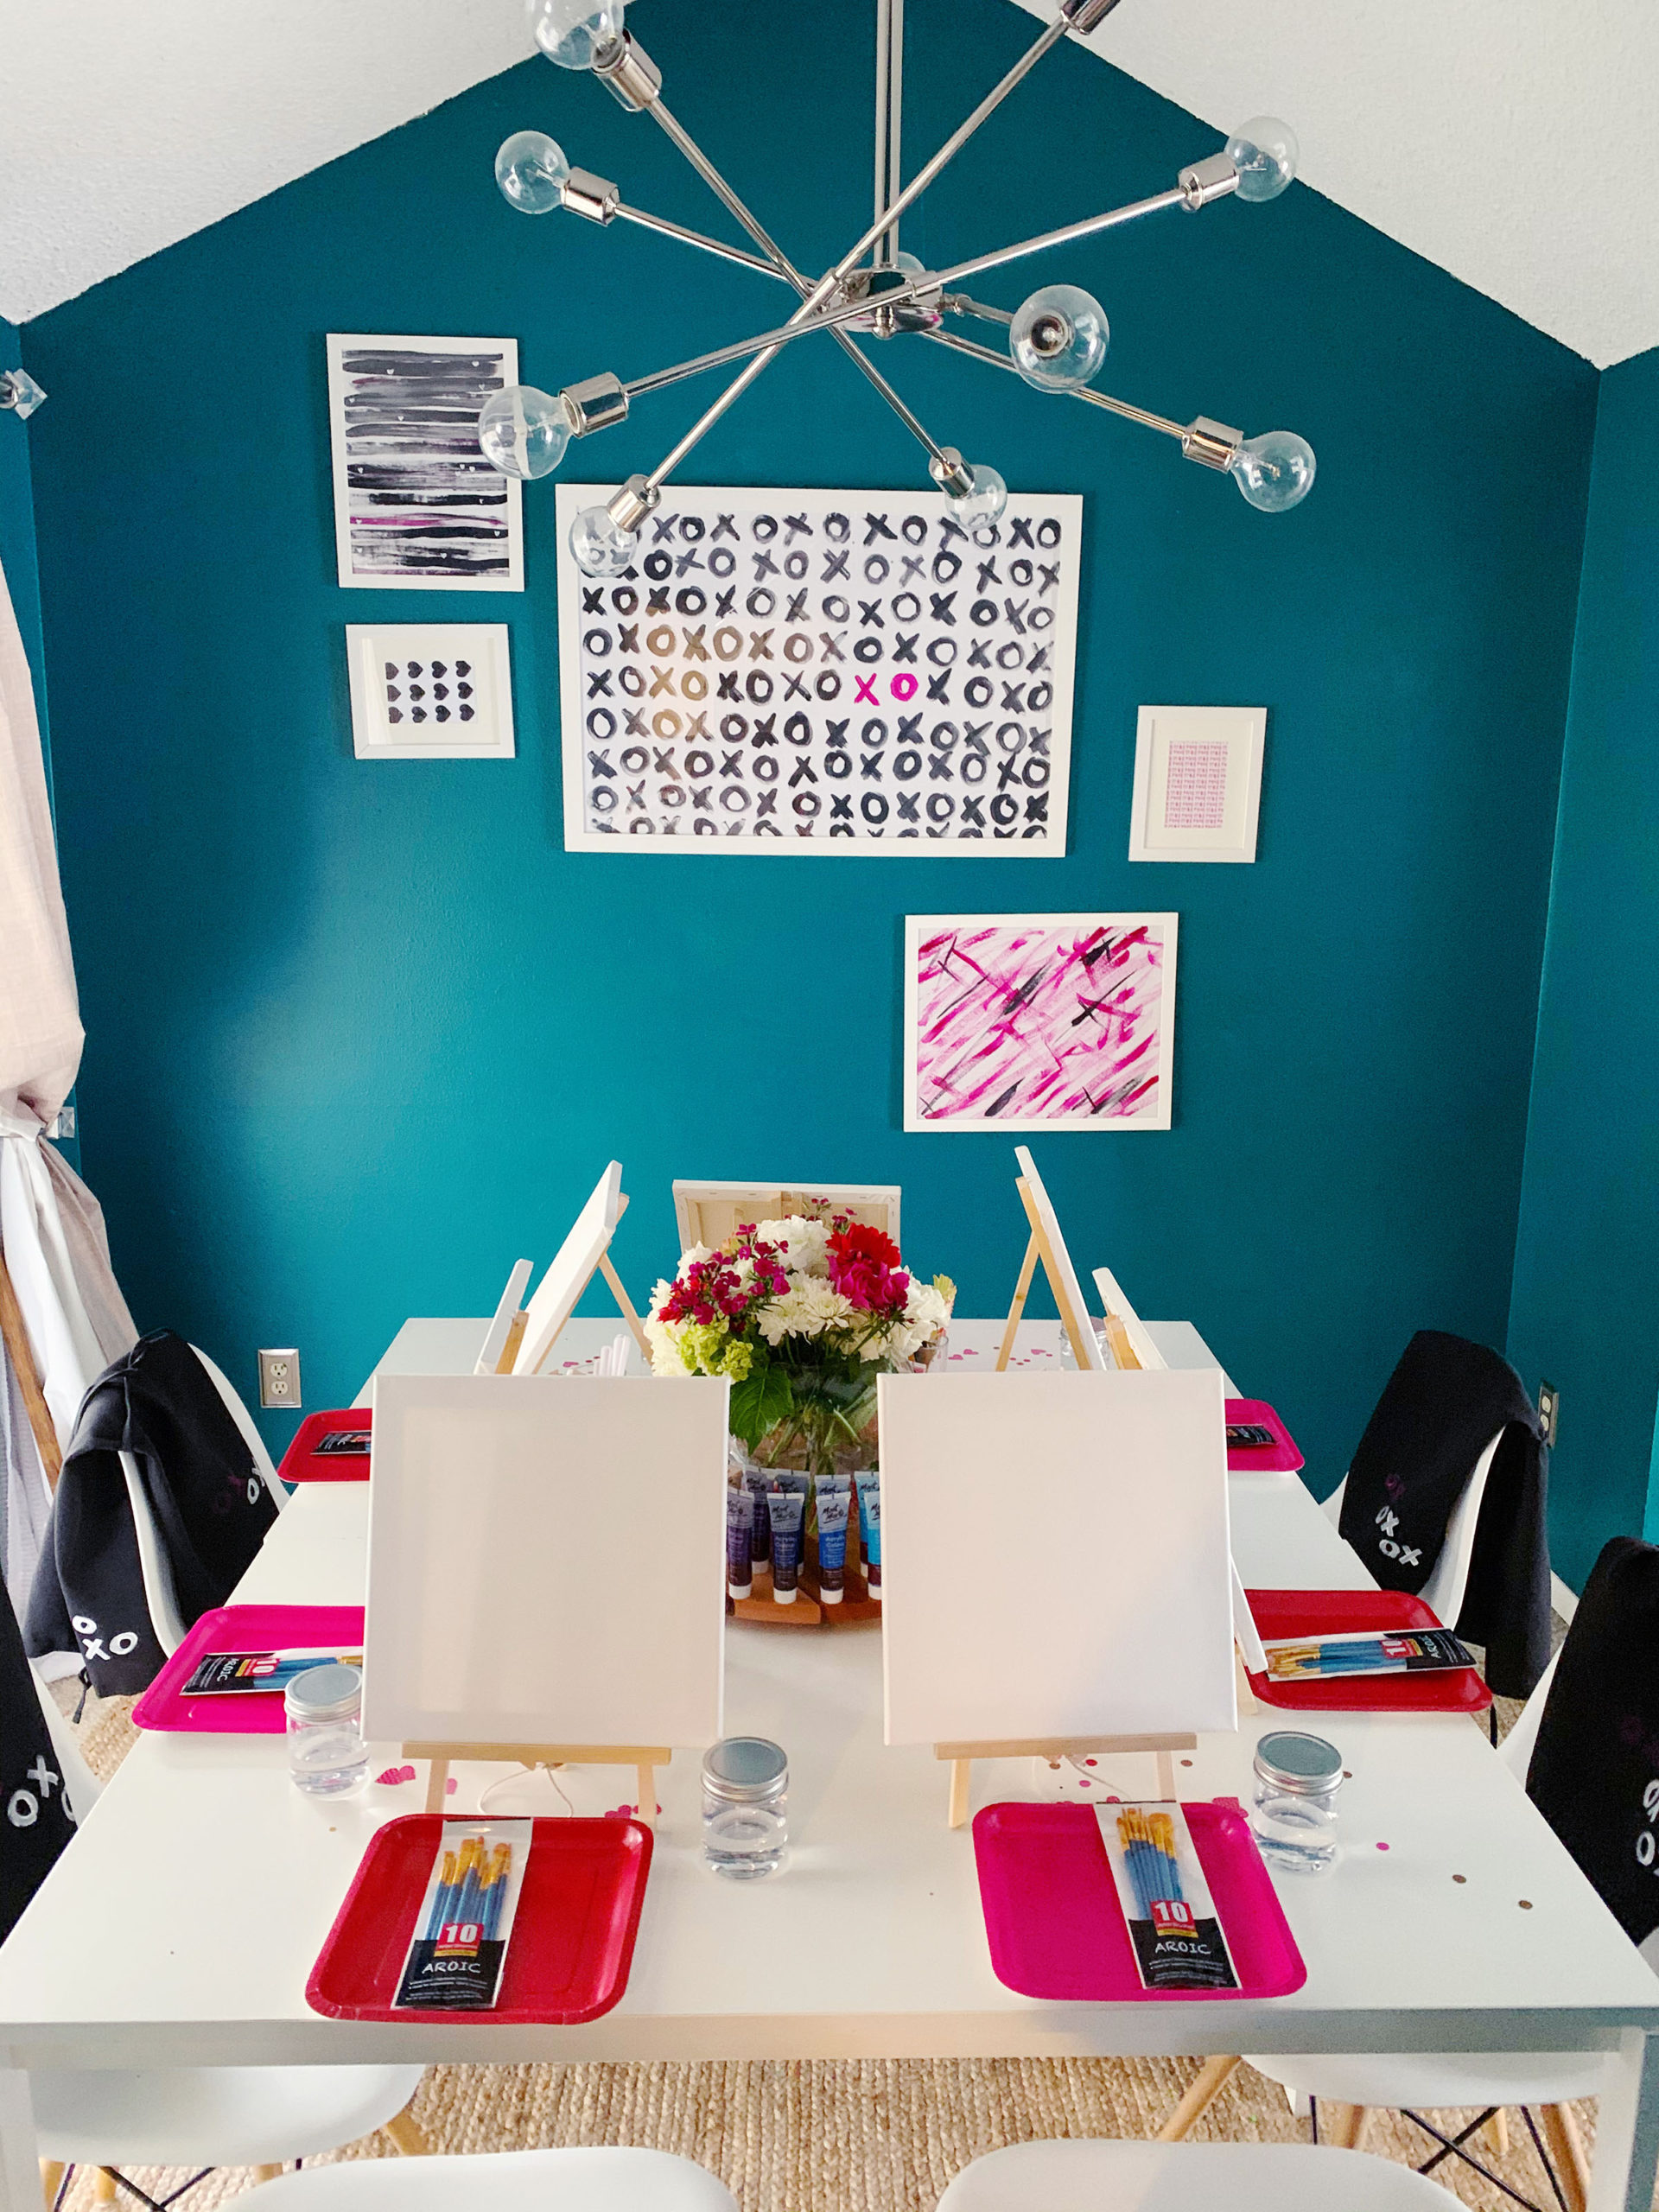
This party certainly doesn’t have to be done as a Valentine’s Day celebration. However, since this party happened to be near the day of hearts and love… I decorated the party space to reflect that. I kept it mostly simple using graphic black, white, and pink elements. Xs and Os and hearts helped move the theme from the painting space to the bar and food space.
How to Host a Painting Party
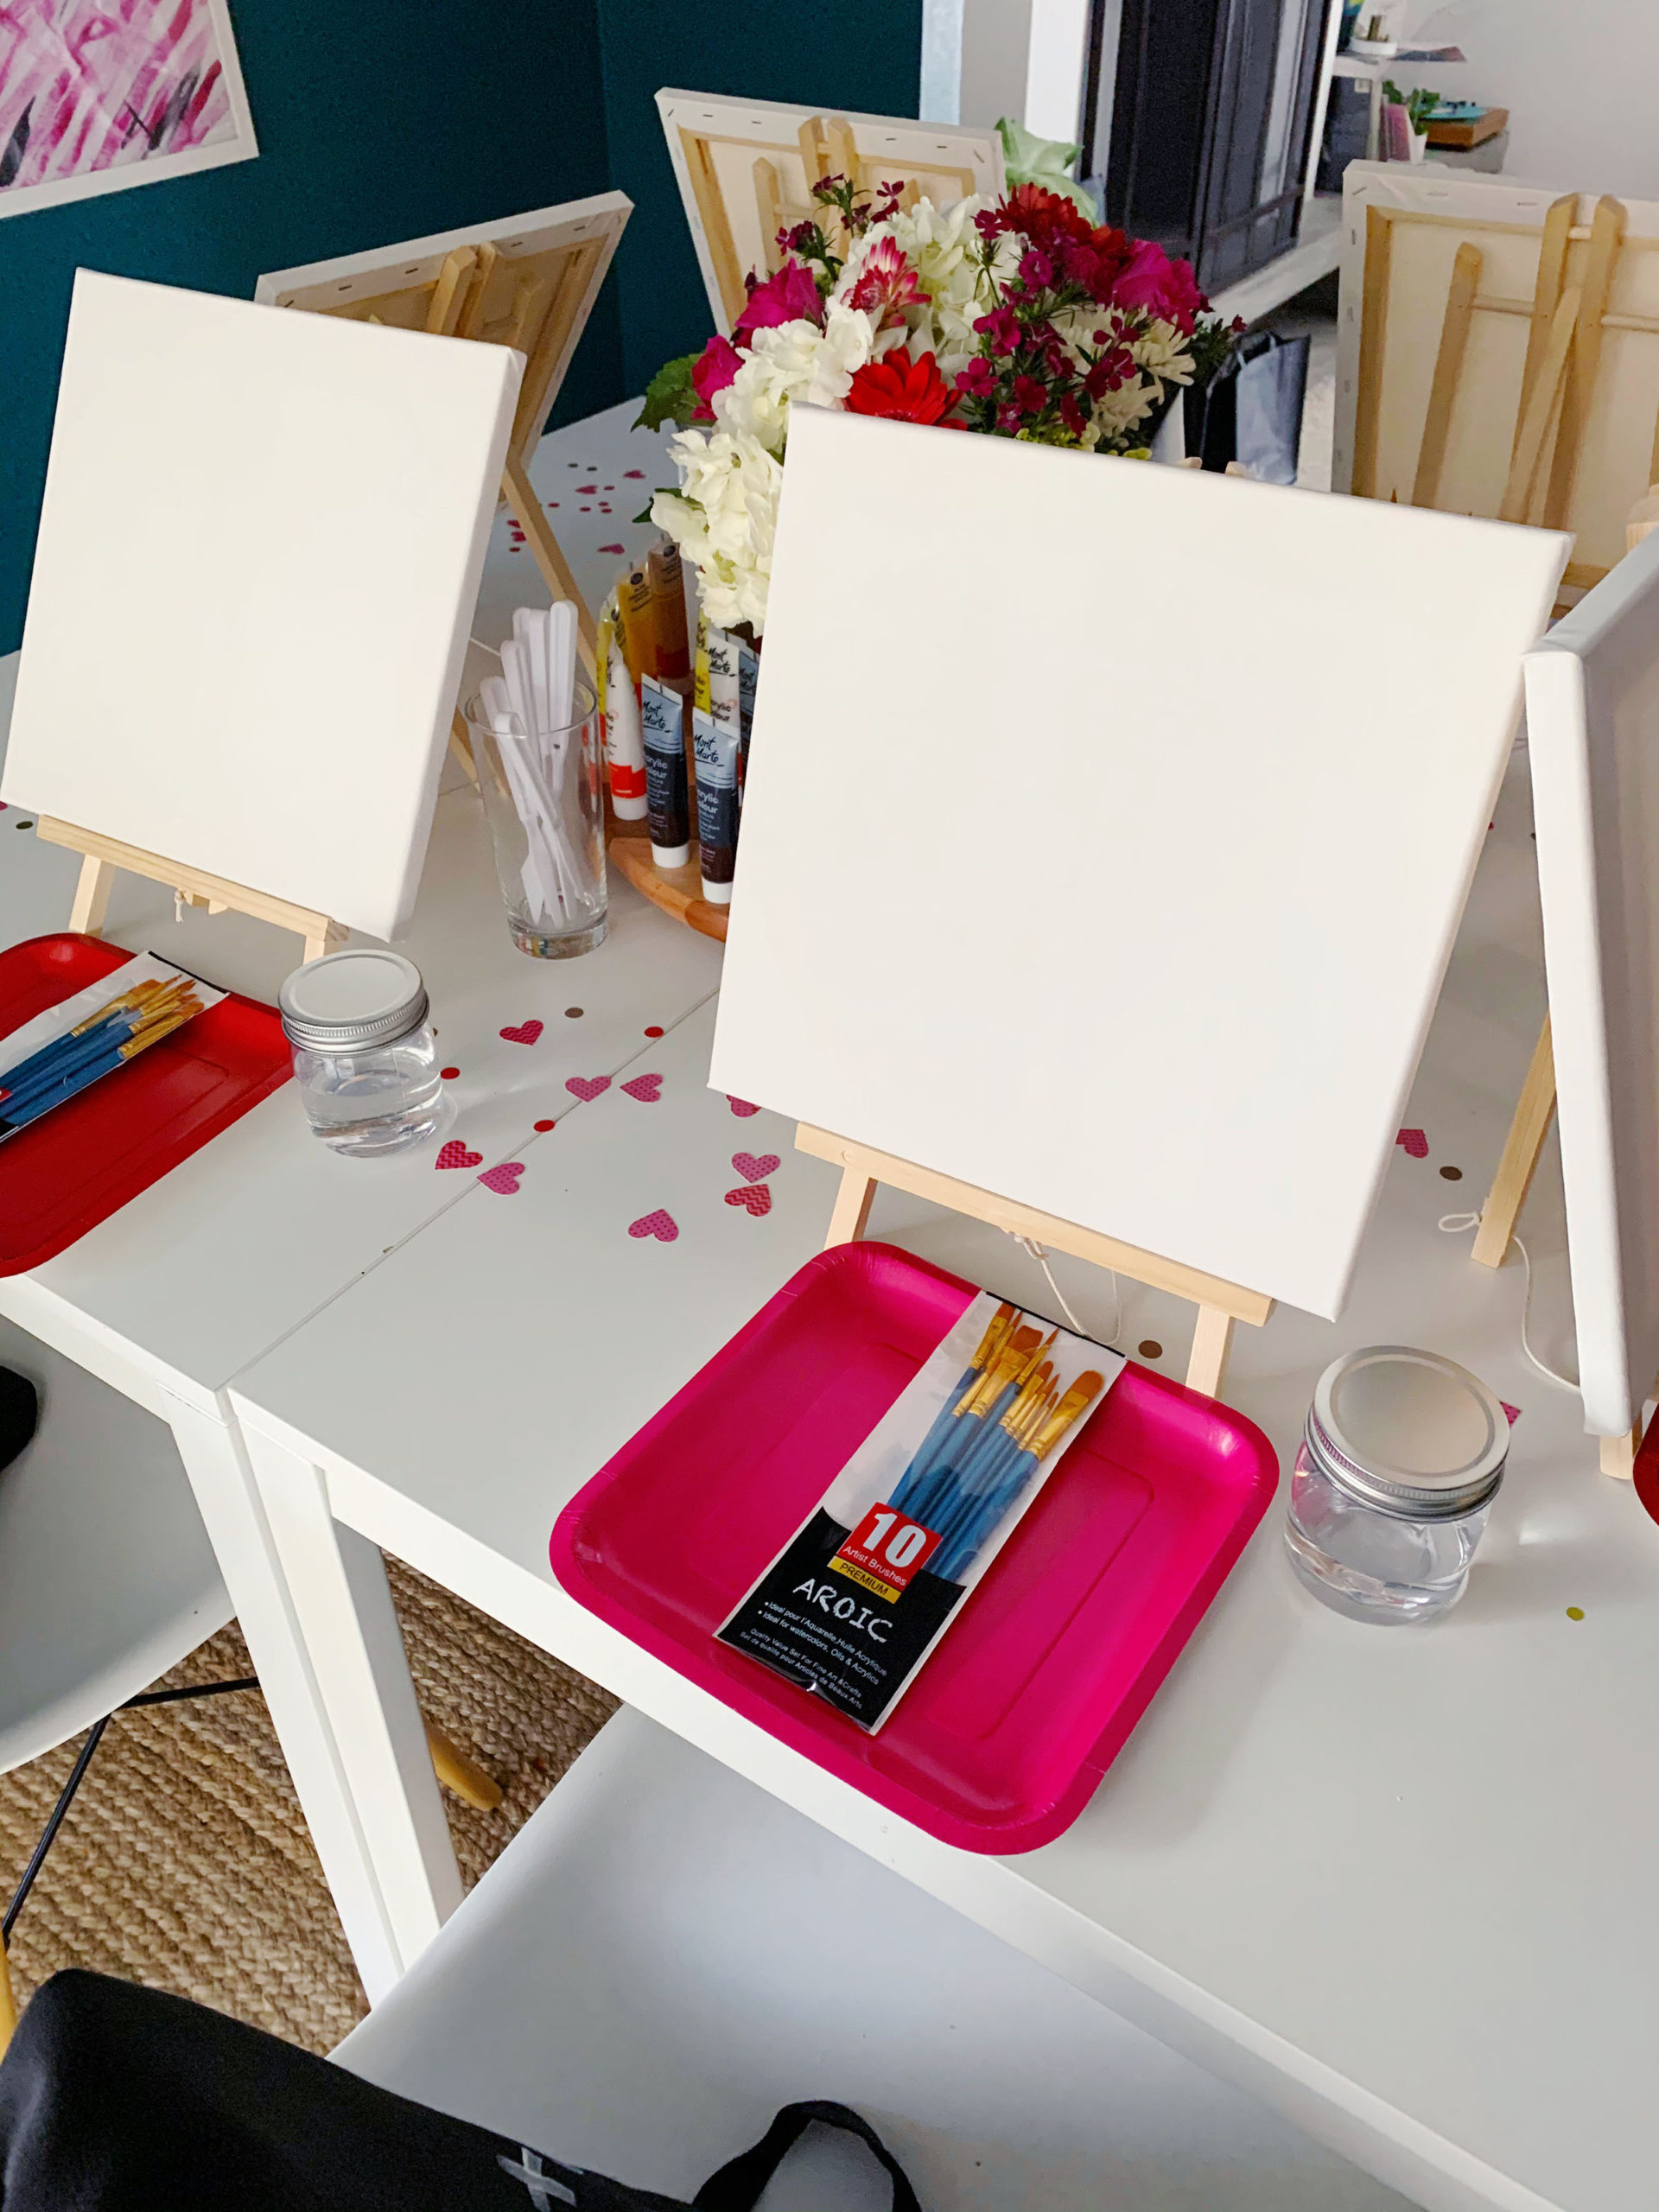
The supplies for a painting party can be as simple as a painting surface and some acrylic paint. Fingers make great brushes! However, if you want to keep it a bit more clean, paint brushes are a good addition. To keep costs down you can even just grab the essential colors of paint (black, white, red, yellow, and blue) and let guests mix their own combinations.
I knew I’d be hosting more than one of these events, so I picked up some easels, larger boxes of paint ranging colors, prepped canvases, and paint brushes. The below links are to the actual items I got for my painting party and are affiliate links which means I get a small payment if you make a purchase (at no additional cost to you).
Painting Party Supplies (affiliate links):
- 6 Pack of Easels
- 12X12 Canvases
- Mont Marte Acrylic Paint
- Acrylic Paint Brush Sets
- Water glasses
- Towels to clean off brushes
- Paper Plate or Palette Plate
Tips for Painting
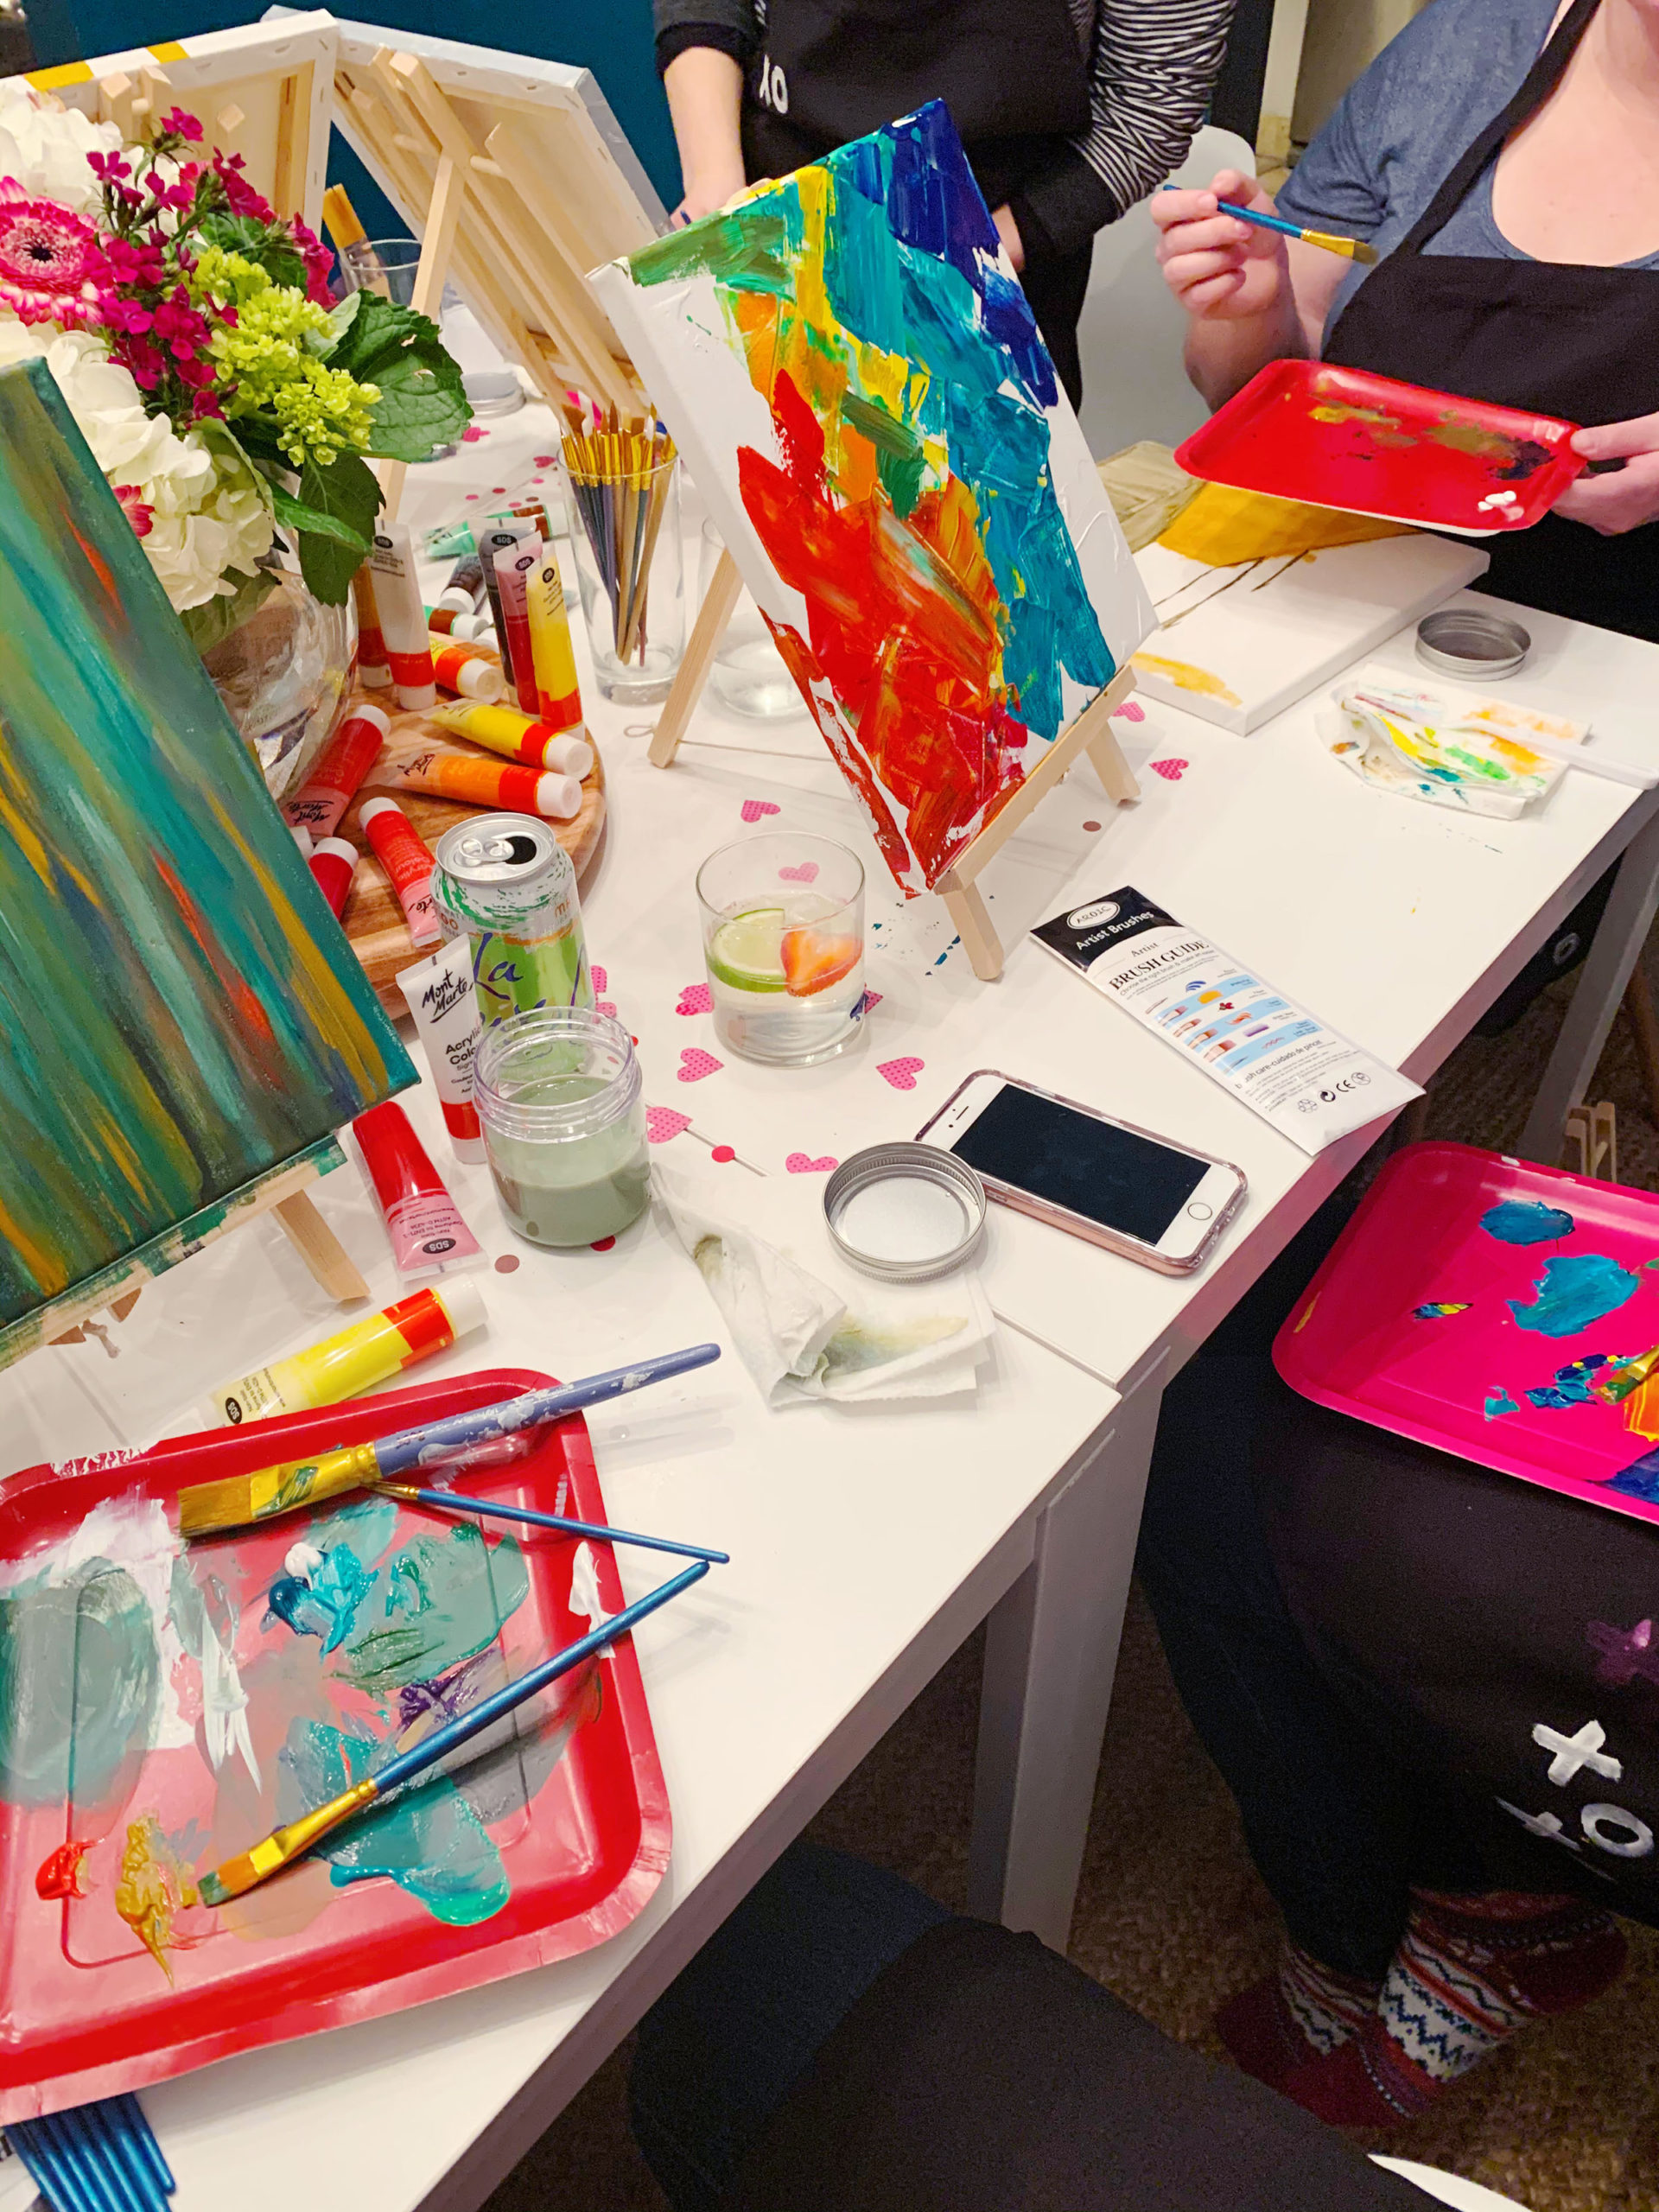
I really love the idea of going to one of those Paint and Sip venues with friends. I’ve been several times and always have a good time. However, one of the things I don’t like about it is I’m often left with a piece of art that I probably wouldn’t have chosen to decorate my house with if not for the cost of the party. So, when I host a painting party… I sorta let everyone do their own thing. I love how creative everyone gets!
Not everyone loves to paint like I do and some people majorly underestimate their skill. So, the below tips are how I encourage people to paint.
- Stick with abstract. Unless you are great at drawing…abstract is where it is at.
- Pick colors that go with your home decor already.
- Search for artwork in that color scheme to inspire your painting. For instance, if you decorate in blue and yellow do a Pinterest or Google search for “abstract art blue and yellow” and see what comes up!
- Don’t try to copy. Look a the shapes and brush strokes on the art pieces you are drawn to and imitate that, but don’t hold yourself back.
- Stop throughout your painting to let paint dry and to step back and see how it is shaping up. If you feel stumped…. turn your artwork on its side or upside down and see if that inspires you.
- Don’t be afraid of white space. Seriously… sometimes less is so much more!
The Extras… Food & Drink
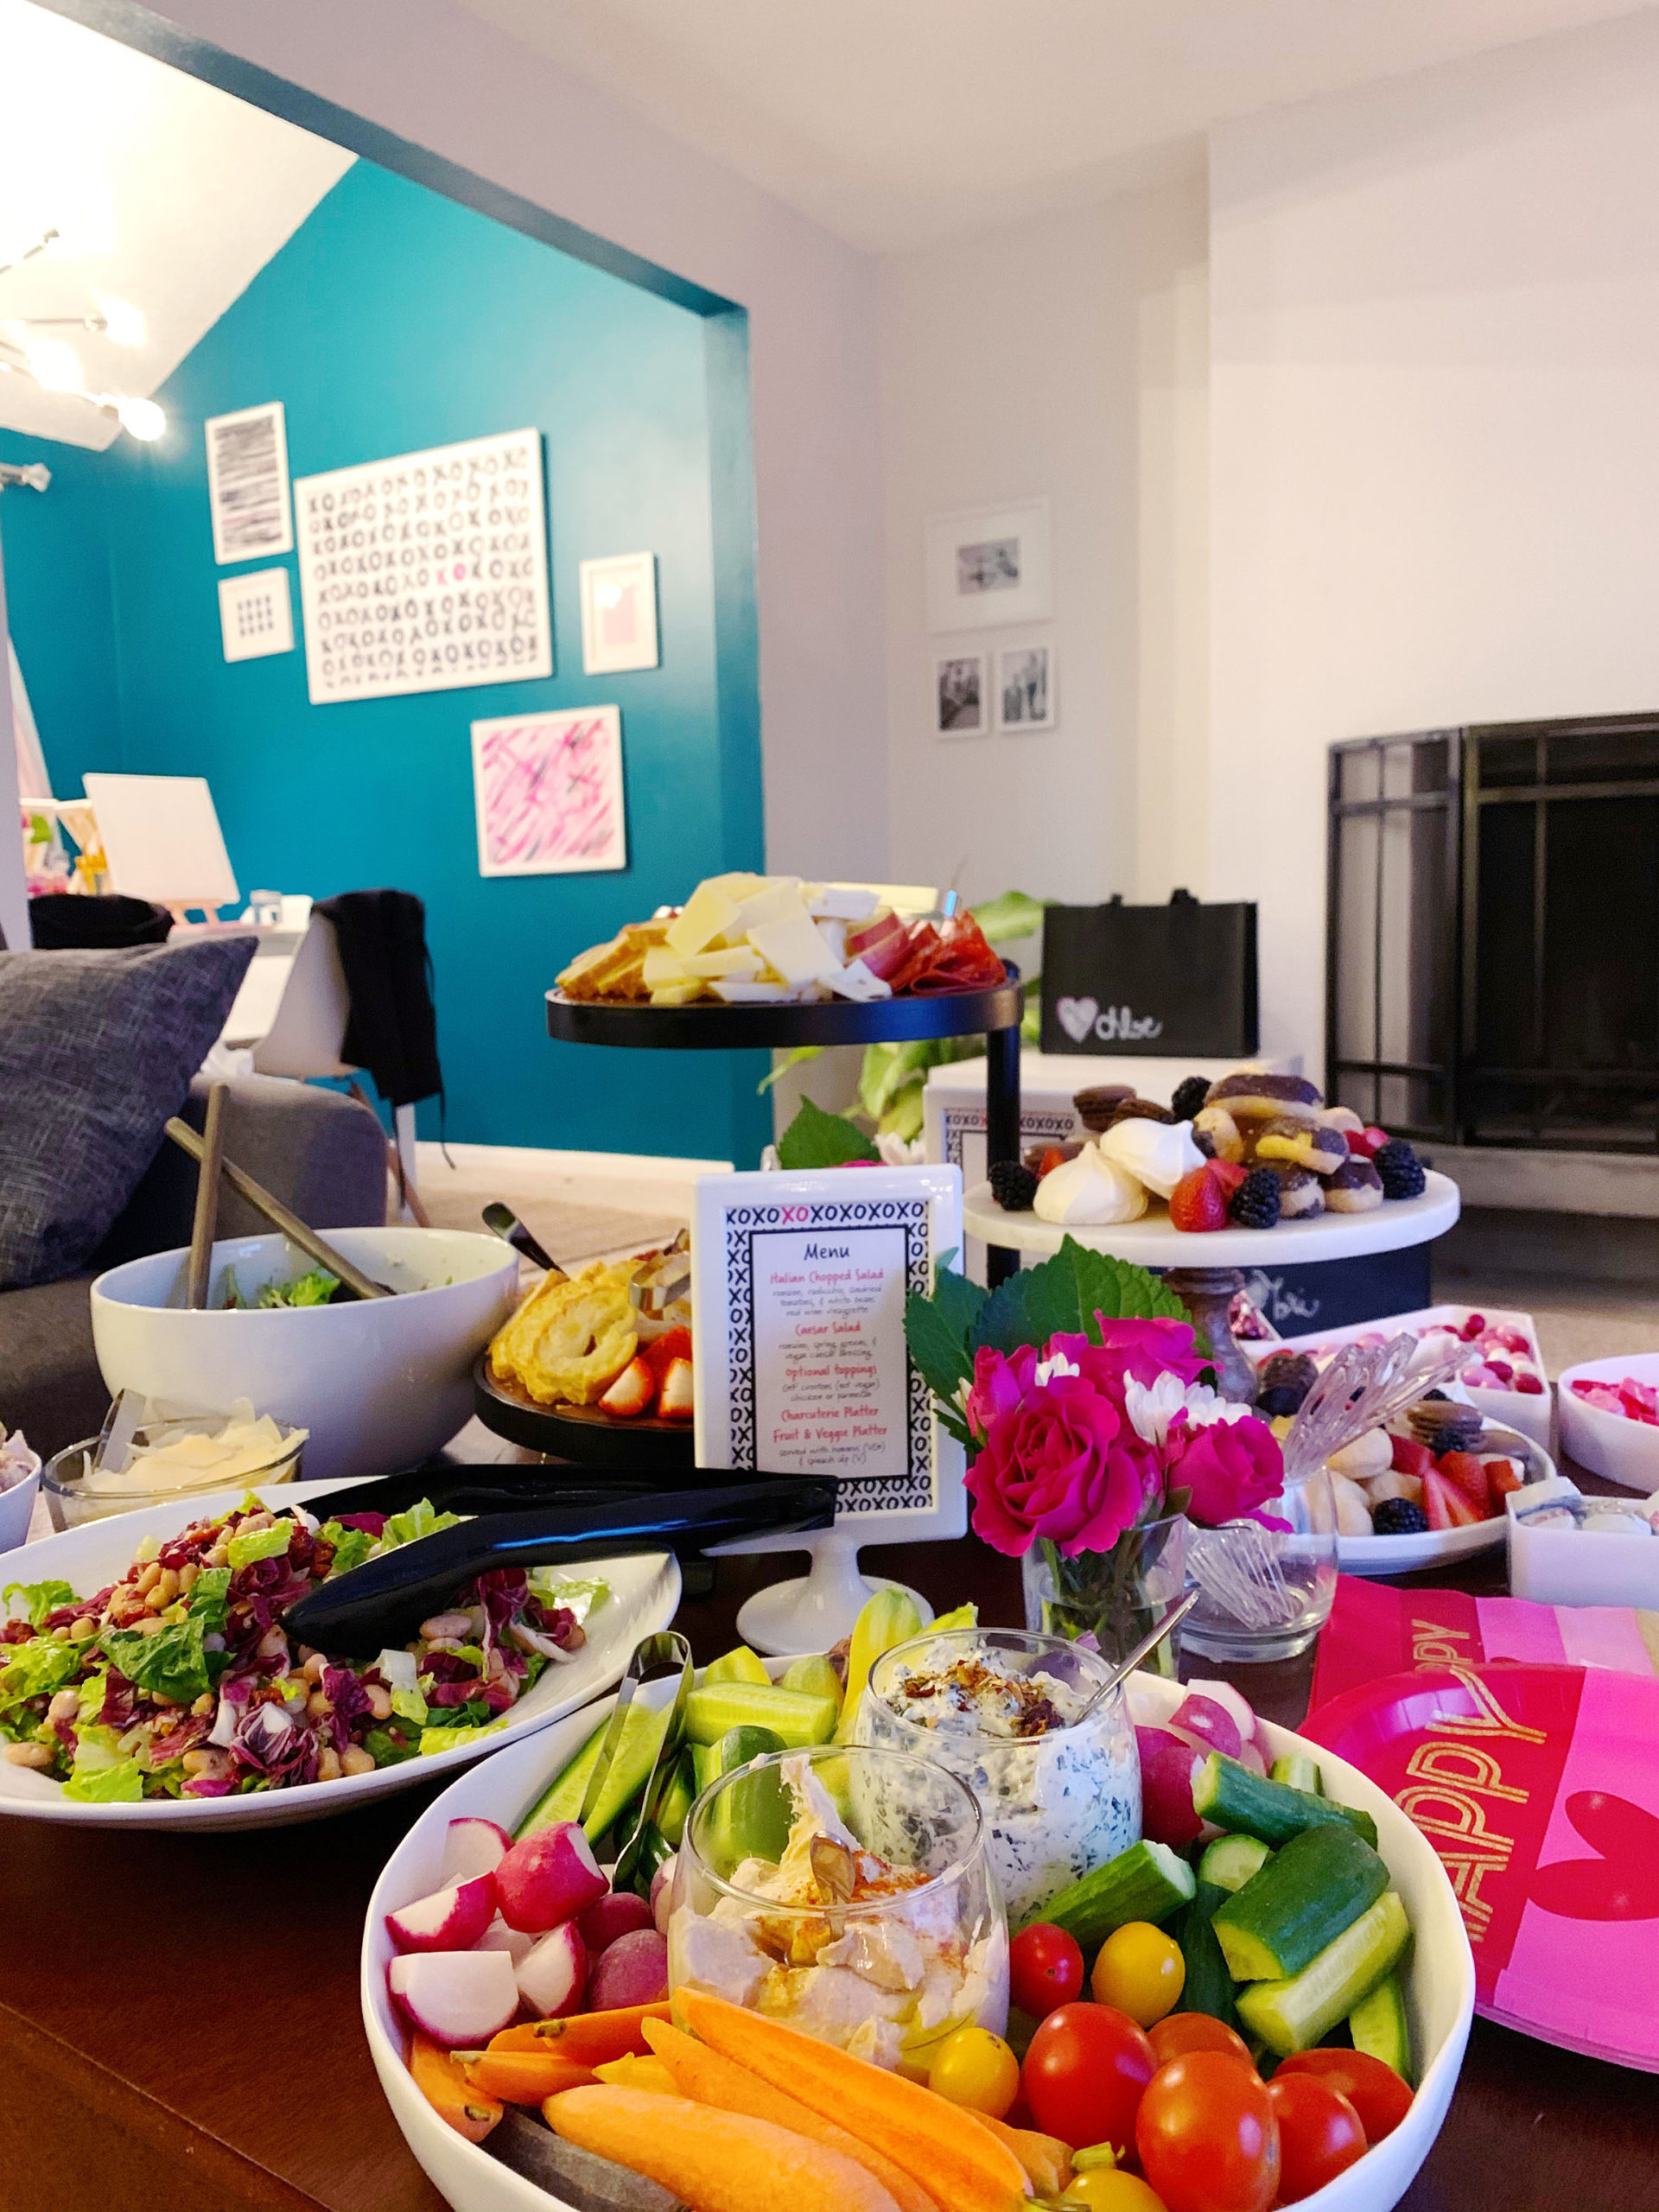
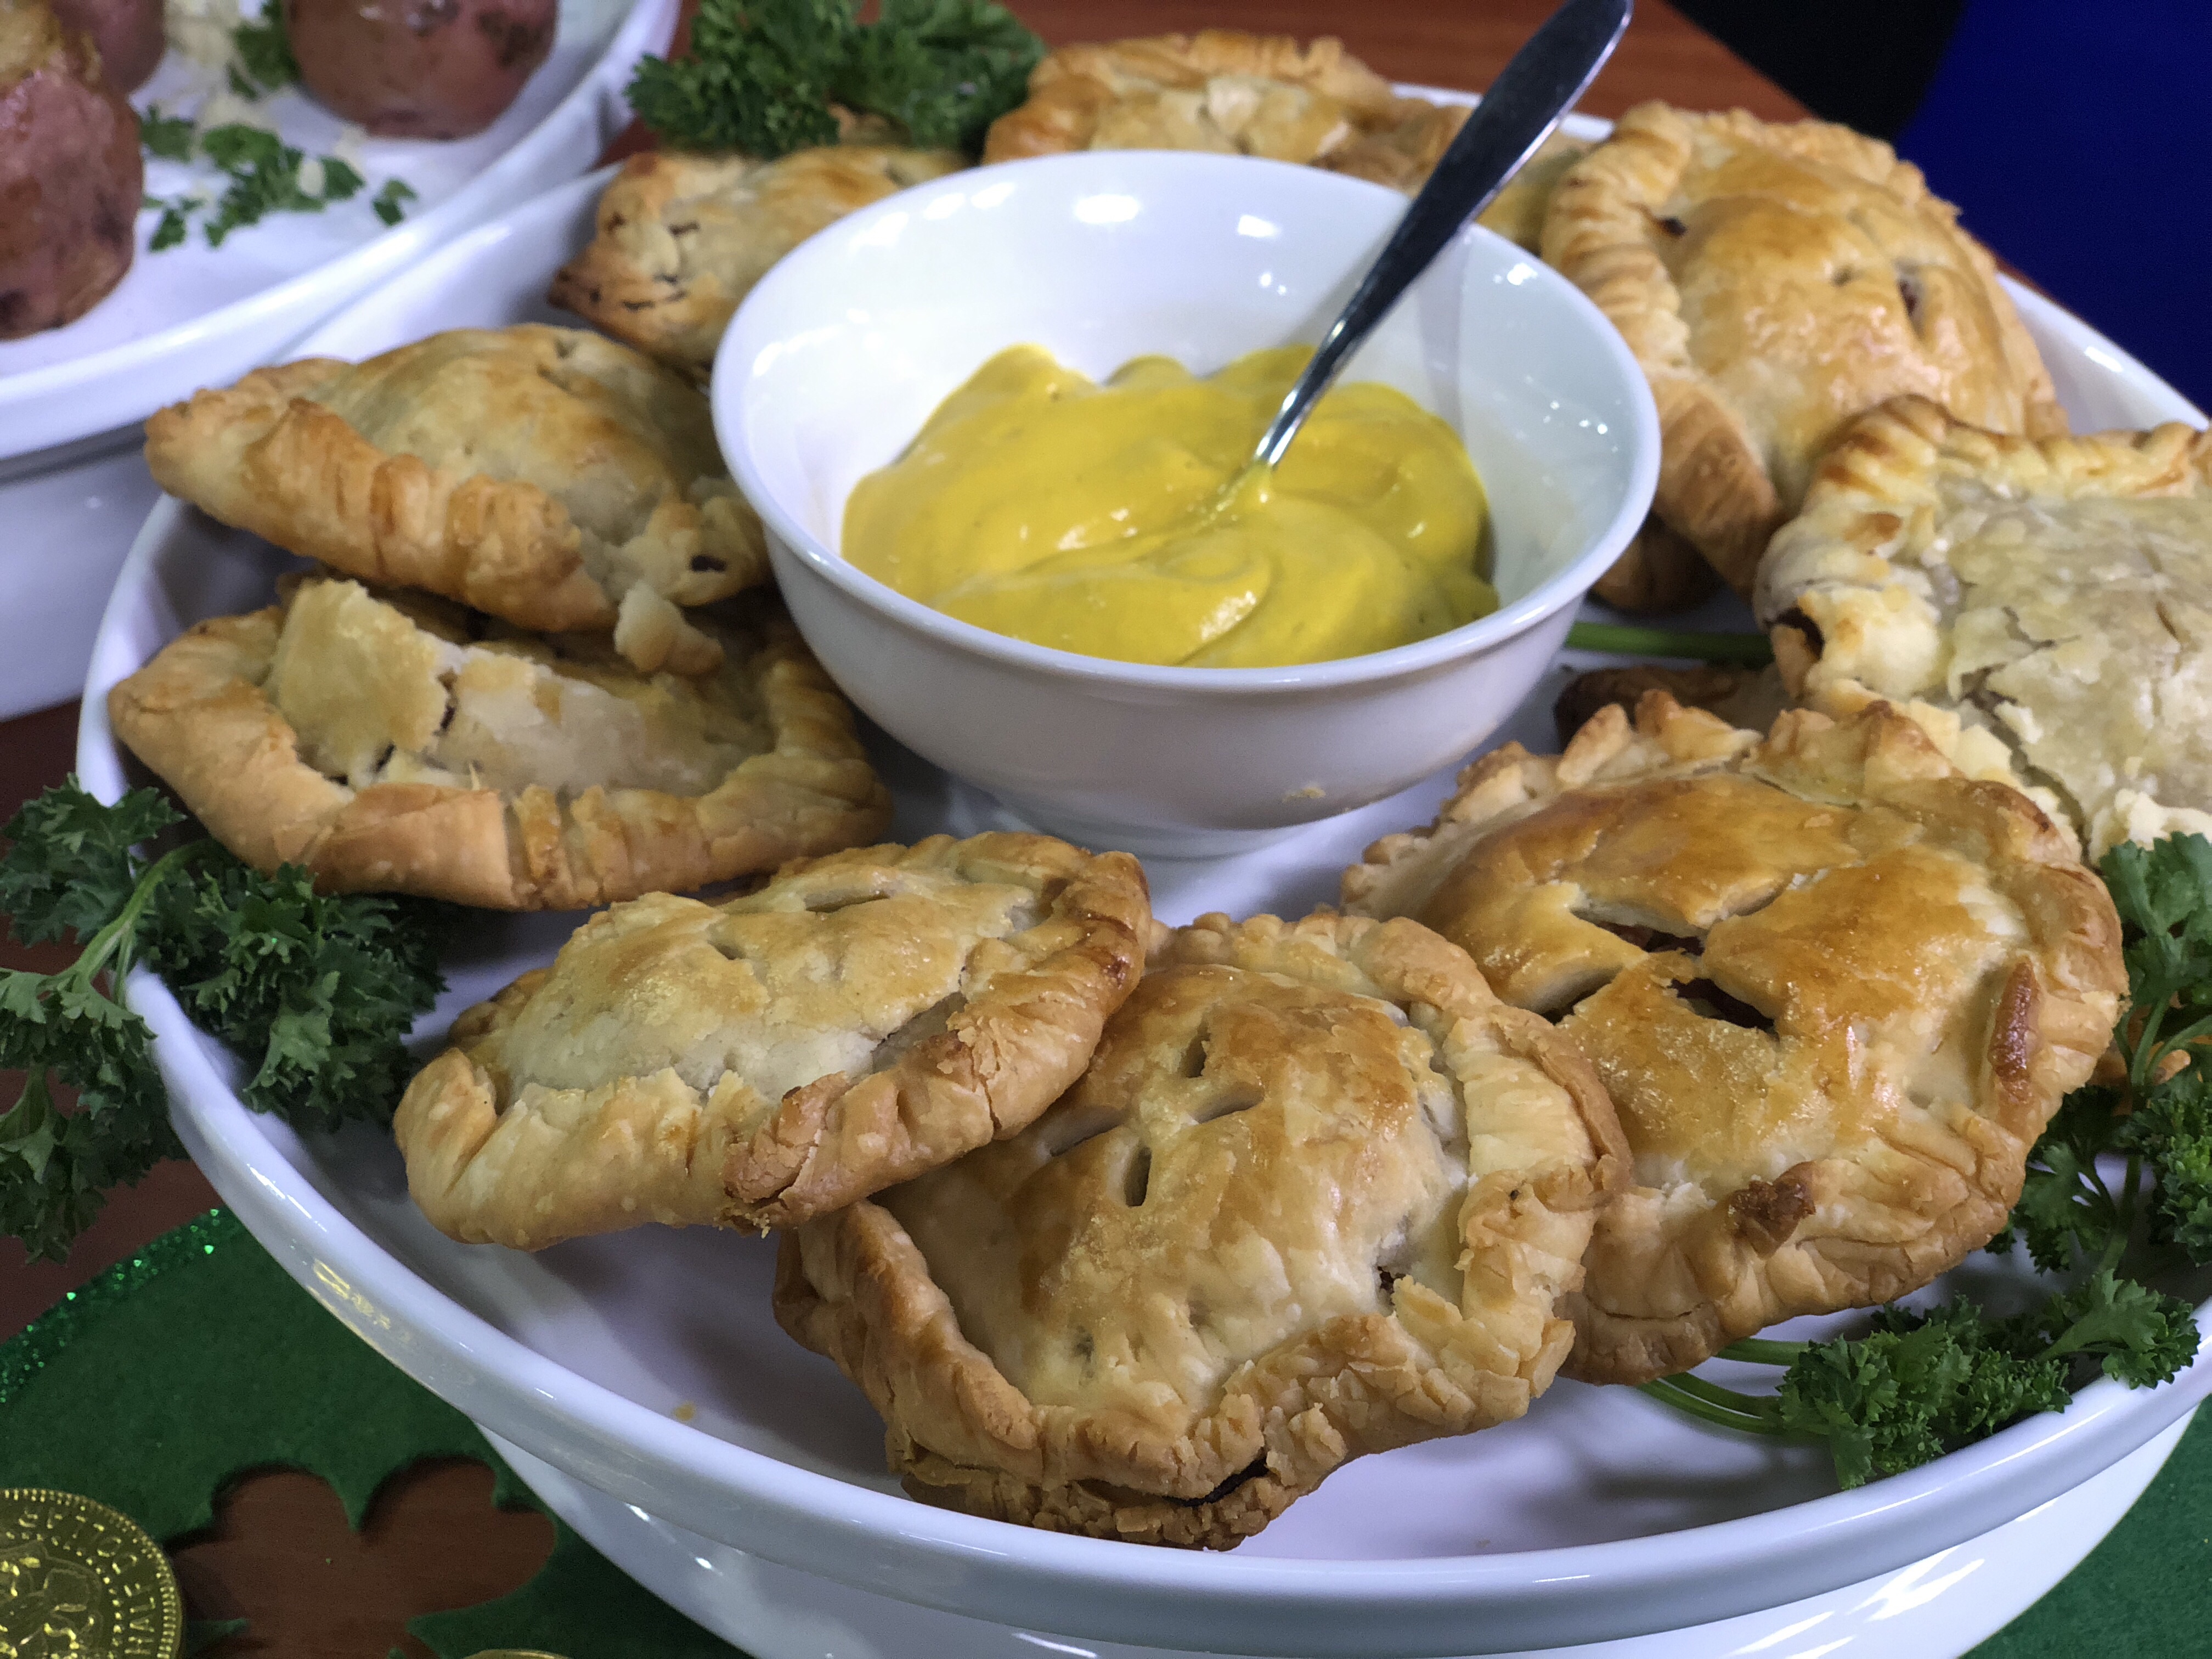
I hosted this party during the dinner hour so I wanted to provide some hearty snacks that could substitute as a meal, but was also able to sit out a bit so people could snack throughout the painting process.
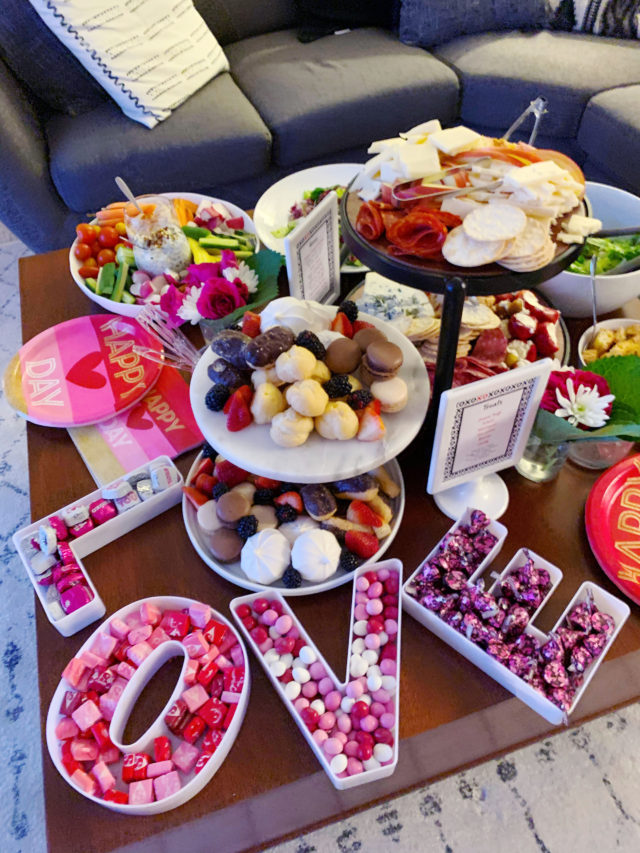
Ladies Night Menu:
- Romaine Lettuce and Spring Greens Dressed in Vegan Caesar Dressing and gluten free croutons with sides of Parmesan cheese and grilled chicken for those who wished to add them.
- Tuscan White Bean Italian Salad (a hit!)
- A charcuterie platter featuring Trader Joe’s Gormet Deli Selection (3 types of meats), unexpected cheddar, goat cheese stuffed peppers, blue cheese, fontina cheese, apples, strawberries, crackers, and gluten free baguette slices.
- A vegetable platter featuring carrots, cucumbers, radishes, cherry tomatoes, hummus, and spinach dip.
- A sweets platter with cream puffs, eclairs, macarons (from Trader Joe’s), meringues (from Trader Joe’s), berries, and candies.
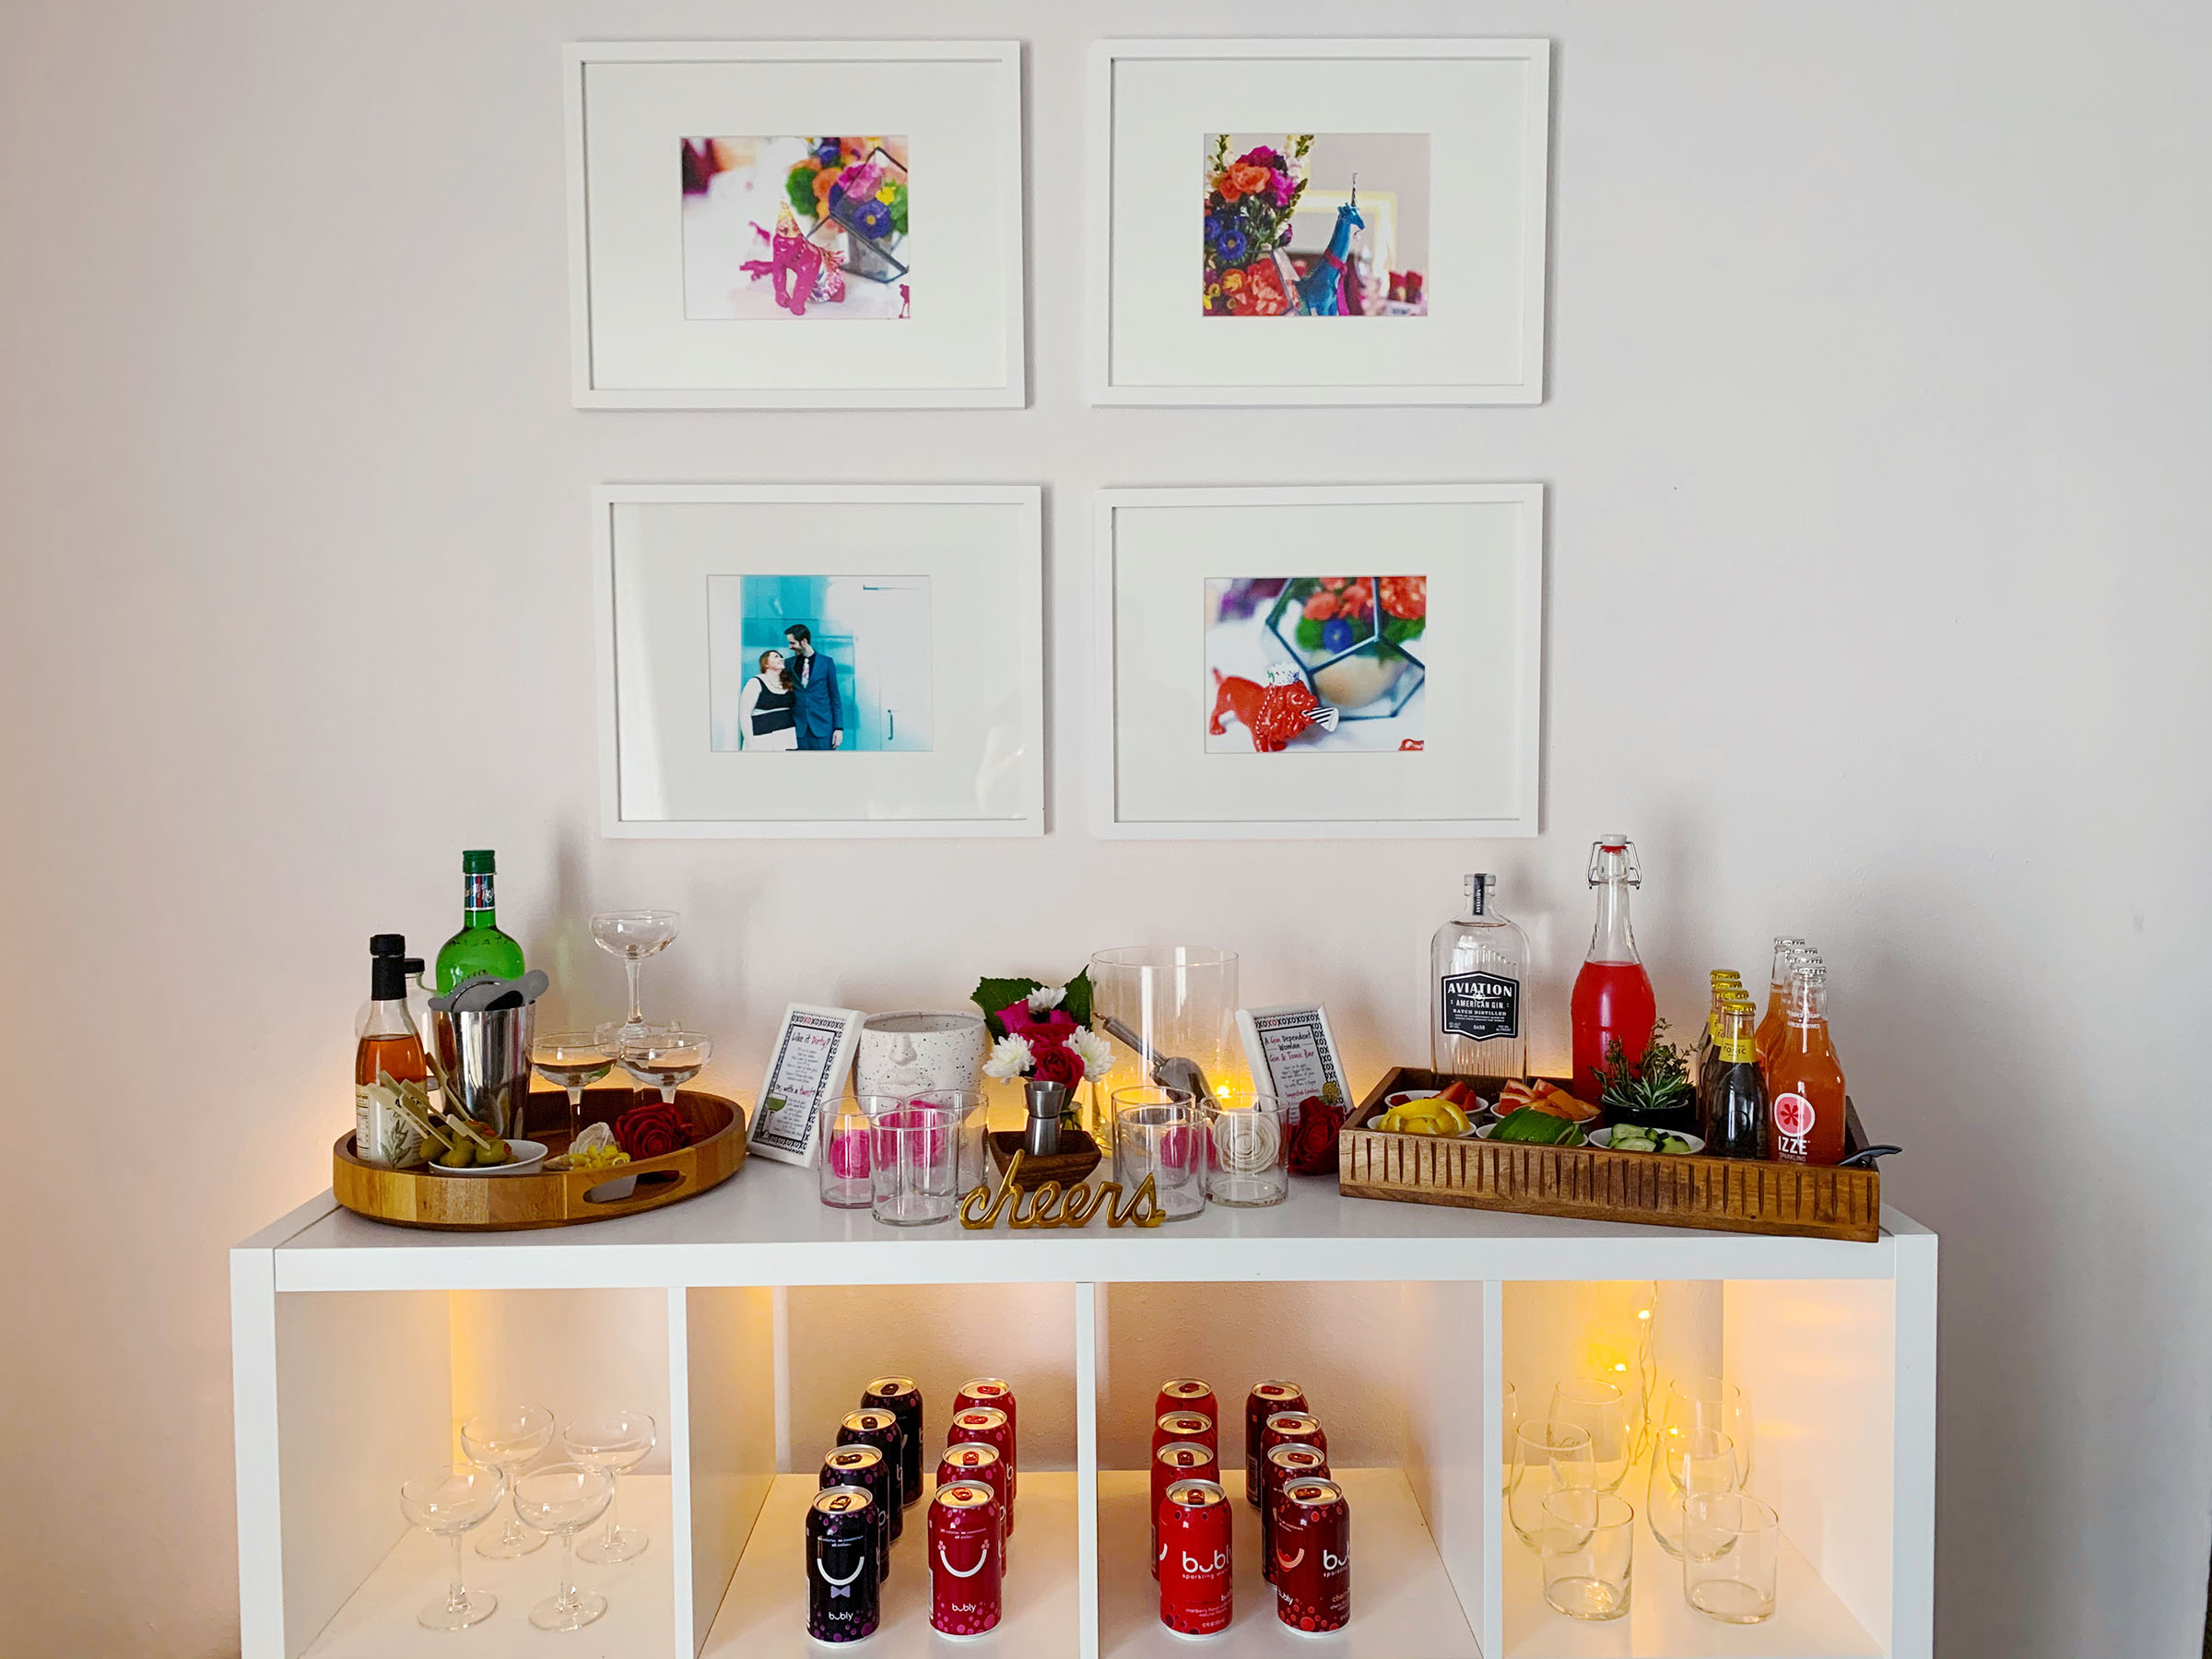
Belly Up to the Bar at Ladies Night
I think the beverages are always my favorite part of parties. If you look through my blog you’ll notice that I have more beverage recipes than anything else. They are such a FUN way to give a little something extra to a party. I always make sure there are a selection of fun non-alcoholic beverages at every party including water. For this party I served some cucumber water along with a selection of Bubly sparkling waters and sparkling grapefruit juice. I also had a bar with the makings for martinis and gin & tonics.

Martini Bar Ingredients:
- Coupe Martini glasses (affiliate link)
- Shaker & Jigger (affiliate link)
- Ice
- Vodka (yes, you can totally use gin, but I’m a vodka martini gal)
- Dry vermouth (store that in the fridge!)
- Olive Juice
- Olives
- Lemon Twists (Citrus Peeler – affiliate link)
Make sure you add the directions for making a martini so your guests can make their own.
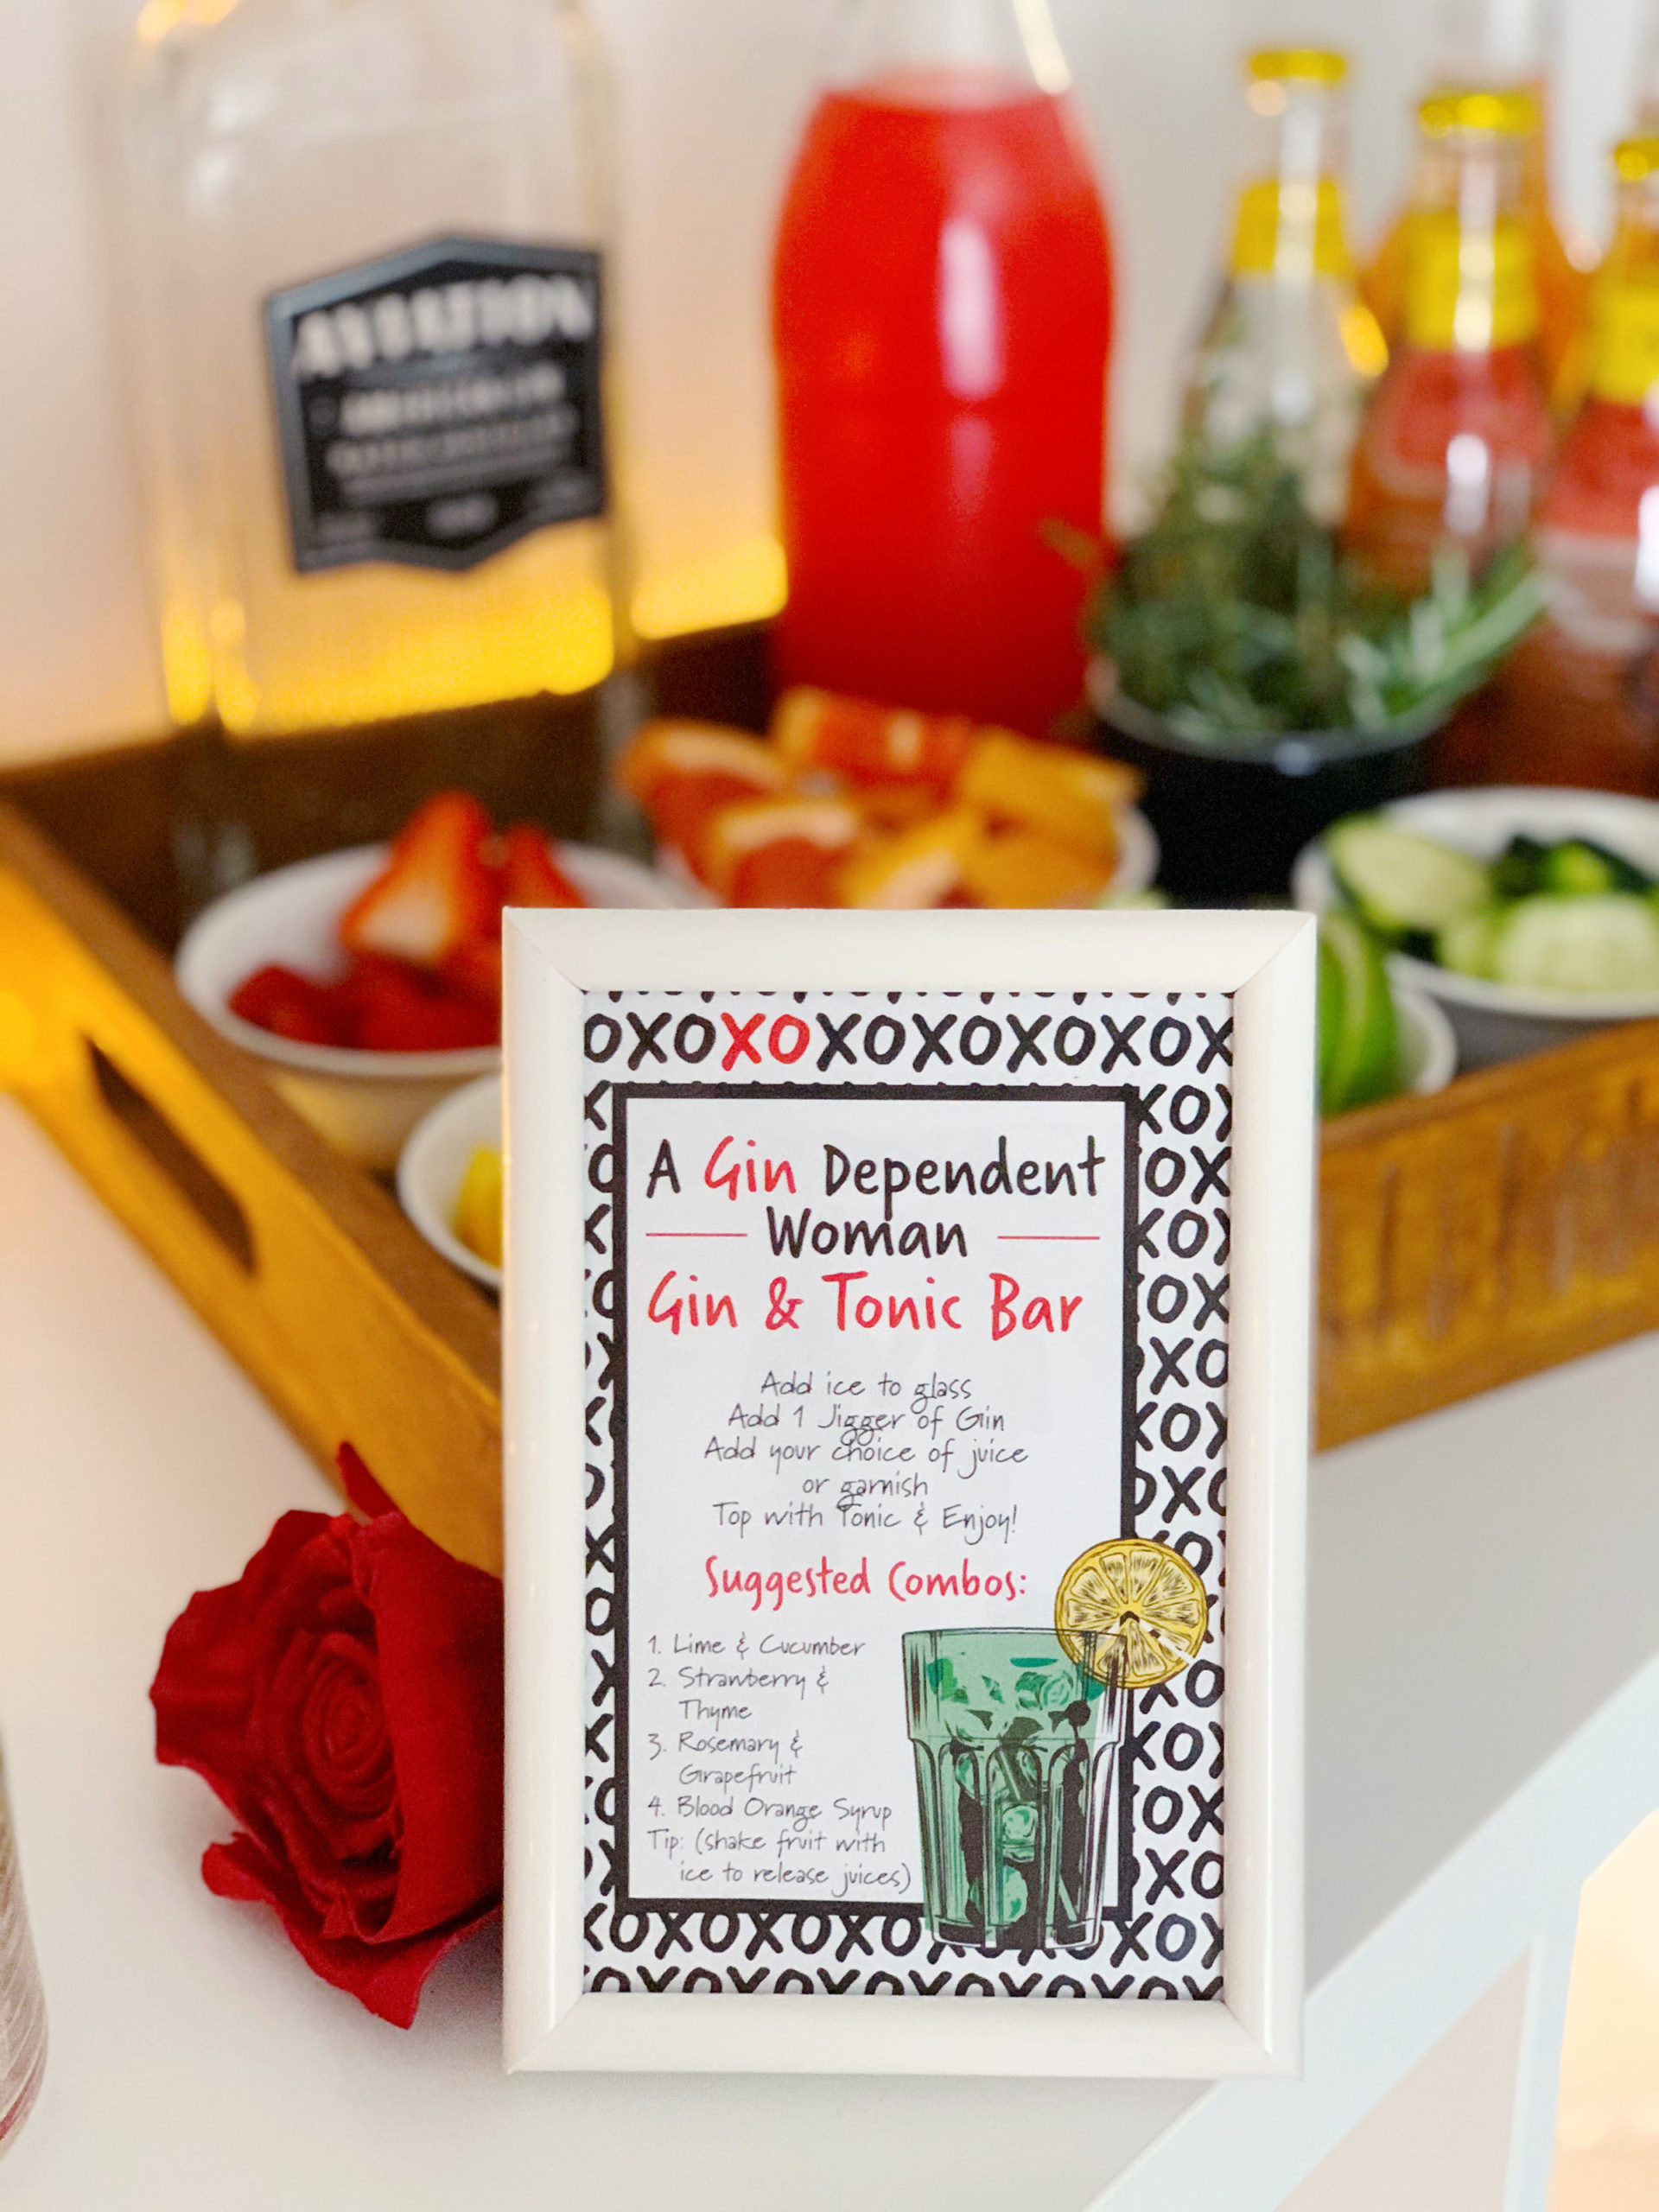
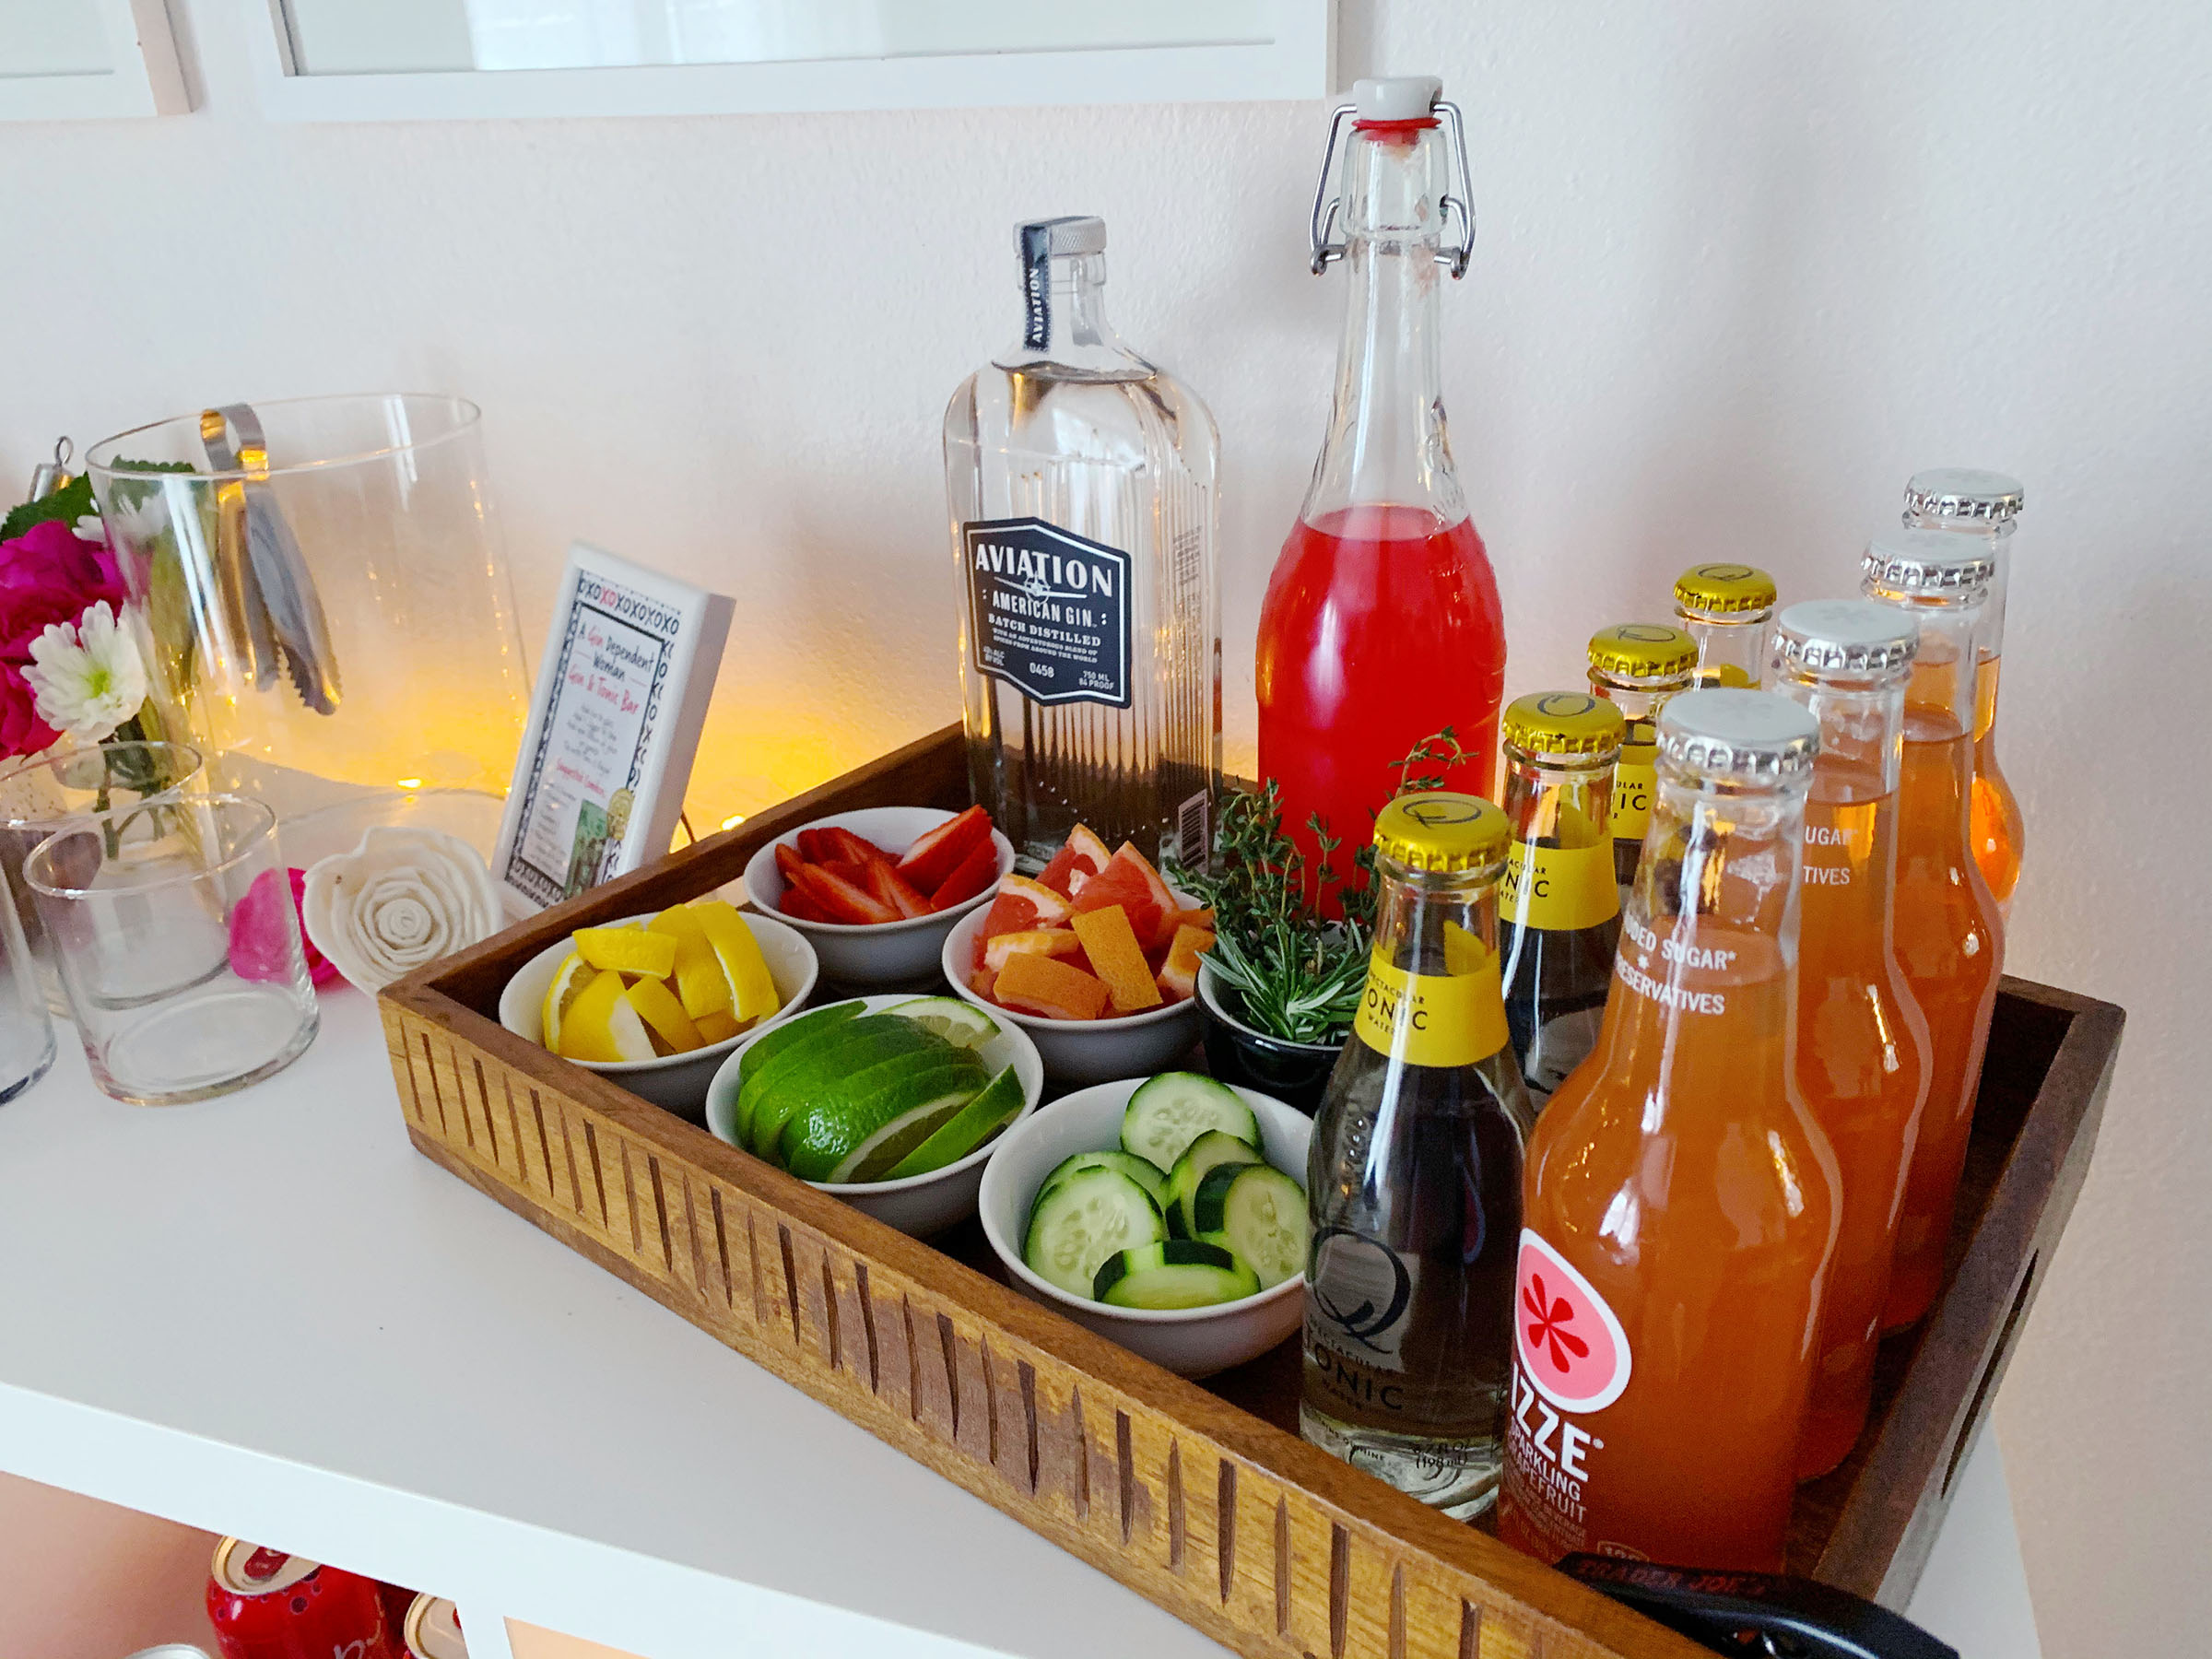
A Gin Dependent Woman Gin & Tonic Bar Ingredients:
- Glassware – I used rocks glasses (affiliate link)because I like them, but traditionally high ball glasses (affiliate link) are used.
- Ice
- Cocktail spoon (affiliate link)
- Jigger (affiliate link)
- Gin
- Tonic Water
- Sparkling Grapefruit Juice
- Blood Orange simple syrup
- Citrus (lime, lemon, grapefruit, blood oranges)
- Herbs (Thyme & Rosemary– though, basil would be a great addition!)
- Cucumber slices
- Strawberries
Make sure you add directions to this as well and add in some ideas for combinations!
Gin & Tonic Bar Directions:
- Fill glass with ice
- Add 1.25 oz of Gin to glass
- Add in your mixers – squeeze citrus, crush herbs, mash berries/cucumber, etc.
- Add in any simple syrup or juice (half an ounce or less)
- Top with tonic water
Suggested combos:
- Strawberries, thyme, grapefruit slices, grapefruit juice, gin, & tonic.
- Lime, cucumber, gin, & tonic.
- Blood orange simple syrup, rosemary, blood orange slices, gin & tonic.
We had a fantastic time at this painting party and plan to make crafting/painting parties a regular occurrence after this event. Honestly, I think an event like this would be great for a birthday party or shower as well. Wouldn’t it be awesome to host a painting party baby shower and have the guests paint abstract paintings in the colors of the nursery? Or, perhaps a wedding shower where guests paint paintings for the couple’s home together or for the wedding tables! The ideas are endless.
Have a great painting party!
Would you go to a painting party? Share in the comments what would draw you to a party like this or what else would make it a great event!
I’d love that if this idea inspires you that you share it with me by tagging me on Instagram or Twitter (@JenniBost).

 Ingredients: